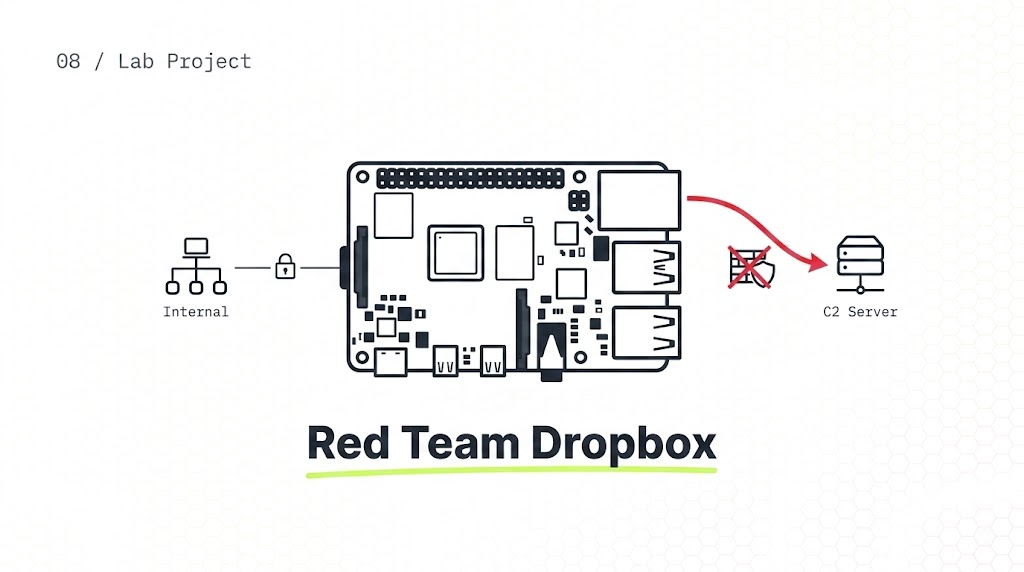
1. What Is a Dropbox?
A dropbox is a small device that you plug into a target network during a red team engagement. It sits on the internal network and gives you remote access from anywhere. You can run tools like nmap, Responder, or CrackMapExec through it without being on site.
The setup is simple: a Raspberry Pi with an Ethernet connection and a way to reach it from the internet.
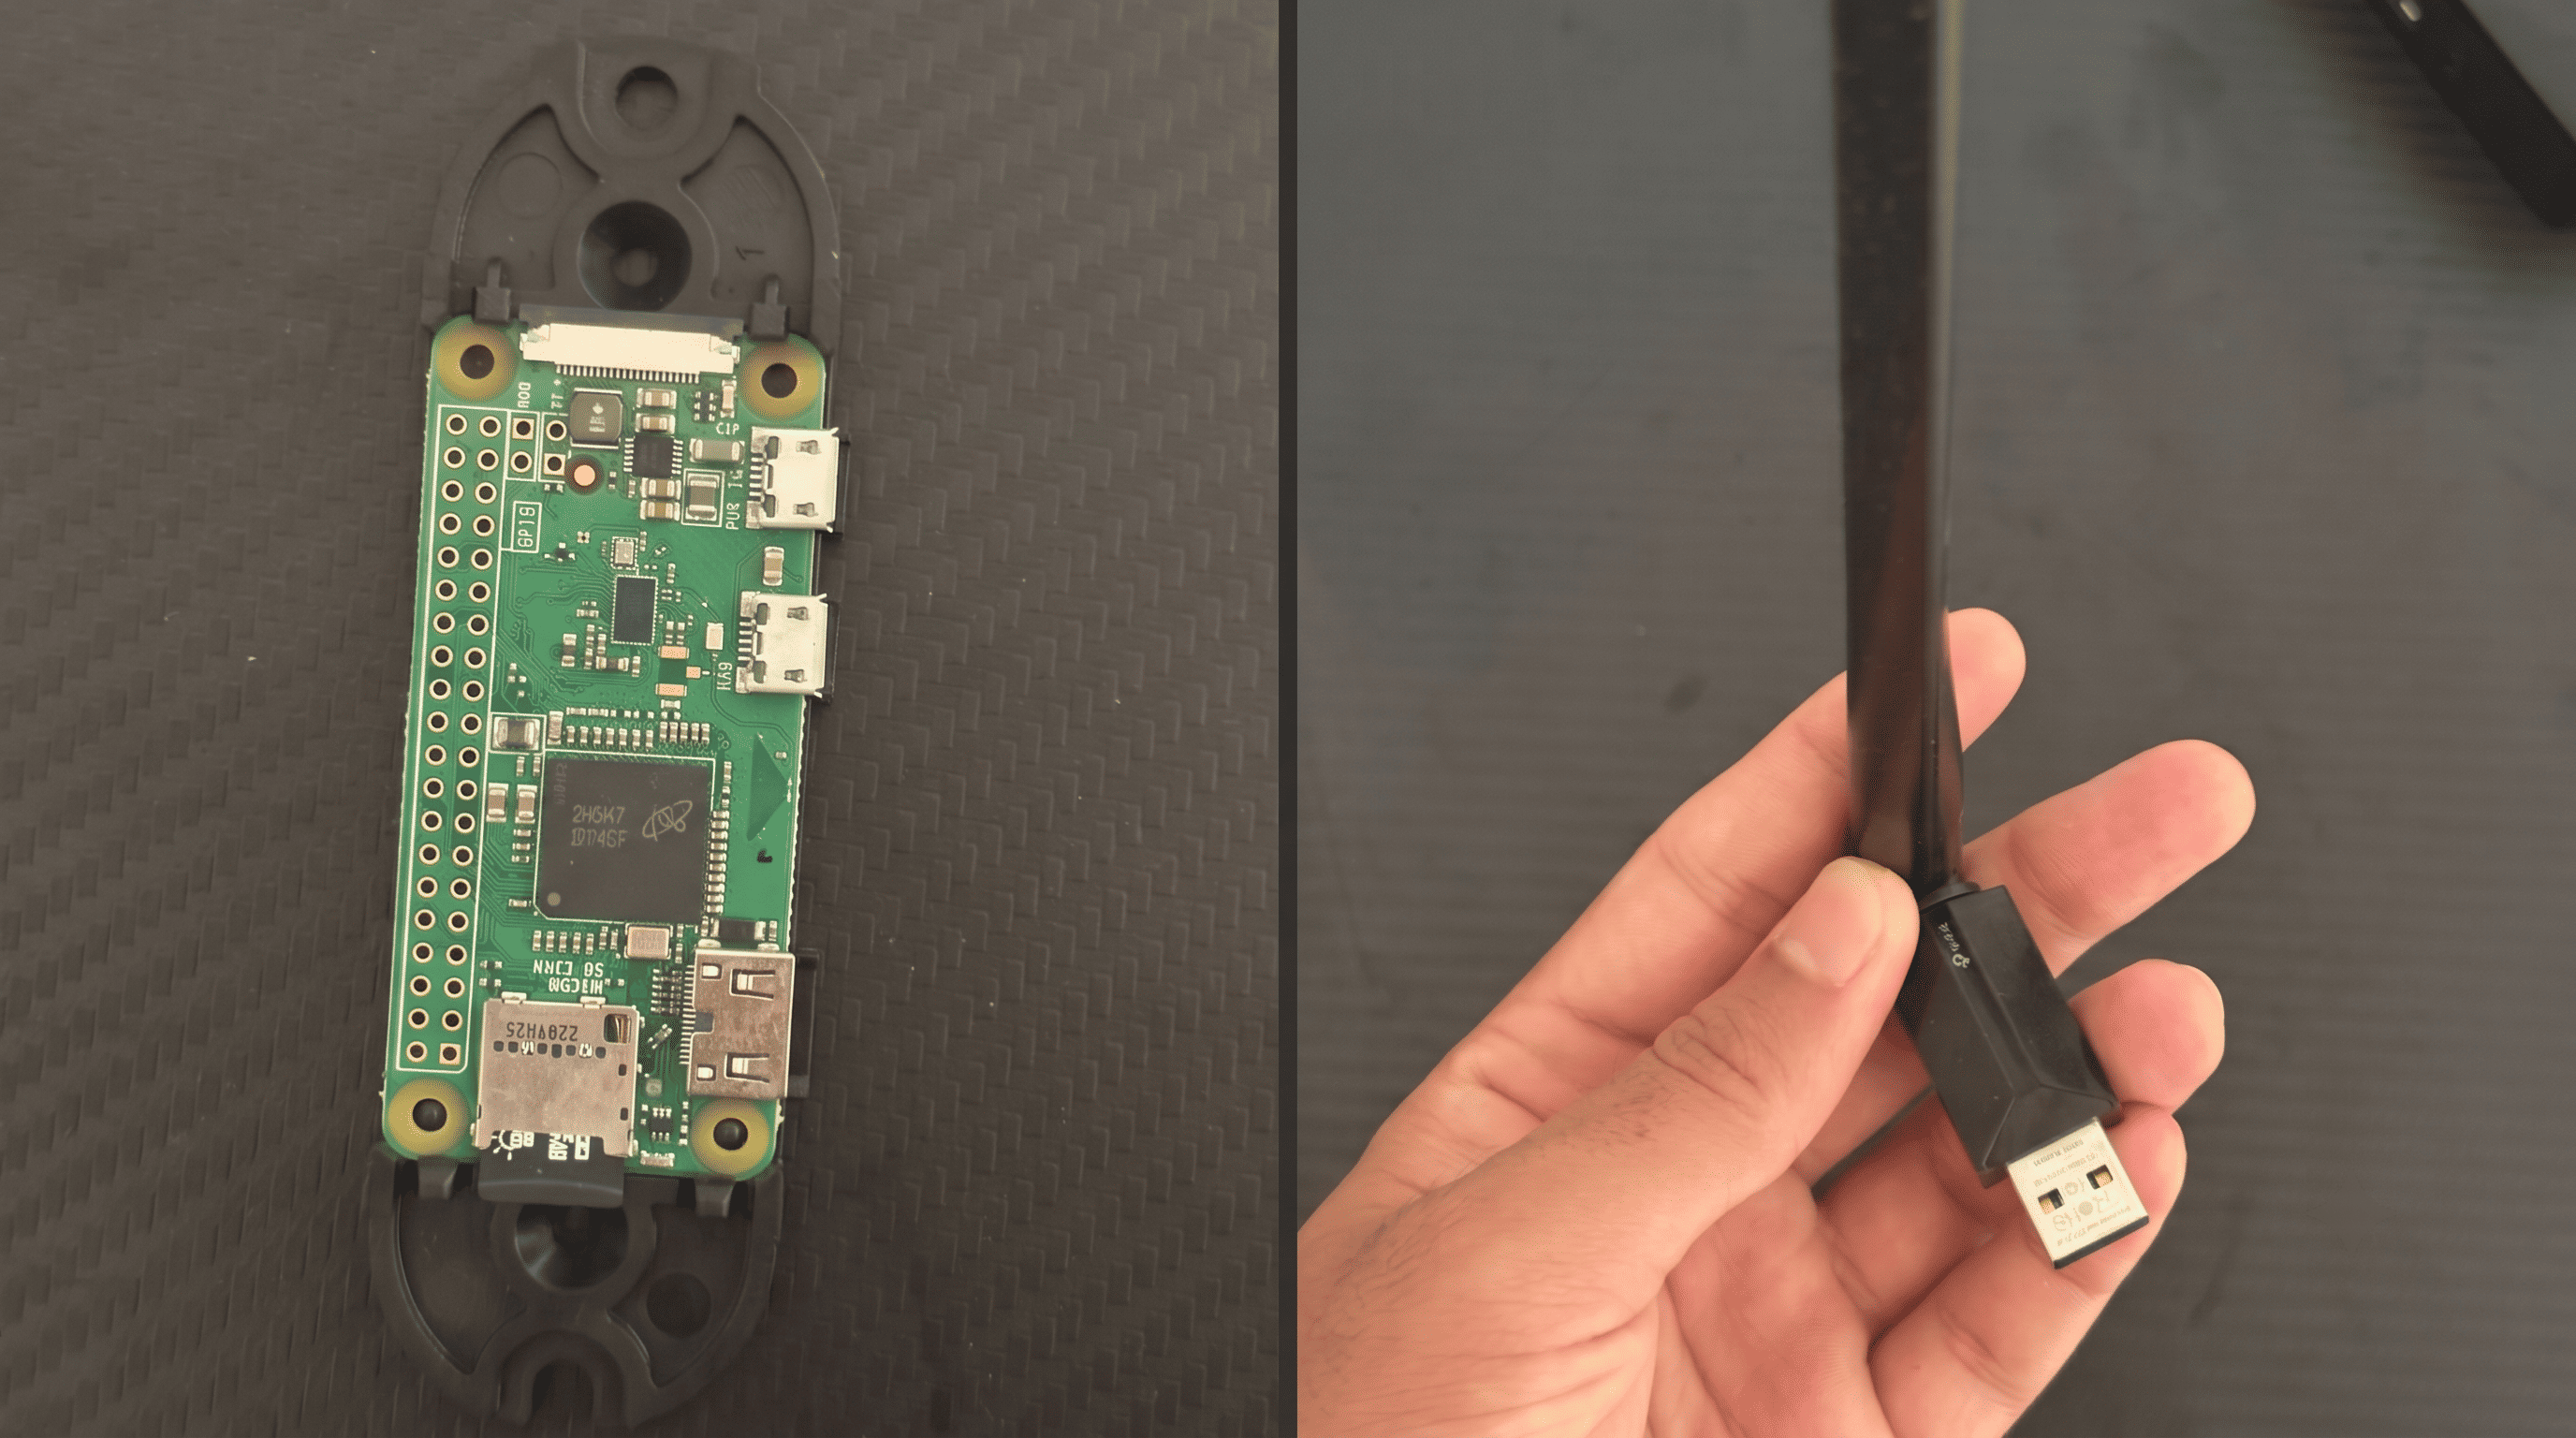
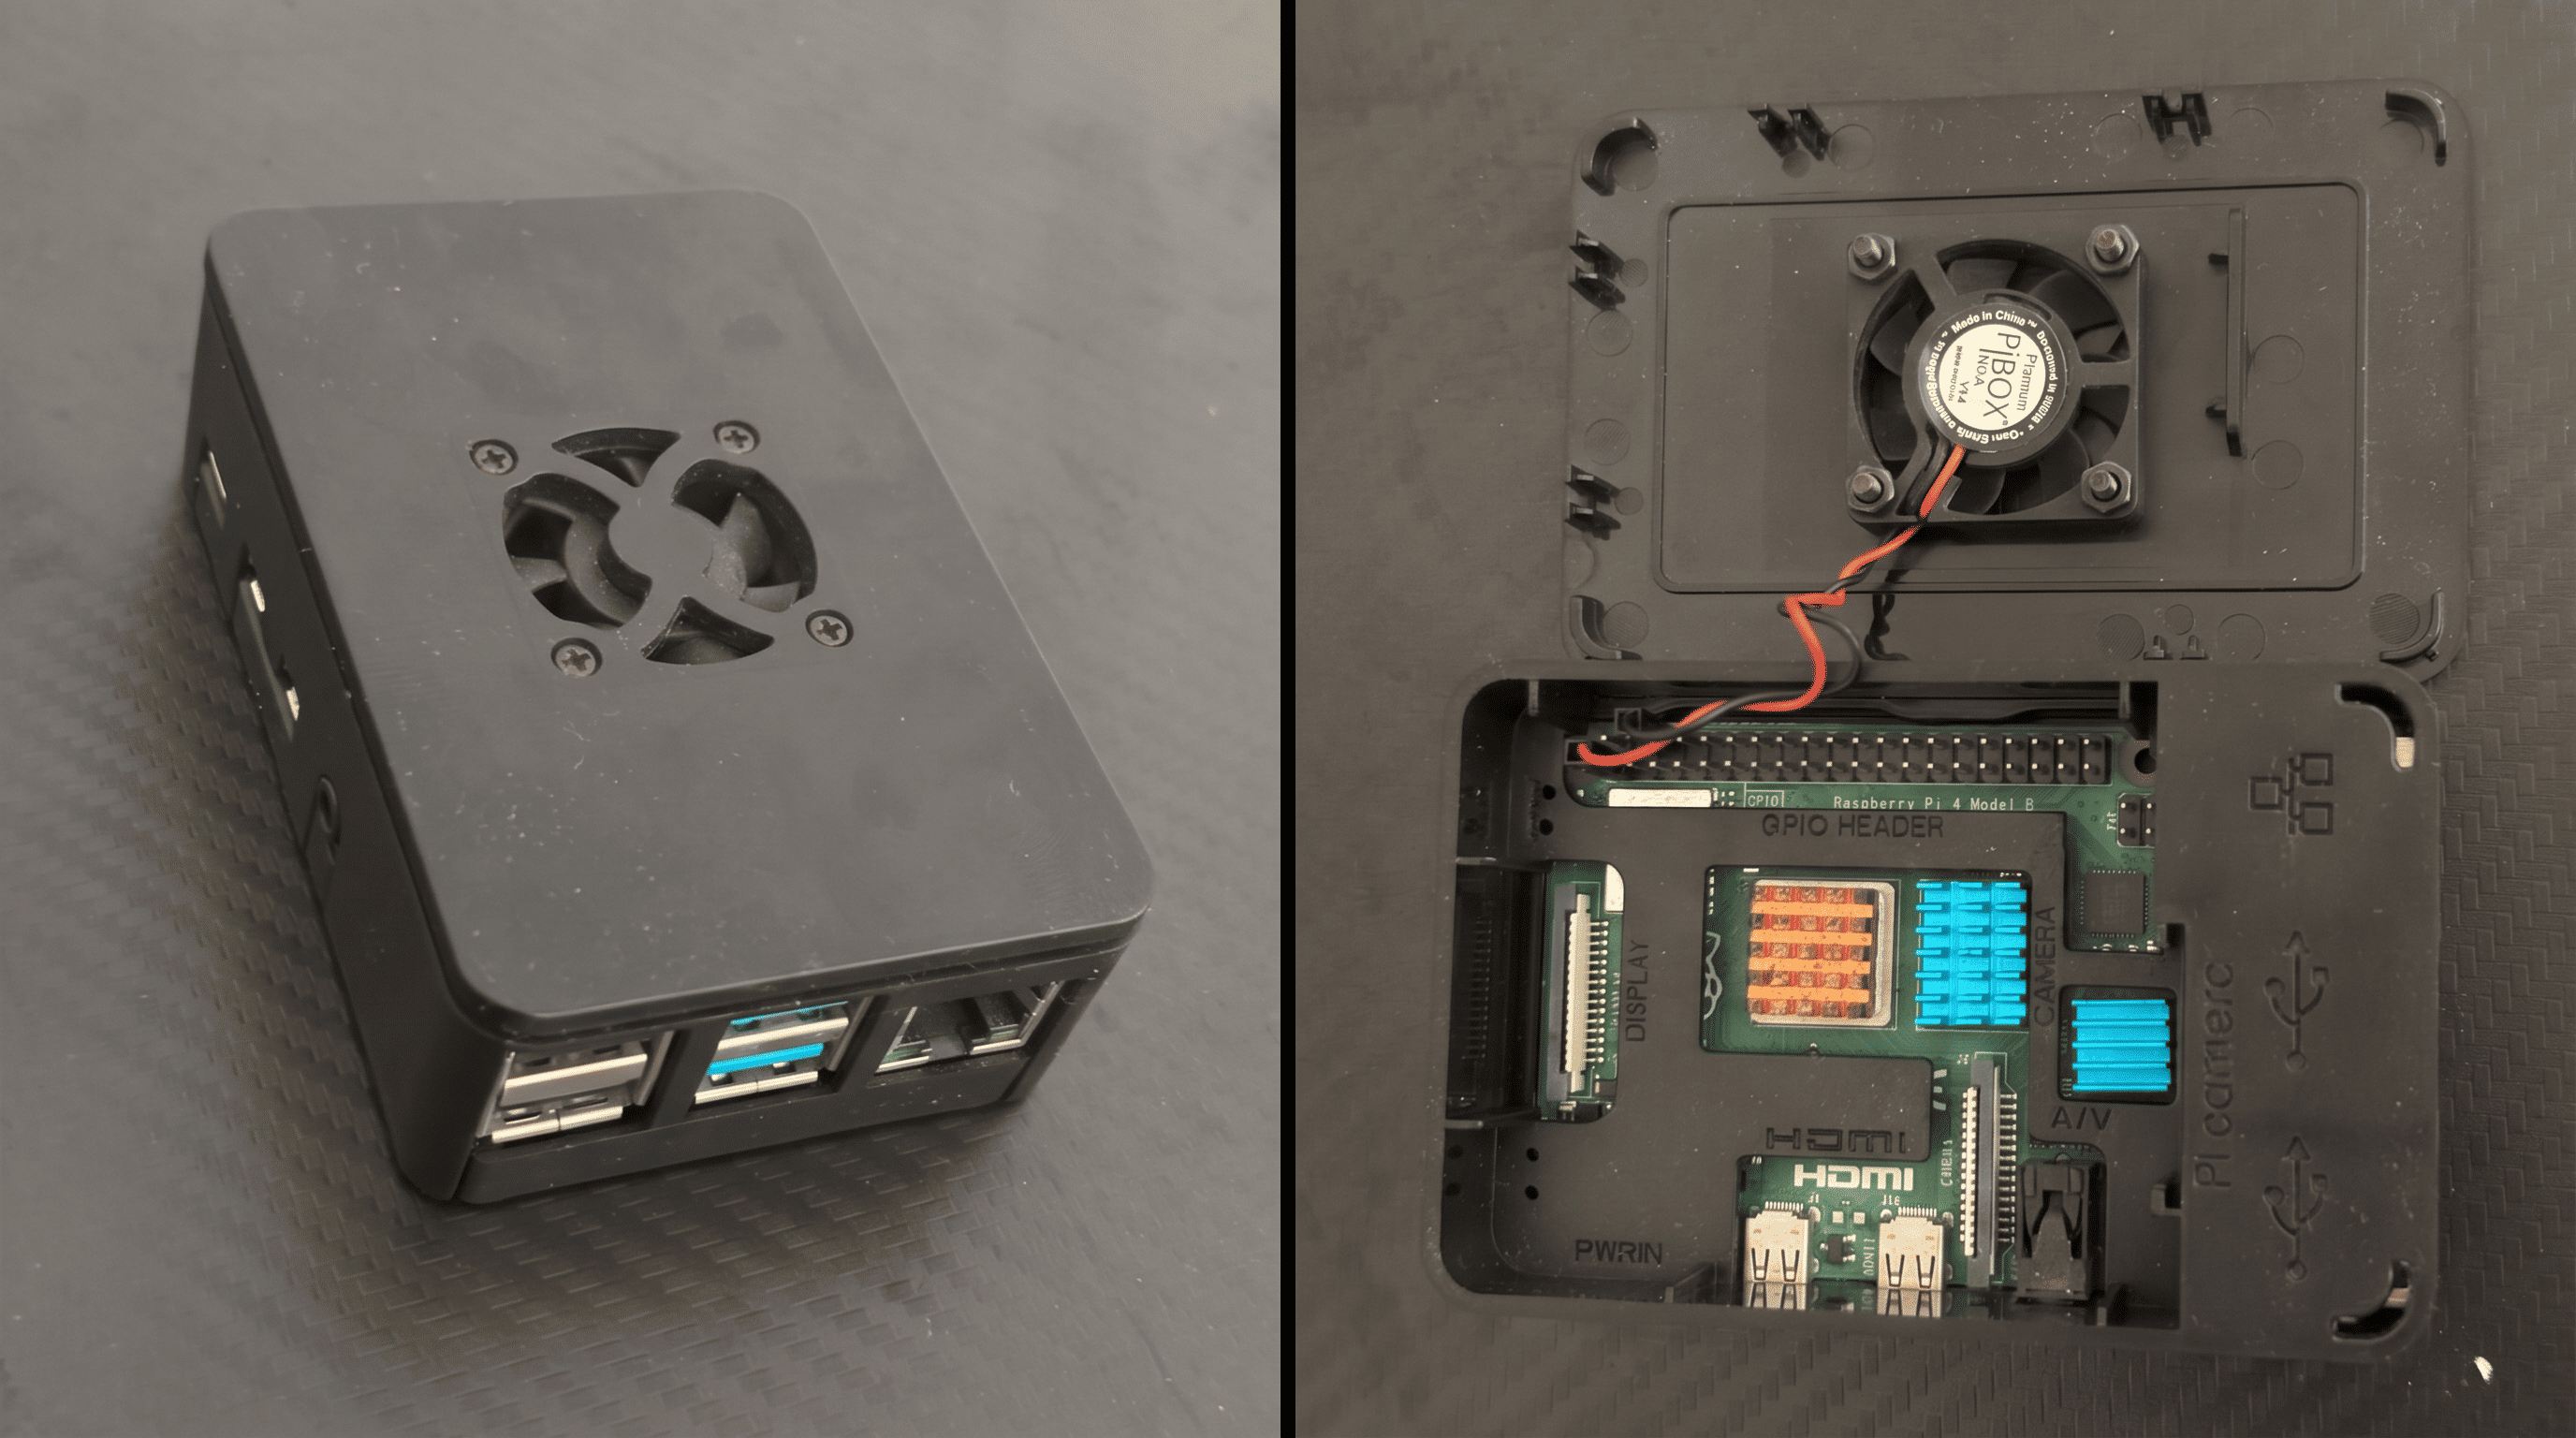
You can use a Raspberry Pi Zero for this with a USB Wi-Fi adapter, or a Pi 4 for more power. I used a Pi 4 for this build.
2. Tailscale vs Reverse SSH
The common approach is to use SSH reverse port forwarding. You set up a VPS with a public IP, and the Pi opens an outbound SSH tunnel to it. Then you SSH into the VPS and get forwarded to the Pi. This works but needs a VPS, SSH key management, and tools like autossh to keep the tunnel alive. The folks at BreachForce have a detailed guide on this method.
We will do the same thing differently. Instead of a VPS and SSH tunnels, we use Tailscale. Tailscale is a mesh VPN built on WireGuard. Every device in your Tailscale network gets a private IP and can reach every other device directly. No port forwarding, no VPS, no complex config.
Here is how they compare:
| SSH Reverse Tunnel | Tailscale |
|---|---|
| Needs a VPS with public IP | No server needed |
| Manual SSH key management | OAuth login (Google, GitHub, Microsoft) |
| Tunnel breaks on network drop | Auto-reconnects |
| Needs autossh to stay alive | Zero config |
3. Hardware
| Component | Details |
|---|---|
| Board | Raspberry Pi 4B, 4GB RAM |
| Storage | 64GB microSD (Class 10) |
| Power | USB-C 5V/3A adapter |
| Network | Built-in Gigabit Ethernet |
4. Flashing the OS
Step 4.1 — Open Raspberry Pi Imager
Download and open Raspberry Pi Imager. The homepage looks like this:
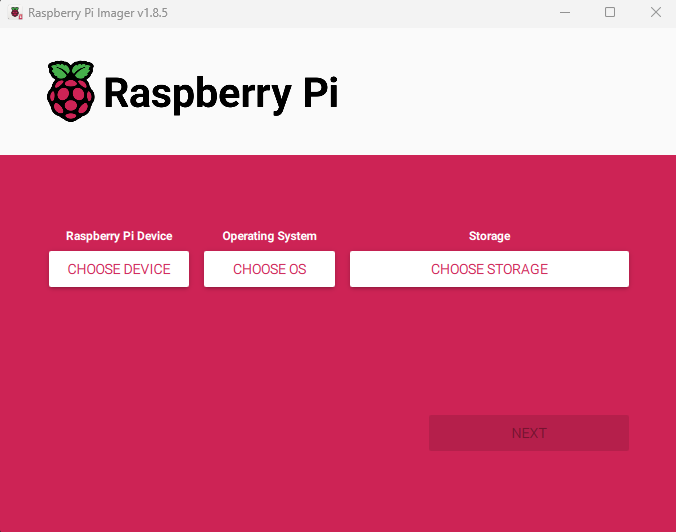
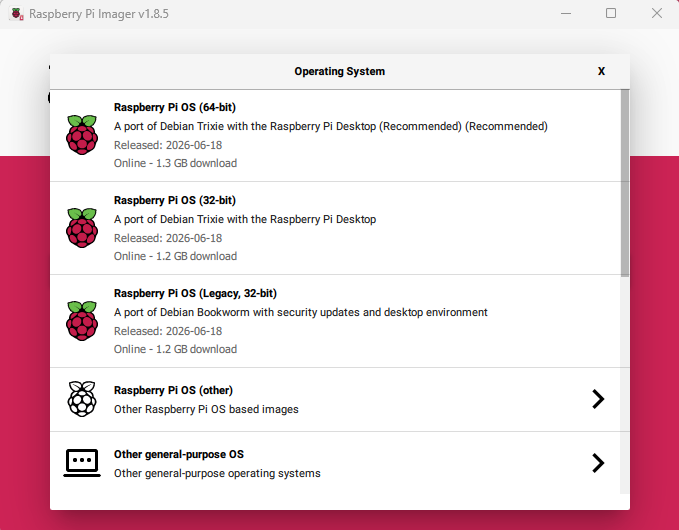
Step 4.2 — Select the OS
Click Choose OS and select Raspberry Pi OS Lite (64-bit). This is the headless version with no desktop, which is all we need.
Step 4.3 — Configure and Flash
Click the gear icon and set:
- Hostname:
dropbox-1 - Enable SSH: Password authentication
- Username/password:
pi/ your password
Select your microSD card as storage and click Write.
5. Installing Tailscale
Step 5.1 — SSH into the Pi
Insert the microSD card into the Pi, connect Ethernet, and power it on. Find its IP and SSH in:
Step 5.2 — Install Tailscale
Run the install script:
curl -fsSL https://tailscale.com/install.sh | sh
Step 5.3 — Authenticate
Start Tailscale:
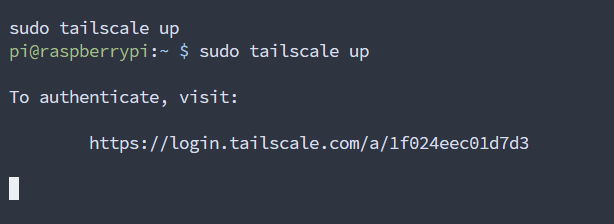
sudo tailscale up --ssh
This prints a URL in the terminal. Open it in your browser:
The browser opens the Tailscale website asking you to connect the device to your account:
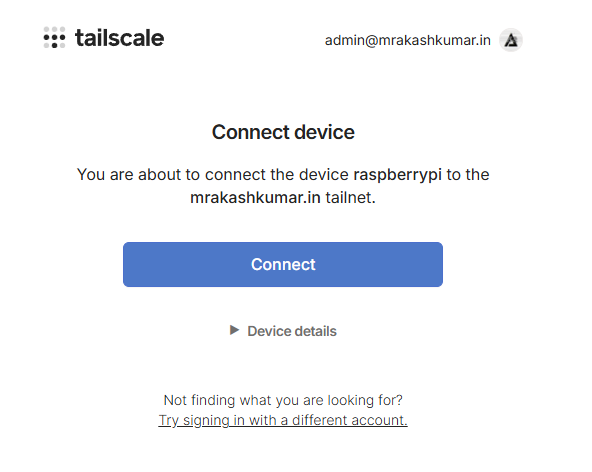
Click Connect. The device is now on your Tailscale network.
6. Verifying the Connection
Run ip a or ifconfig on the Pi to see the new Tailscale interface:
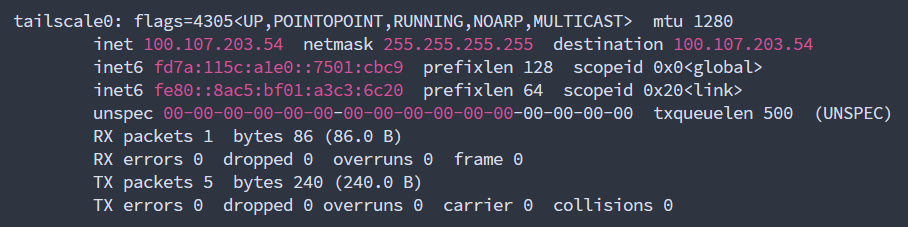
The Pi gets a 100.x.x.x IP address on the Tailscale network.
Disable Key Expiry
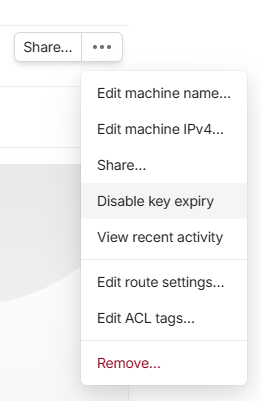
Go to the Tailscale admin console, find your device, and click Disable key expiry. This keeps the device connected indefinitely:
Check Local Network Interface
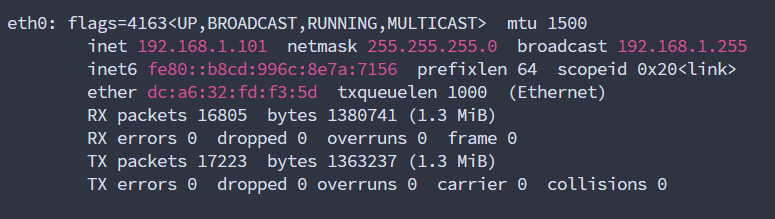
Verify the Pi's local Ethernet IP:
7. Remote Access
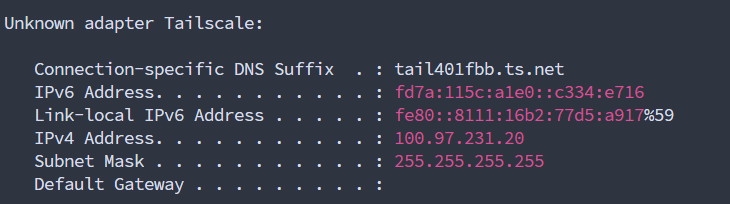
On your Windows PC (or any machine with Tailscale installed), check your own Tailscale IP:
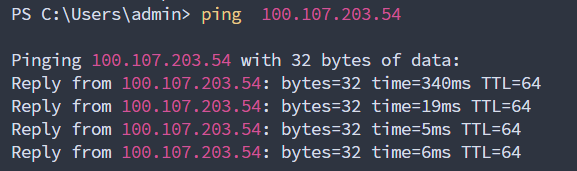
Now you can ping the Pi from your Windows machine using its Tailscale IP:
You can also SSH directly:
ssh pi@dropbox-1
Tailscale's MagicDNS resolves the hostname automatically so you do not need to remember the IP.
8. Subnet Routing
This is the most useful feature. Subnet routing lets you access the entire target network from your laptop through the Pi, not just the Pi itself.
Step 8.1 — Enable IP Forwarding on the Pi
echo 'net.ipv4.ip_forward = 1' | sudo tee -a /etc/sysctl.d/99-tailscale.conf
echo 'net.ipv6.conf.all.forwarding = 1' | sudo tee -a /etc/sysctl.d/99-tailscale.conf
sudo sysctl -p /etc/sysctl.d/99-tailscale.conf
Step 8.2 — Advertise the Target Subnet
Replace 192.168.1.0/24 with the actual subnet of the target network:
sudo tailscale up --ssh --advertise-routes=192.168.1.0/24 --accept-routes
Step 8.3 — Approve Routes in Admin Console
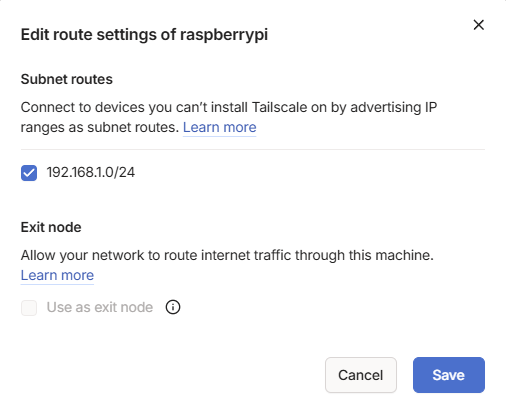
Go to the Tailscale admin console, click Edit route settings for your device, and enable the subnet route:
Step 8.4 — Accept Routes on Your Laptop
# Linux / macOS
sudo tailscale up --accept-routes
# Windows — Tailscale system tray → Preferences → Use Tailscale subnets
Now from your laptop you can directly access hosts on the target network:
nmap -sV 192.168.1.0/24
responder -I tailscale0
The traffic goes from your laptop through the Tailscale tunnel, exits the Pi's Ethernet port, and enters the target network.
9. Conclusion
A red team dropbox does not need to be complicated. A Raspberry Pi, a microSD card, Raspberry Pi OS Lite, and Tailscale are all you need. No VPS, no SSH tunnels, no port forwarding. Tailscale handles all the networking.
For engagements, ship the device to the client. They plug it into a network port. Within 90 seconds you have internal network access from anywhere.
This project was built for educational and portfolio purposes. All testing was performed against my own lab network. No unauthorized access was performed against any external systems.