1. What Is P4wnP1 A.L.O.A.?
P4wnP1 A.L.O.A. (A Little Offensive Appliance) is an open-source framework that turns a Raspberry Pi Zero into a USB attack device. It is similar to a USB Rubber Ducky or Bash Bunny, but runs on cheap hardware you may already have.
Originally created by mame82 and updated by RoganDawes for the Pi Zero 2W, P4wnP1 can emulate multiple USB devices at once:
- Keyboard (HID): Types keystrokes to open terminals, run scripts, or bypass UAC.
- Mouse (HID): Moves the cursor and clicks automatically.
- Network Interface (RNDIS / ECM): Makes the target think it is plugged into an Ethernet network. Useful for network-level attacks.
- Mass Storage: Acts like a USB drive to copy data or drop payloads.
In this article I set one up, explore the Web UI, test keystroke injection, and try USB mass storage mode.
2. Hardware
You only need a few components:
| Component | Details |
|---|---|
| Board | Raspberry Pi Zero W or Zero 2W |
| Storage | 16GB+ microSD Card (Class 10) |
| Cable | Micro-USB to USB-A data cable (must support data, not charge-only) |
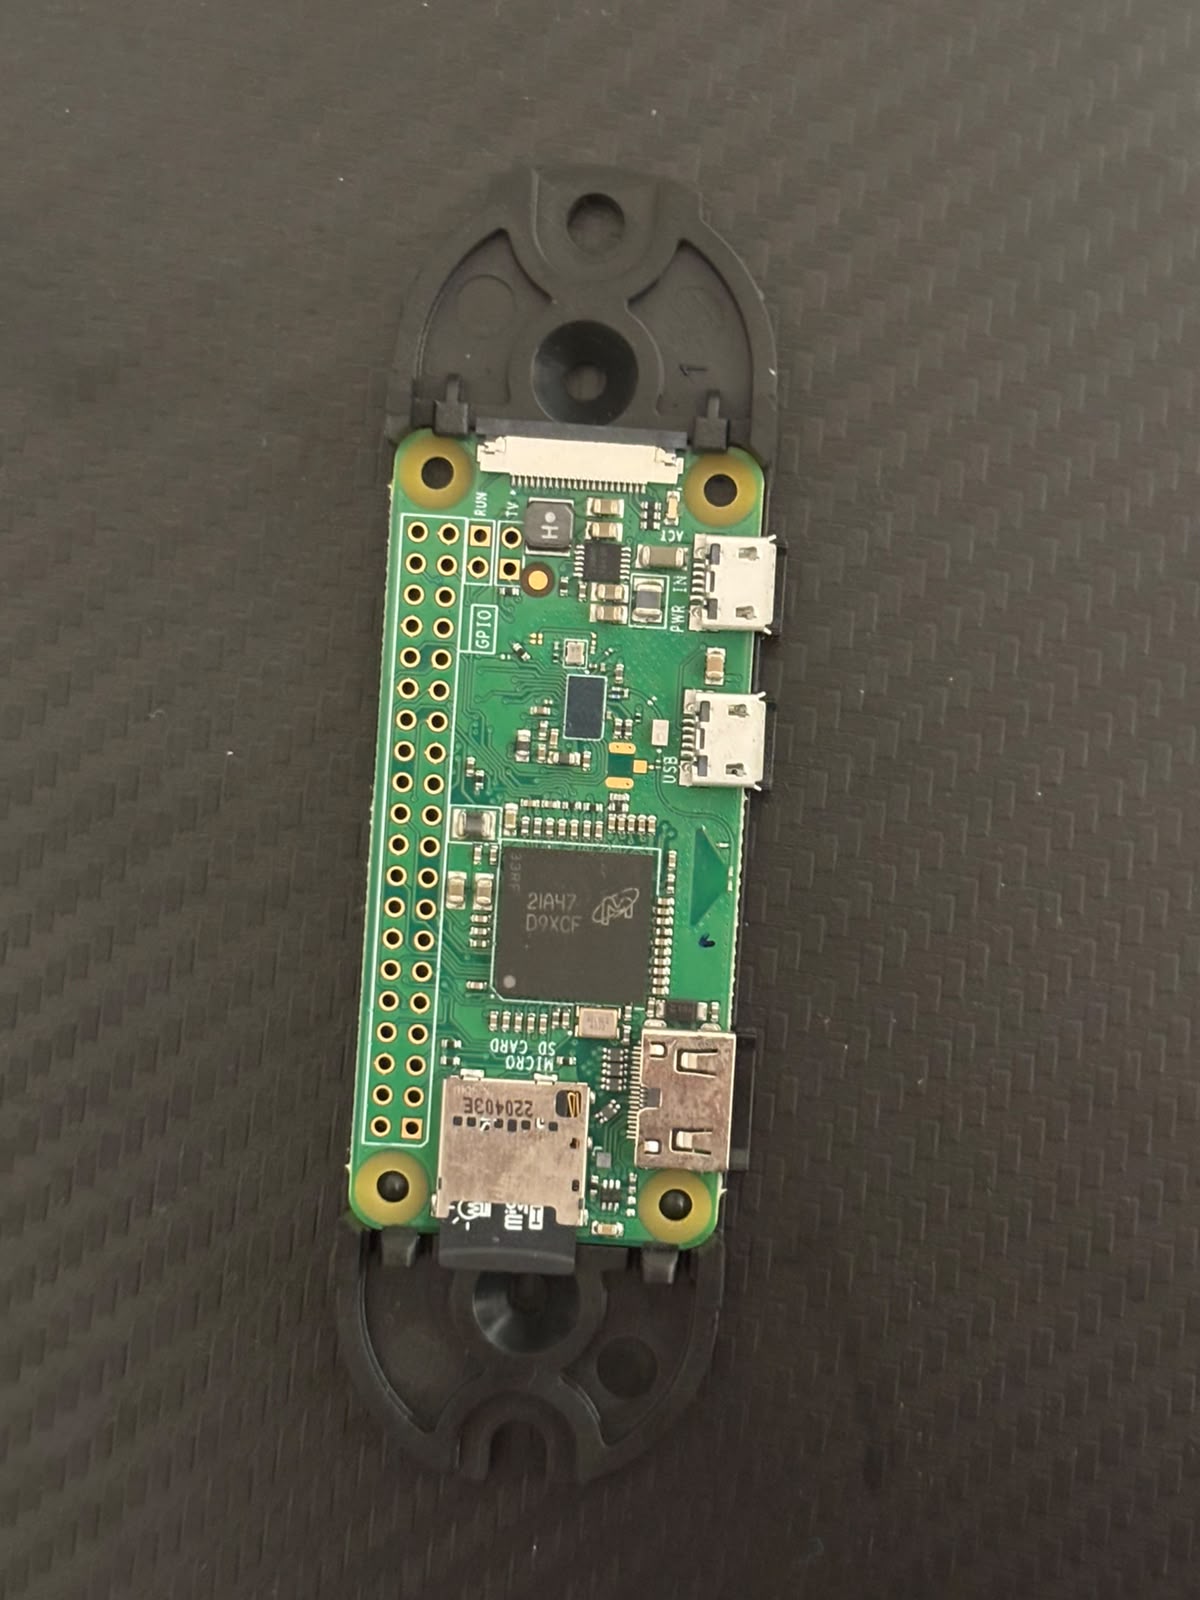
The Raspberry Pi Zero has two Micro-USB ports. One is labeled "PWR IN" (power only) and the other is "USB" (data + power). Plug your cable into the USB data port. The target computer will provide power and recognize the data connection.
3. Part 1 — Flashing the OS
Step 3.1 — Download the Image
Go to the mame82/P4wnP1_aloa repository and download the latest .img.xz release.
Step 3.2 — Flash the SD Card
Use Raspberry Pi Imager or balenaEtcher to write the image to your microSD card.
- Select the downloaded
.img.xzfile as source - Choose your microSD card
- Click Write
Step 3.3 — Insert and Plug In
Insert the microSD card into the Pi. Plug the Micro-USB cable into the USB data port and the other end into the target computer. Wait about 60–90 seconds for it to boot.
No monitor, no keyboard, no setup wizard. P4wnP1 boots and is ready immediately.
4. Part 2 — Connecting via Wi-Fi Access Point
After booting, P4wnP1 broadcasts its own Wi-Fi Access Point. This lets you control the device wirelessly.
- On your phone or laptop, scan for Wi-Fi networks
- Connect to the P4wnP1 network (default password:
MaMe82-P4wnP1) - Open a browser and go to:
http://172.24.0.1:8000
You can now control the device without touching the target machine.
5. Part 3 — Exploring the Web UI
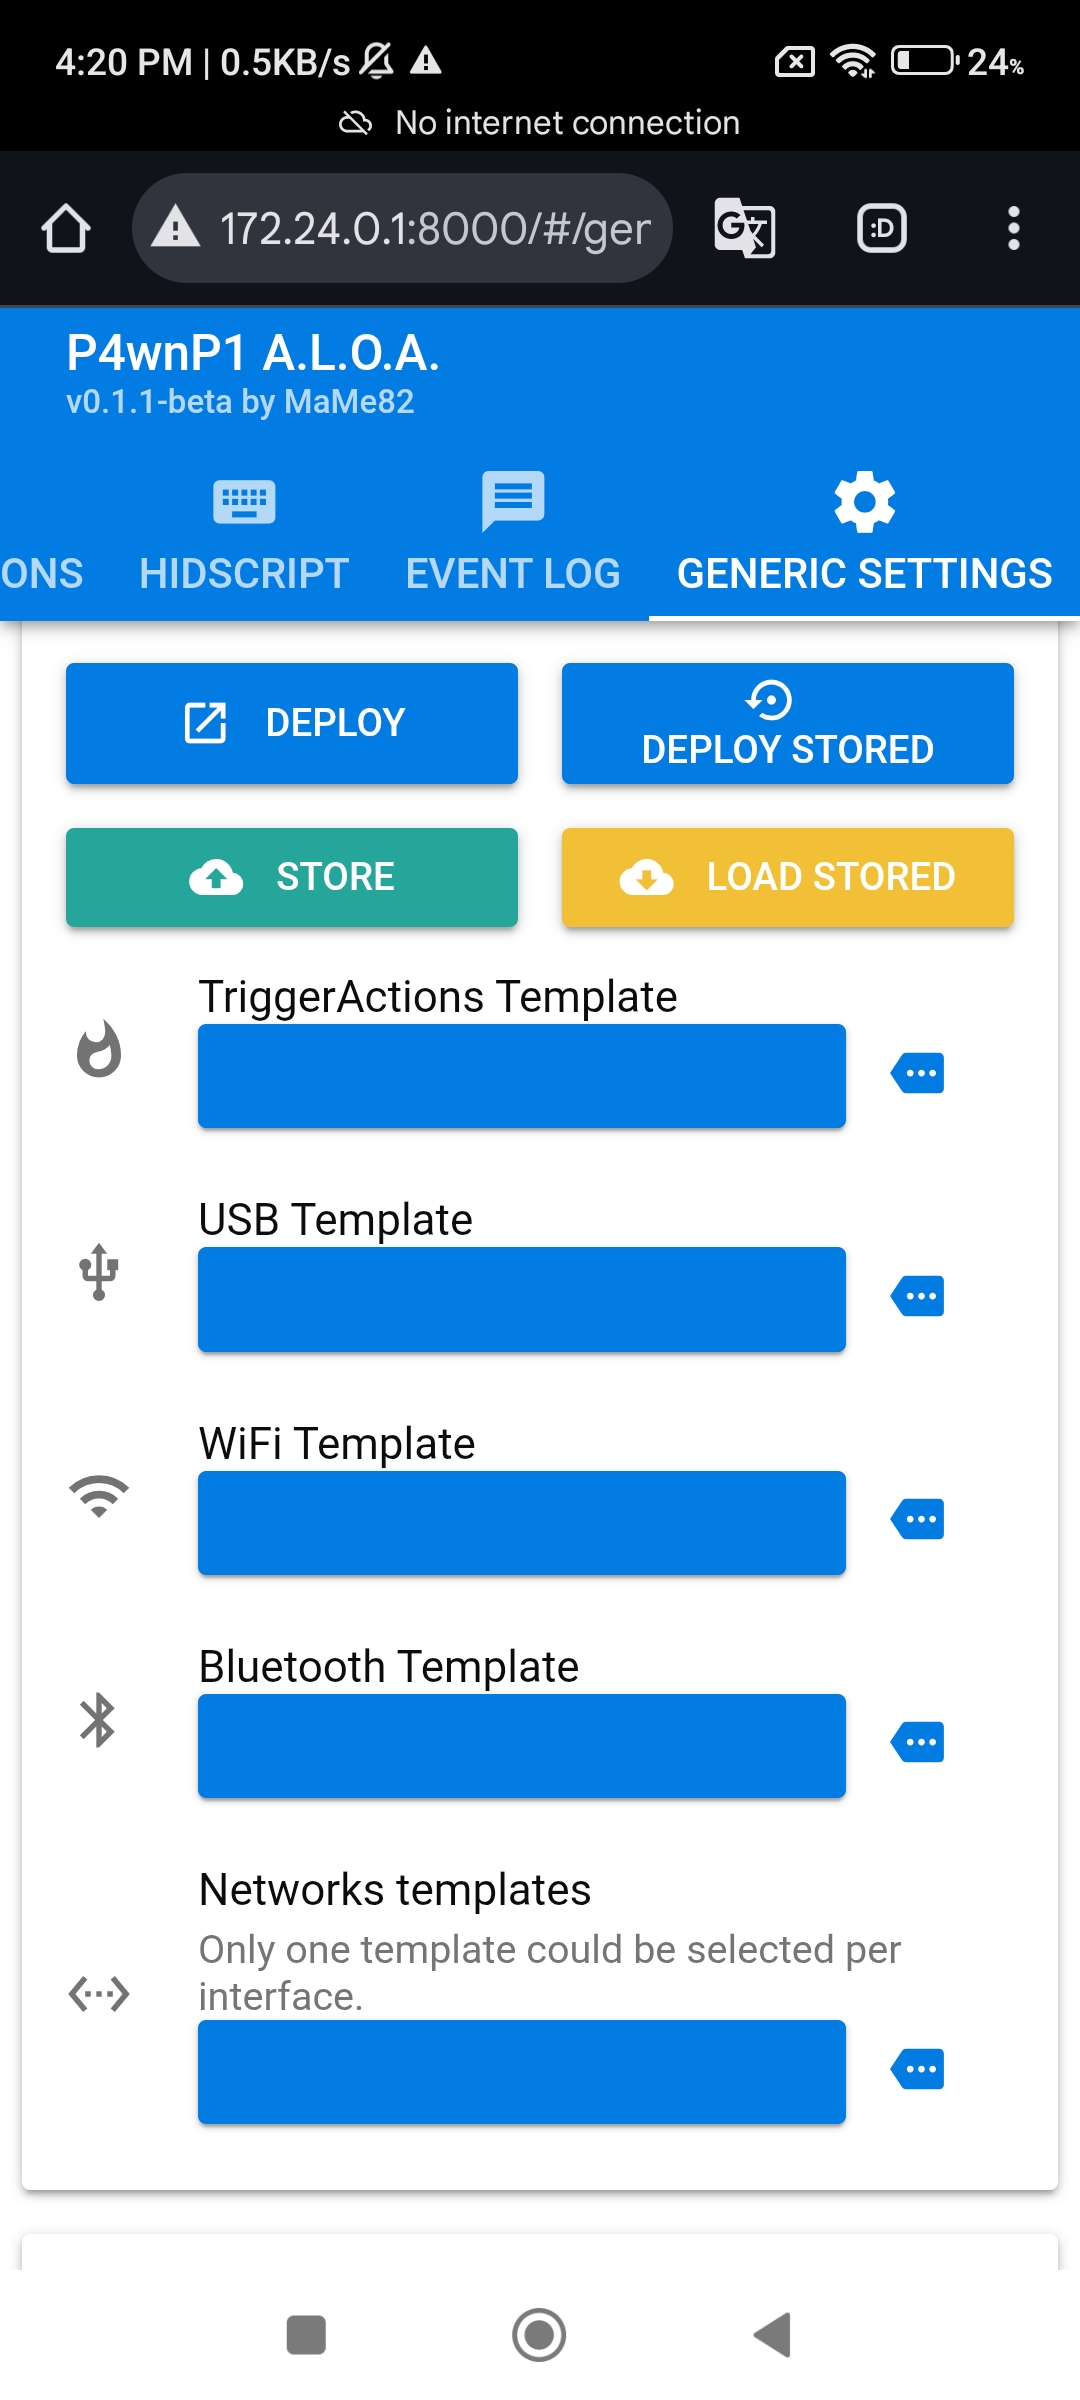
The Web UI lets you configure everything in real time. I opened it on my phone while connected to the Pi's Wi-Fi.
The main dashboard shows settings for Trigger Actions, USB, Wi-Fi, Bluetooth, and Network templates:
USB Configuration
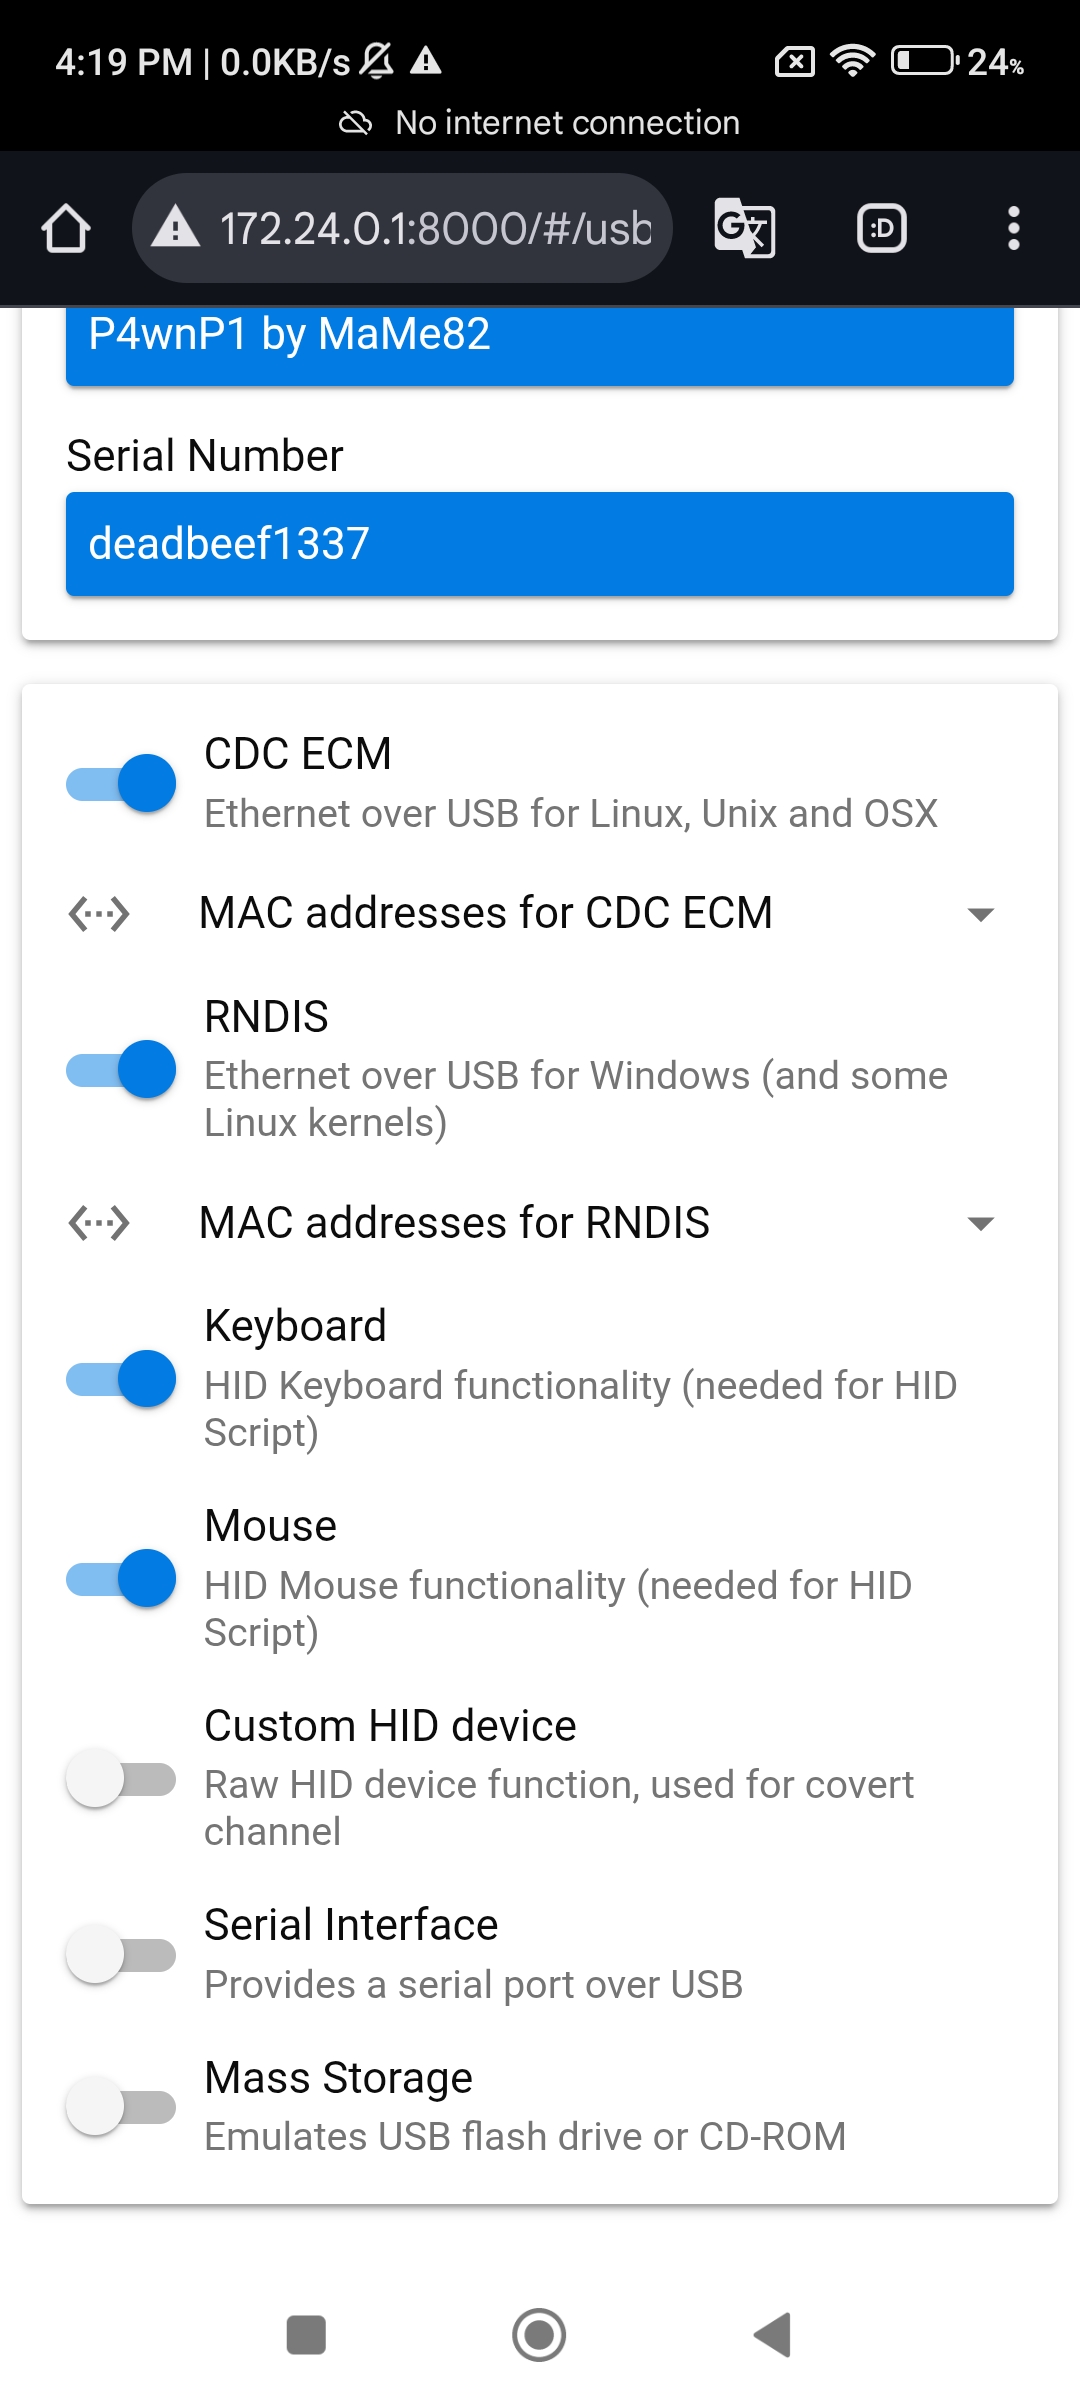
From the USB tab you can enable Ethernet over USB (ECM or RNDIS), configure MAC addresses, and switch between Keyboard, Mouse, HID, or Mass Storage modes:
HID Script Editor
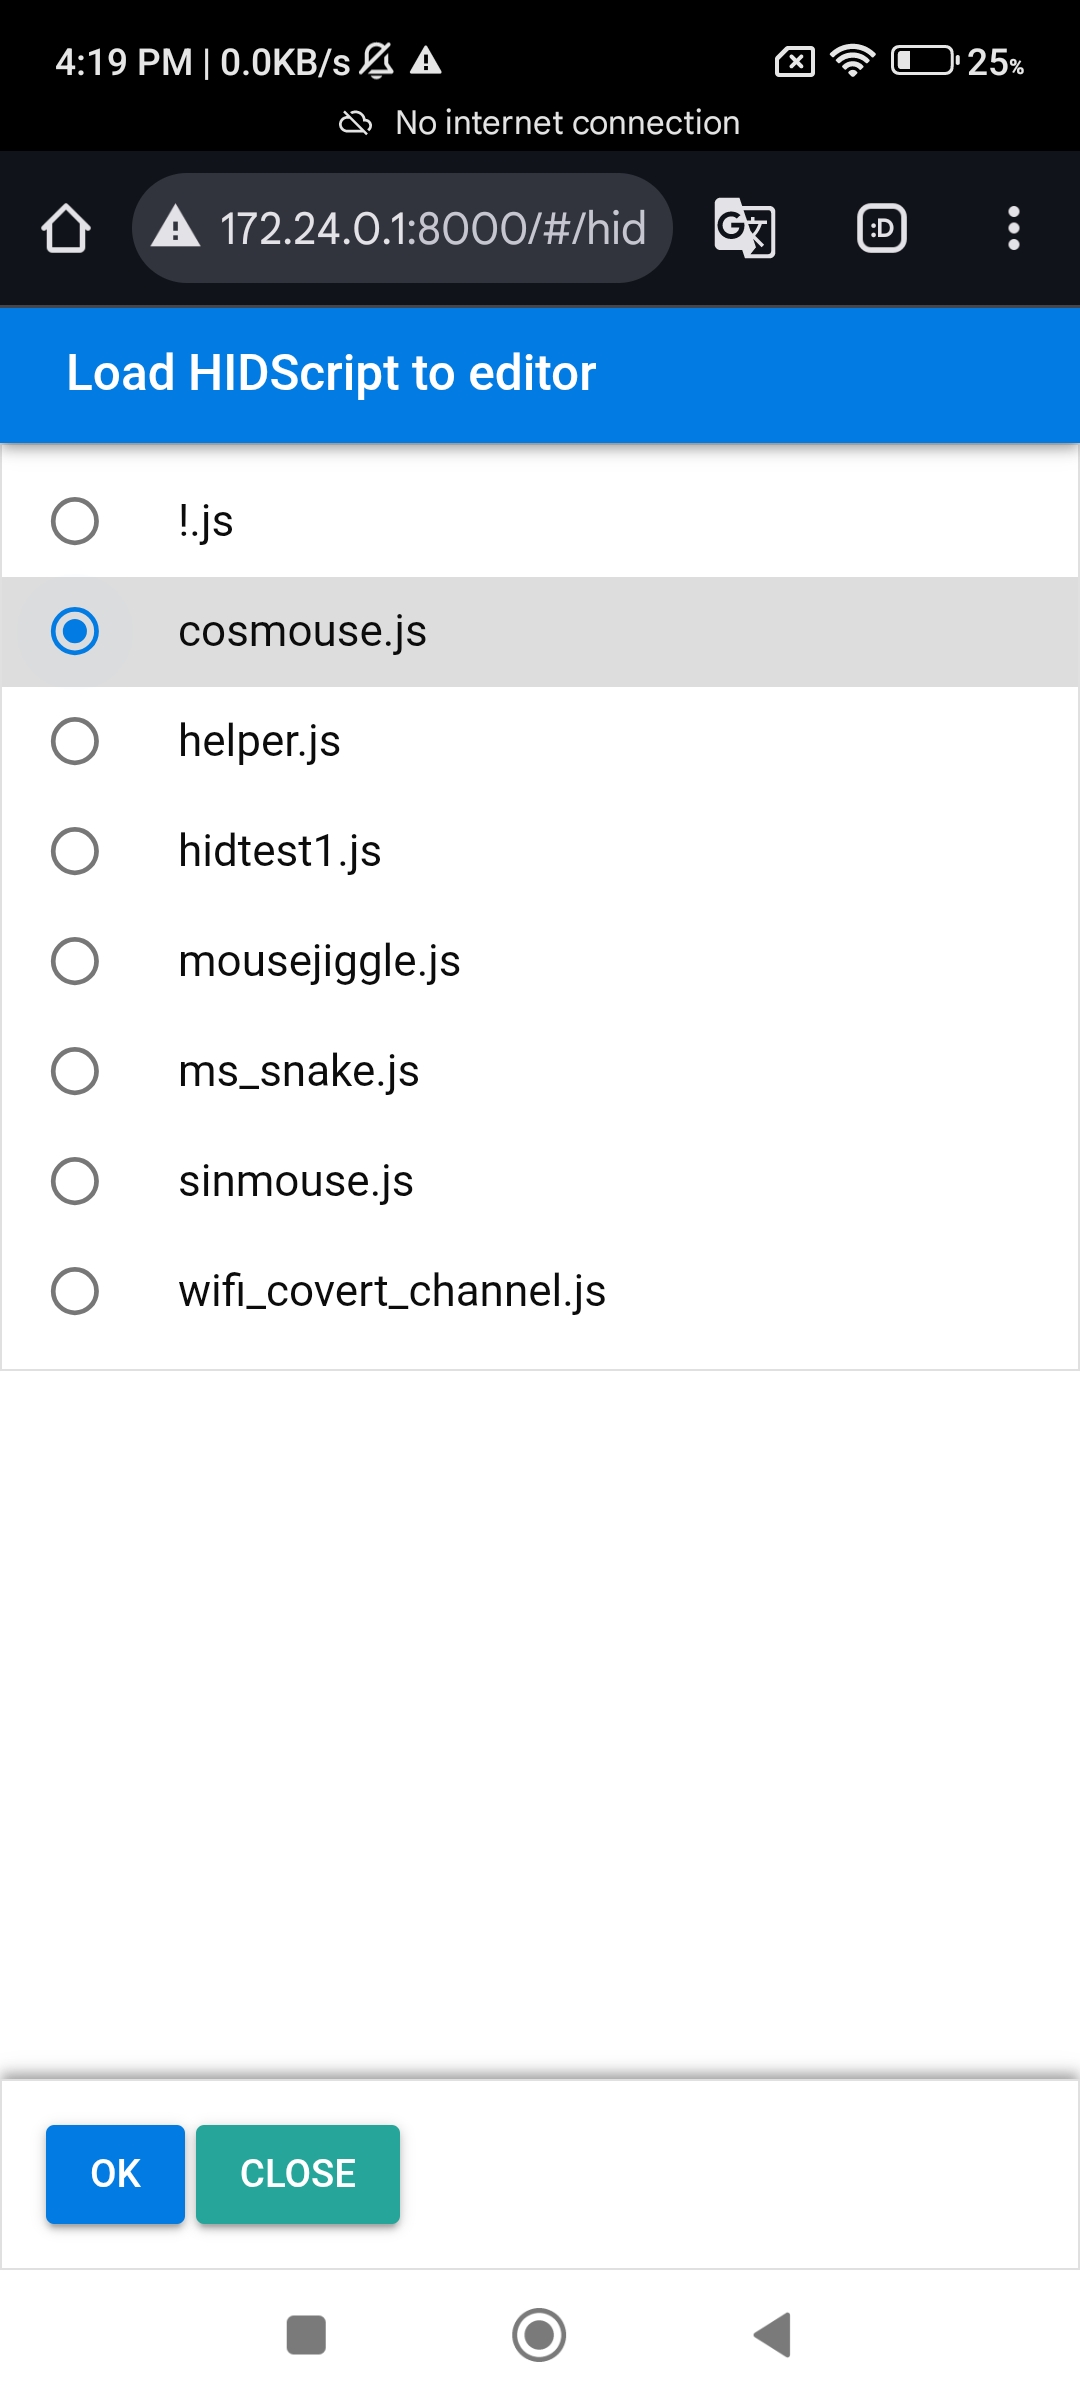
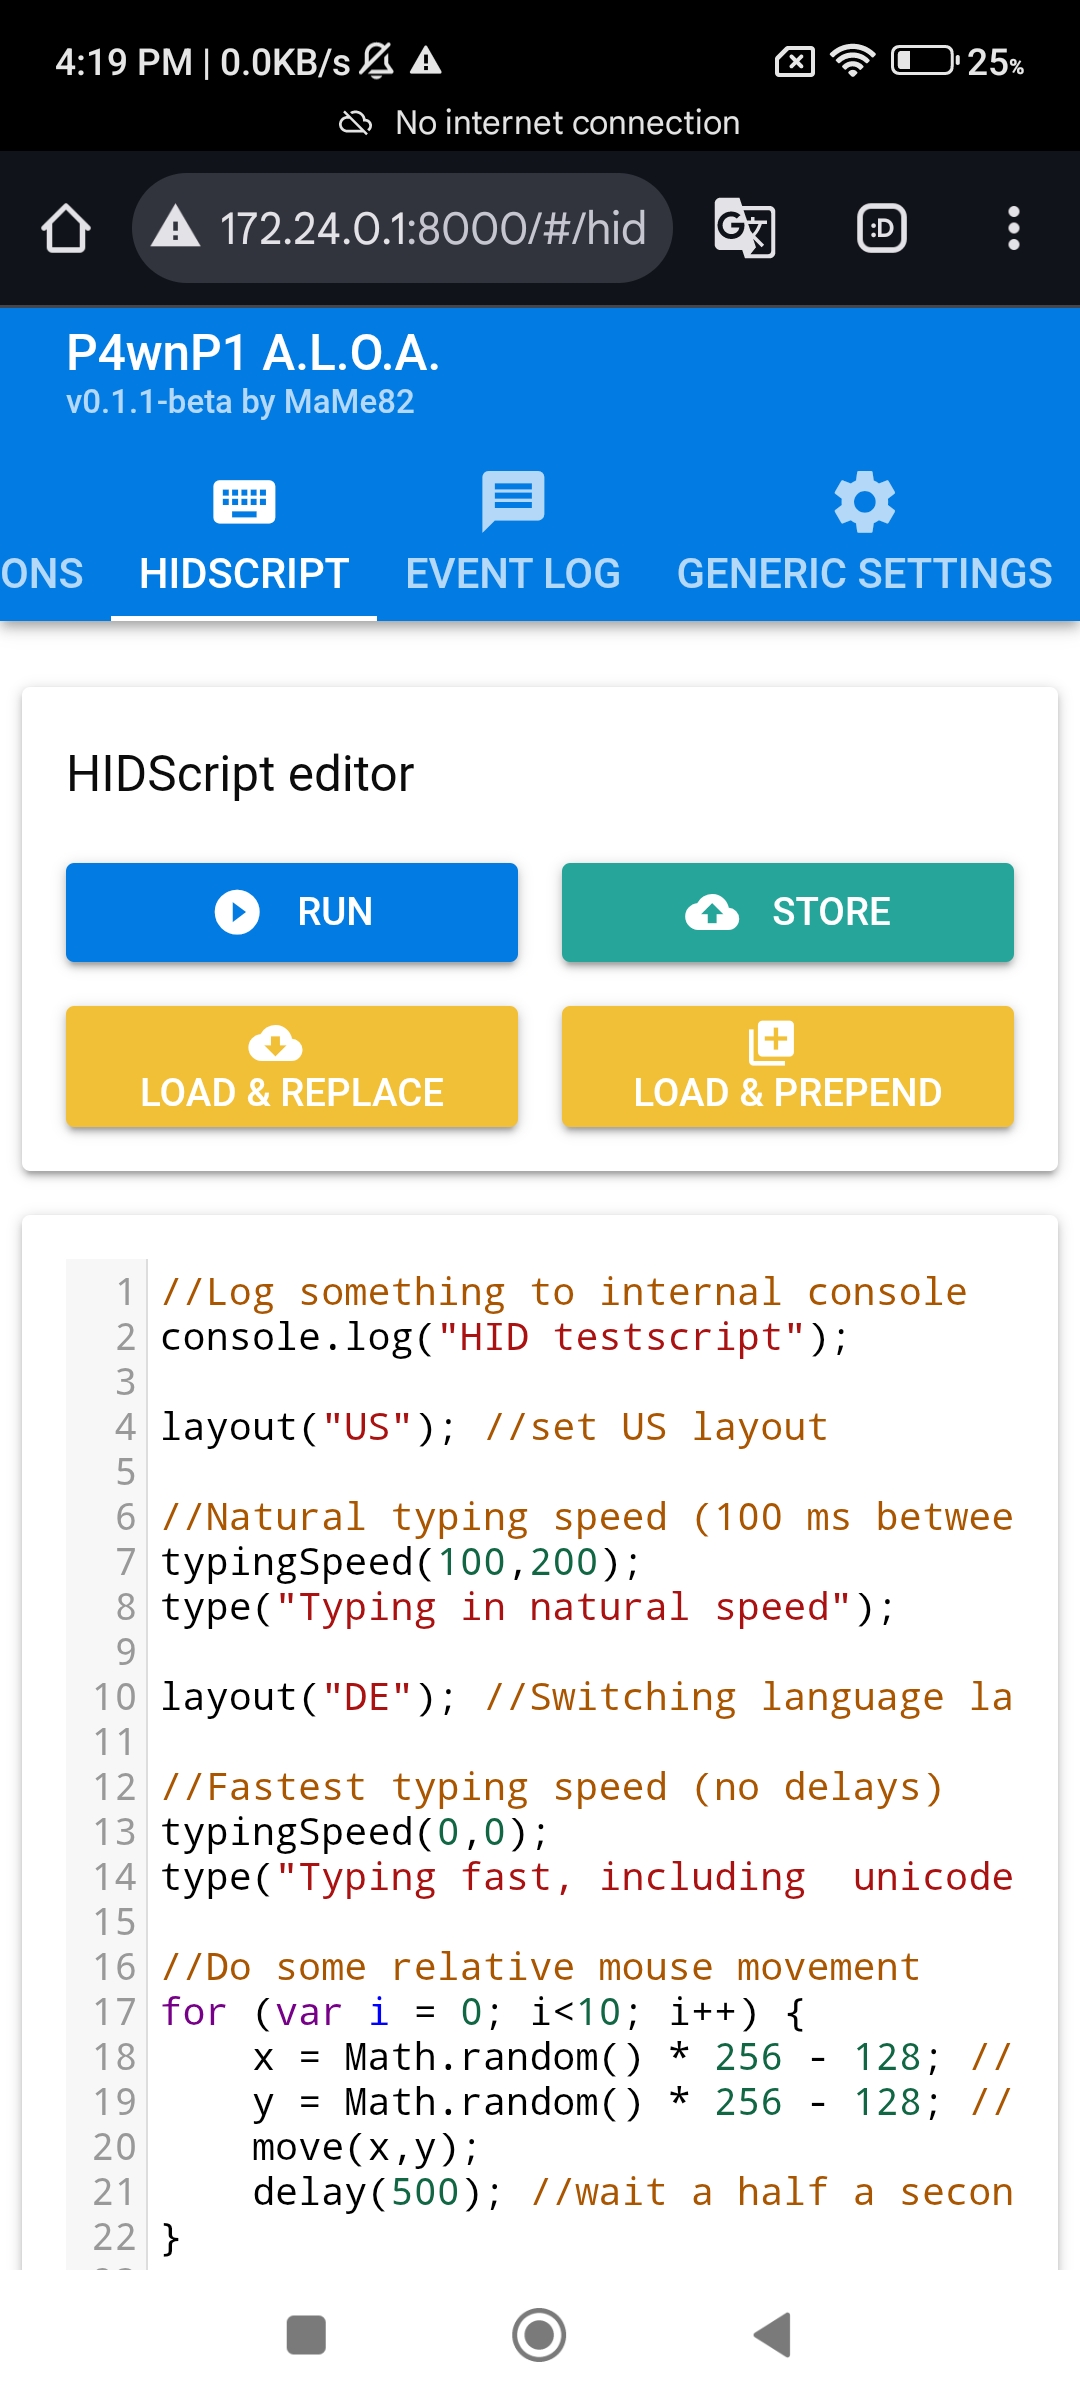
The Web UI has a built-in HID script editor with pre-loaded JavaScript and DuckyScript payloads:
The raw code inside the editor shows the keystrokes that will be injected:
Wi-Fi Configuration
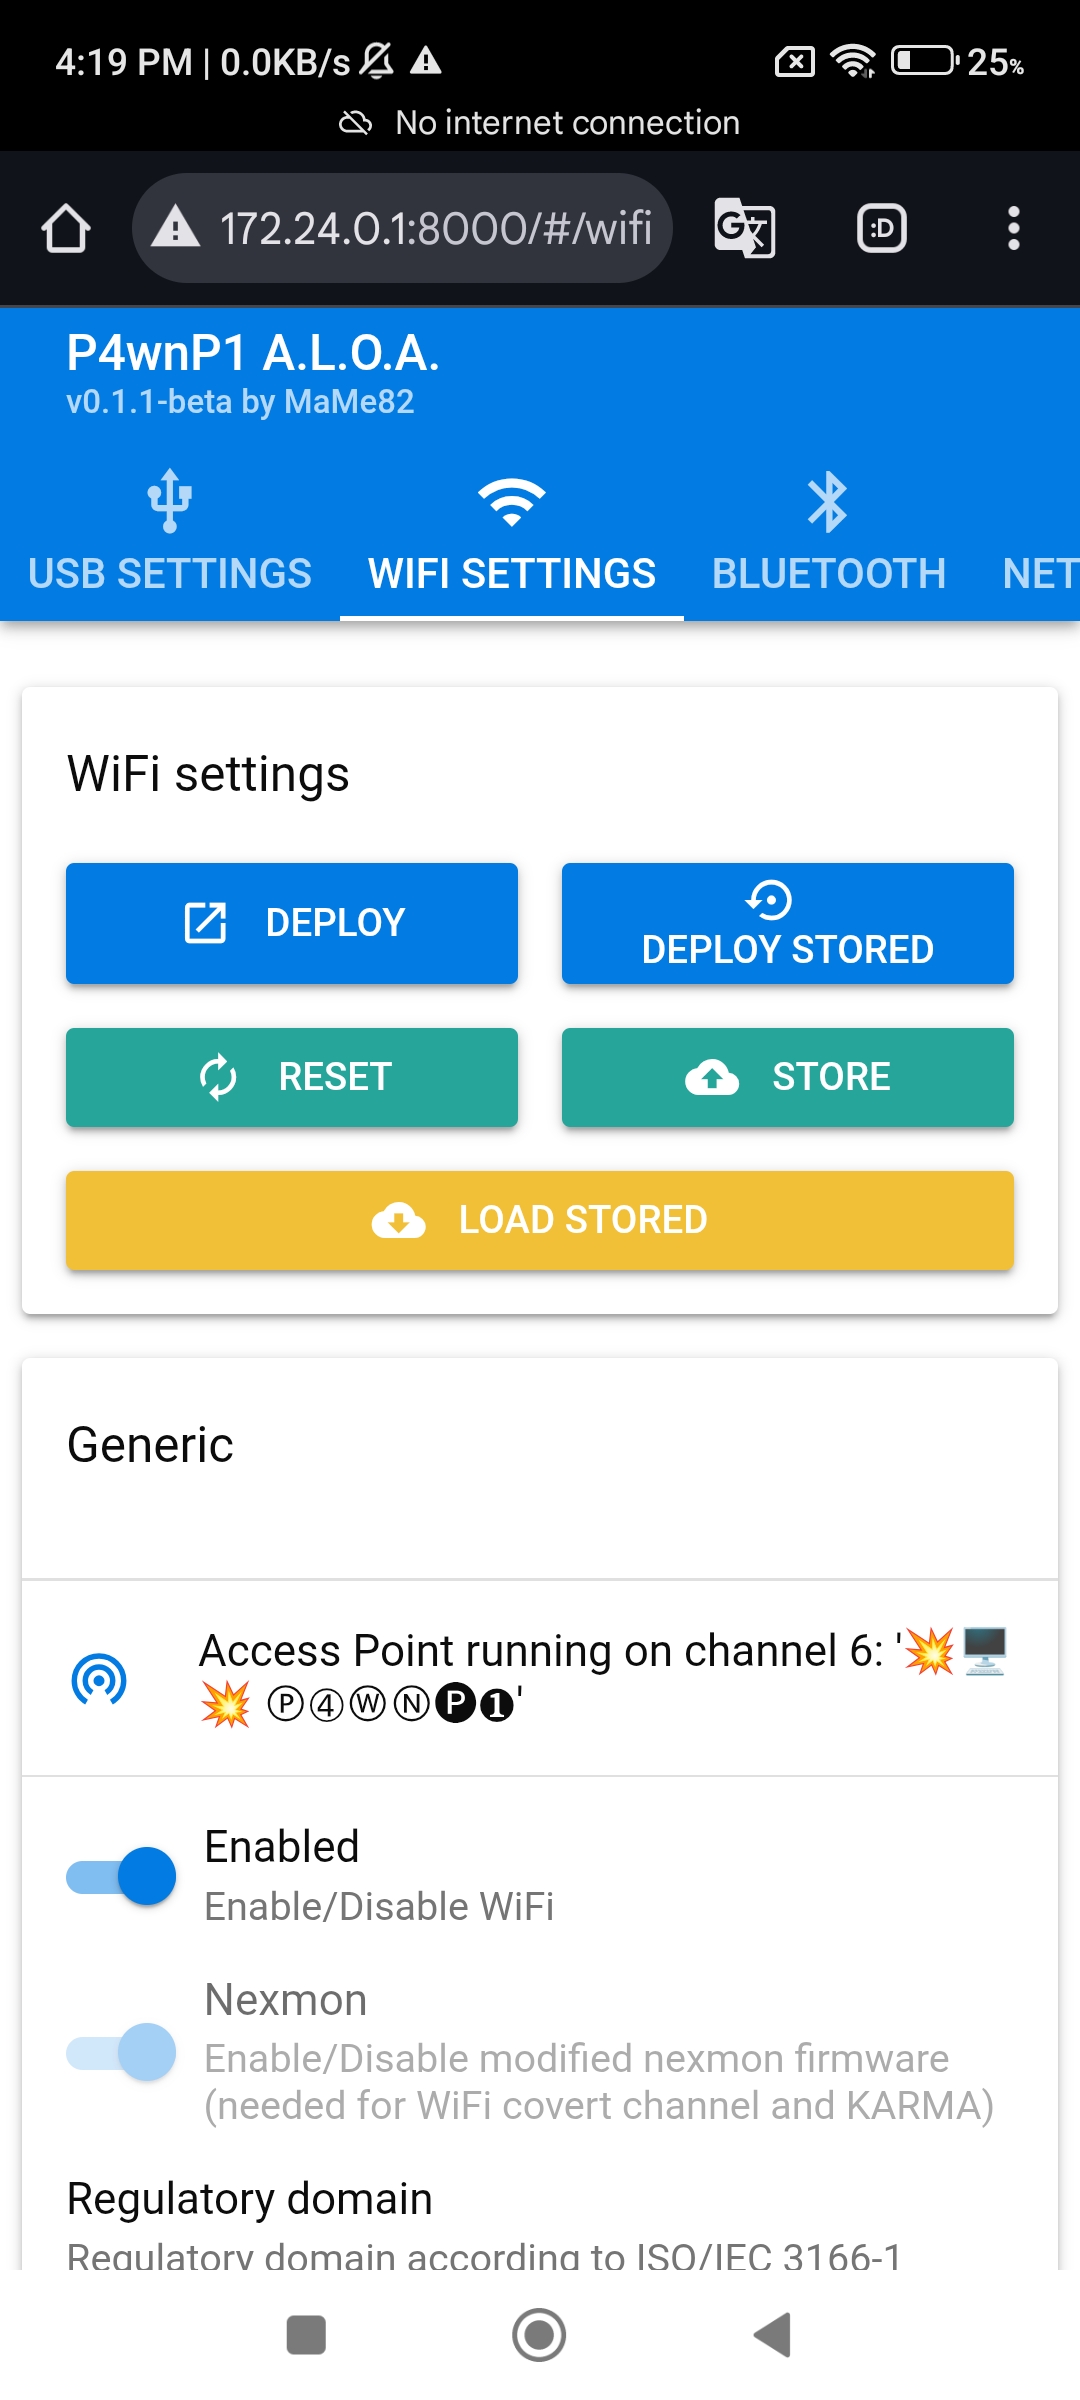
From the Wi-Fi tab you can configure the device to connect to existing networks or store network profiles:
6. Part 4 — Remote Access via SSH
P4wnP1 runs a full Linux OS and is accessible via SSH when connected to its network.
ssh [email protected]
# Default password: toor
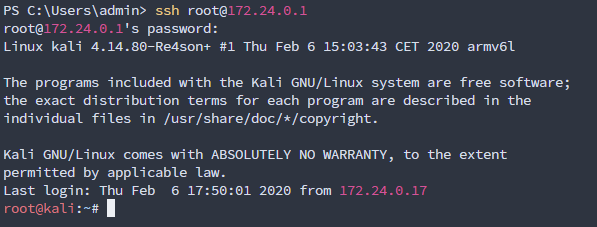
Once inside, you have root access. You can modify configs, install tools, or run payloads from the terminal.
7. Part 5 — Triggering Attacks from the Command Line
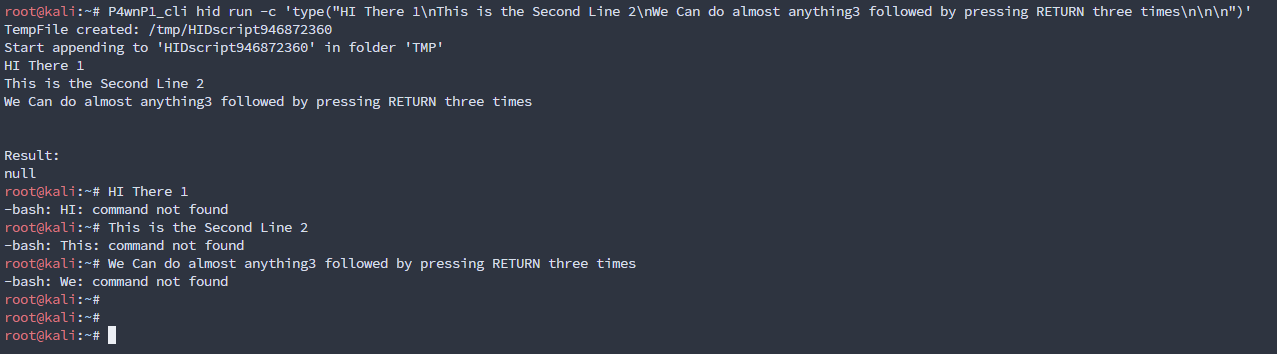
P4wnP1 has a CLI utility (P4wnP1_cli) for triggering attacks from the terminal. I tested HID injection by running a keystroke payload:
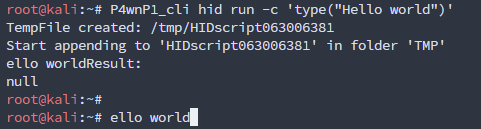
The injected text appeared on the target screen instantly with no user interaction needed.
8. Part 6 — USB Mass Storage Mode
The device can also act as a USB Mass Storage device for two purposes:
- Data exfiltration: Copy files from the target onto the Pi
- Payload delivery: Drop files that run when the drive is opened
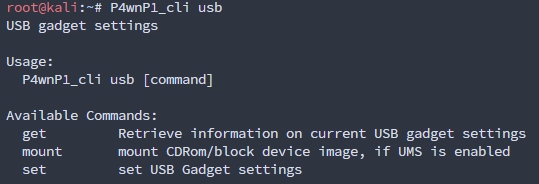
Passing the usb argument to the CLI switches the device to mass storage mode:
9. Real-World Use Cases
| Scenario | How P4wnP1 Handles It |
|---|---|
| Unlocked workstation in an office | Plug in, inject a PowerShell one-liner, capture a reverse shell |
| Kiosk terminal or reception desk | Emulate keyboard, open a browser, navigate to a phishing page |
| Target user steps away from laptop | Trigger the payload from your phone via Wi-Fi |
| Need files from a machine | Switch to mass storage mode, silently copy data |
| Laptop with USB blocked | Switch to RNDIS Ethernet mode, pivot into the network |
| Drop and leave | Script an auto-execute payload on USB insertion, walk away |
10. Conclusion
P4wnP1 A.L.O.A. turns a Raspberry Pi Zero into a versatile physical attack platform. You can control it via SSH, trigger payloads from the CLI, or configure it wirelessly from your phone. The combination of keyboard, mouse, network, and storage emulation makes it useful for physical red team engagements.
This project was built for educational and portfolio purposes. All testing was performed against my own lab equipment. Always get explicit written permission before conducting physical penetration tests.