VPS Specifications
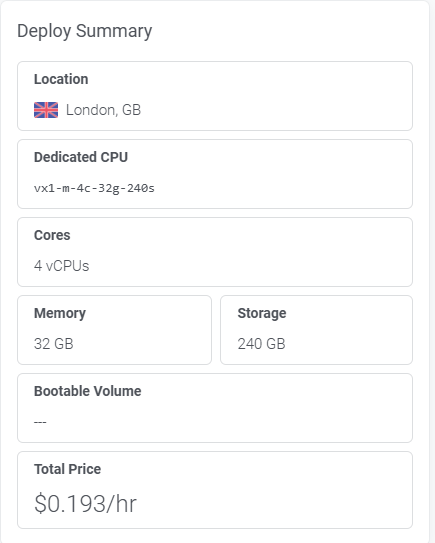
Exchange 2019 is heavy. It needs at minimum 16 GB RAM and 4 cores to run without grinding to a halt. Deployed a separate Vultr instance for it:
| Setting | Value |
|---|---|
| Plan | Cloud Compute — High Performance (VX1-M-4C-32G) |
| vCPUs | 4 |
| RAM | 32 GB |
| Storage | 240 GB SSD |
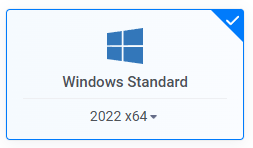
| OS | Windows Server 2022 Standard |
| Label | MAILSERVER (EXCH01) |
Step 1 — Server Preparation
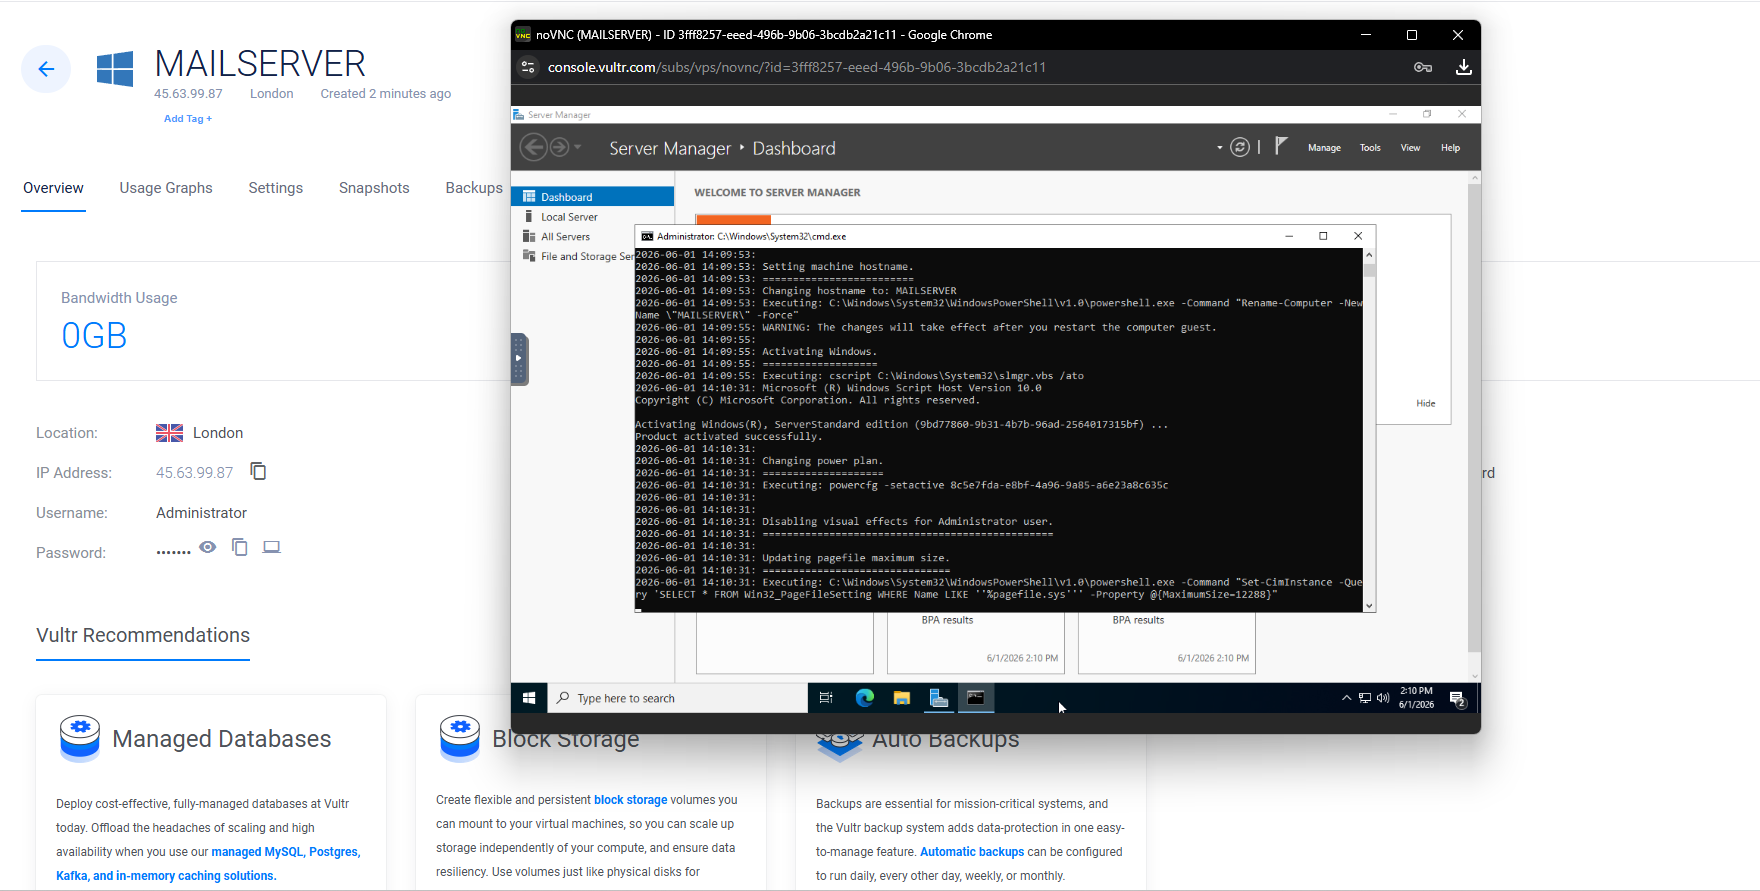
Booted the server. The Vultr vendor script executed in the background to set initial parameters, activate Windows, configure pagefile sizes, and clean up visual settings.
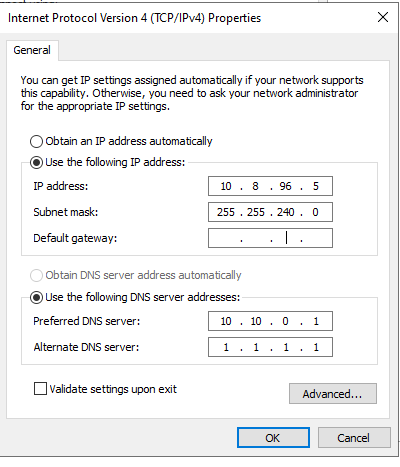
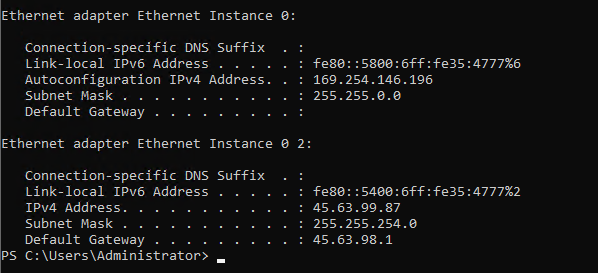
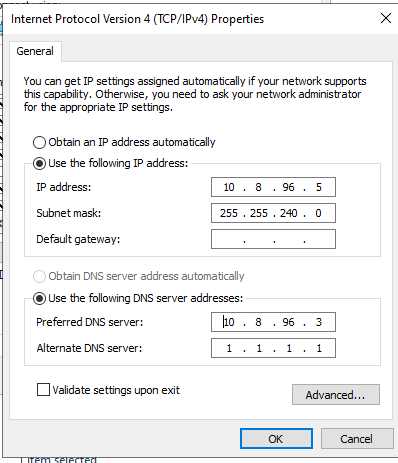
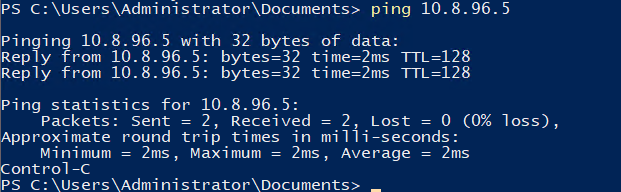
First step was setting up the private network interface (10.8.96.5) and pointing the DNS to DC01 (10.10.0.1) so it could resolve the AD root domain.
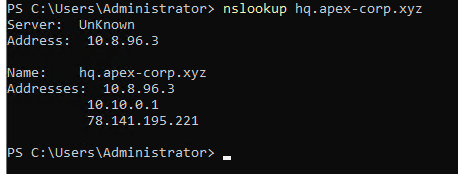
Tested connection to the DC using nslookup to verify domain name resolution:
PS> nslookup hq.apex-corp.xyz
Server:  dc01.hq.apex-corp.xyz
Address:  10.8.96.3

Name:    hq.apex-corp.xyz
Addresses:  10.8.96.3
PS> ping dc01.hq.apex-corp.xyz -n 4
Pinging dc01.hq.apex-corp.xyz [10.8.96.3] with 32 bytes of data:
Reply from 10.8.96.3: bytes=32 time=2ms TTL=128
Reply from 10.8.96.3: bytes=32 time=2ms TTL=128
Reply from 10.8.96.3: bytes=32 time=2ms TTL=128
Reply from 10.8.96.3: bytes=32 time=2ms TTL=128
Step 2 — Install Windows Server Features
Exchange requires a specific set of IIS web roles and management modules. The naming conventions on Windows Server 2022 require using legacy NET-Framework-45 names in the PowerShell command, although it installs 4.8 under the hood.
Install-WindowsFeature NET-Framework-45-Features, RPC-over-HTTP-proxy,
  RSAT-Clustering, RSAT-Clustering-CmdInterface, RSAT-Clustering-Mgmt,
  RSAT-Clustering-PowerShell, Web-Mgmt-Console, WAS-Process-Model,
  Web-Asp-Net45, Web-Basic-Auth, Web-Client-Auth, Web-Digest-Auth,
  Web-Dir-Browsing, Web-Dyn-Compression, Web-Http-Errors, Web-Http-Logging,
  Web-Http-Redirect, Web-Http-Tracing, Web-ISAPI-Ext, Web-ISAPI-Filter,
  Web-Lgcy-Mgmt-Console, Web-Metabase, Web-Mgmt-Console, Web-Mgmt-Service,
  Web-Net-Ext45, Web-Request-Monitor, Web-Server, Web-Stat-Compression,
  Web-Static-Content, Web-Windows-Auth, Web-WMI, Windows-Identity-Foundation,
  RSAT-ADDS -Restart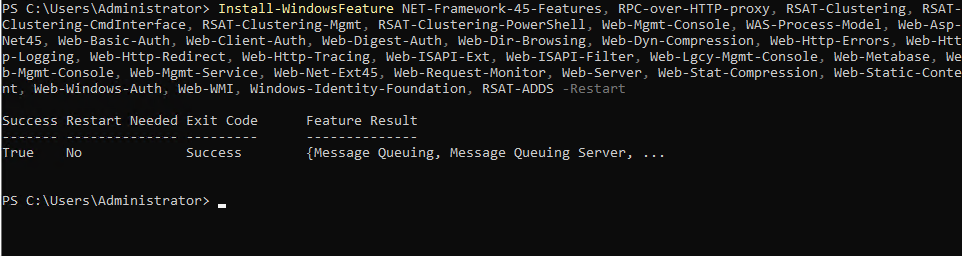
Step 3 — Join to the Domain
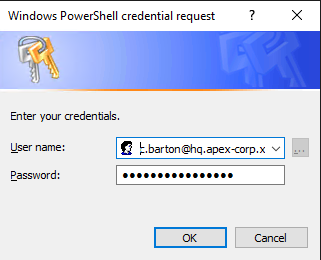
Joined the new Mail Server to the domain using a domain admin account:
PS> Add-Computer -DomainName "hq.apex-corp.xyz" -Credential (Get-Credential) -Restart
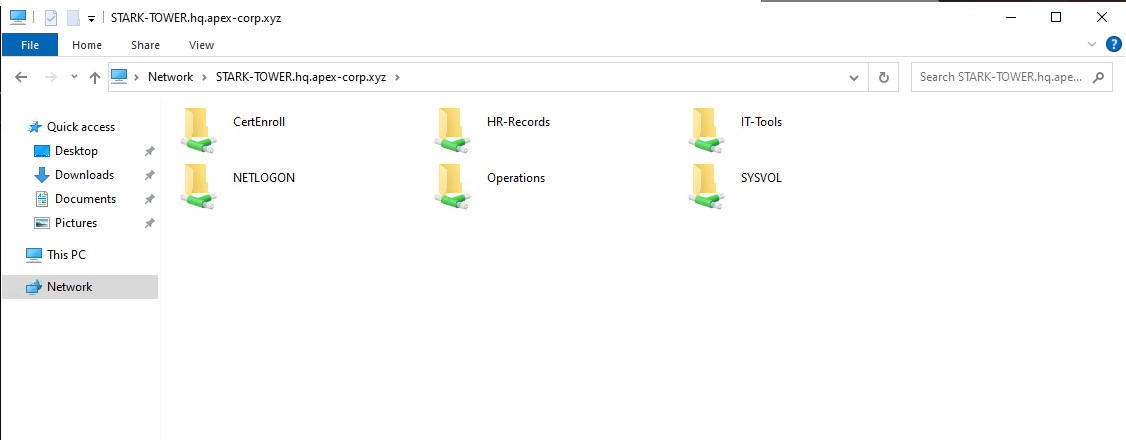
Verified domain join by checking access to active network shares on the Domain Controller (STARK-TOWER):
Step 4 — Install Exchange Prerequisites
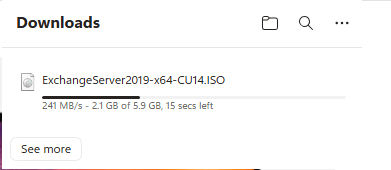
Before installing Exchange, download the Exchange 2019 ISO along with three crucial dependencies: Visual C++ 2013, Visual C++ 2015-2022, Unified Communications Managed API (UCMA) 4.0, and the IIS URL Rewrite module.
New-Item -Path "C:\ExchangePrep" -ItemType Directory -Force
cd "C:\ExchangePrep"

# 1. Visual C++ 2013
Invoke-WebRequest -Uri "https://download.microsoft.com/download/2/E/6/2E61CFA4-993B-4DD4-91DA-3737CD5CD6E3/vcredist_x64.exe" -OutFile "vcredist_x64.exe"
Start-Process .\vcredist_x64.exe -ArgumentList '/quiet /norestart' -Wait

# 2. Visual C++ 2015-2022
Invoke-WebRequest -Uri "https://aka.ms/vs/17/release/vc_redist.x64.exe" -OutFile "vc_redist_x64.exe"
Start-Process .\vc_redist_x64.exe -ArgumentList '/quiet /norestart' -Wait

# 3. UCMA 4.0
Invoke-WebRequest -Uri "https://download.microsoft.com/download/2/C/4/2C47A12D-DCA3-4C11-AC1F-95B72FA1D5C2/UcmaRuntimeSetup.msi" -OutFile "UcmaRuntimeSetup.msi"
Start-Process msiexec.exe -ArgumentList '/i UcmaRuntimeSetup.msi /quiet /norestart' -Wait

# 4. IIS URL Rewrite Module 2.1
Invoke-WebRequest -Uri "https://download.microsoft.com/download/1/2/8/128E2E22-C1B9-44A4-BE2A-5859ED1D4592/rewrite_amd64_en-US.msi" -OutFile "rewrite_amd64.msi"
Start-Process msiexec.exe -ArgumentList '/i rewrite_amd64.msi /quiet /norestart' -Wait

cd C:\
Remove-Item -Path "C:\ExchangePrep" -Recurse -Force
Step 5 — Prepare the AD Forest for Exchange
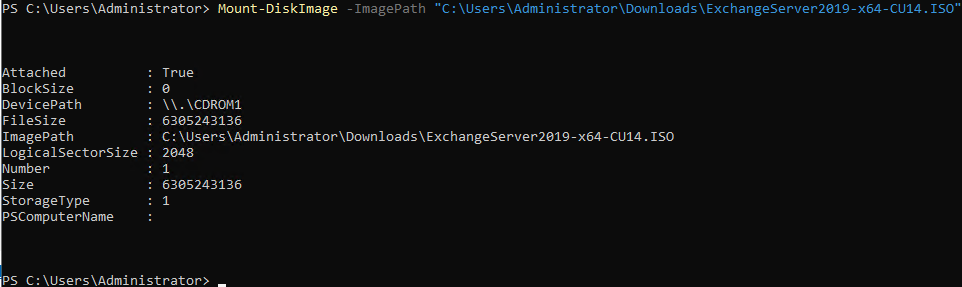
Mount the downloaded ISO and run the preparatory commands to extend the Active Directory schema. Run this from an elevated session as Schema Admin / Domain Admin.
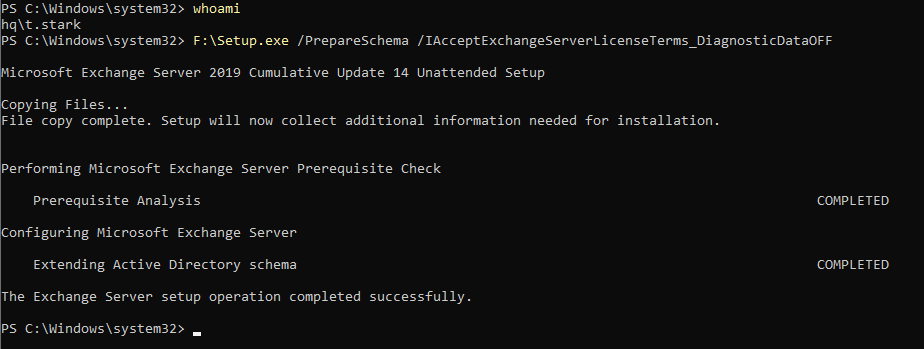
Prepare the schema first:
PS> F:\Setup.exe /PrepareSchema /IAcceptExchangeServerLicenseTerms_DiagnosticDataOFF
Running the standard /PrepareAllDomains switch returned a DomainNotReachableException because the child domain vought.hq.apex-corp.xyz was temporarily unreachable. The setup script crashed trying to contact it.
Fix: Run a targeted prep only for the active domain:
D:\Setup.exe /PrepareDomain:hq.apex-corp.xyz /IAcceptExchangeServerLicenseTerms_DiagnosticDataOFF
Step 6 — Install Exchange Server
Run the unattended installer. Crucial Warning: Windows Defender real-time scanning will intercept every single file copy operation, pinning the CPU to 100% and causing the installer to freeze indefinitely at **16%**.
PS> Set-MpPreference -DisableRealtimeMonitoring $true
PS> D:\Setup.exe /Mode:Install /Role:Mailbox /IAcceptExchangeServerLicenseTerms_DiagnosticDataOFF
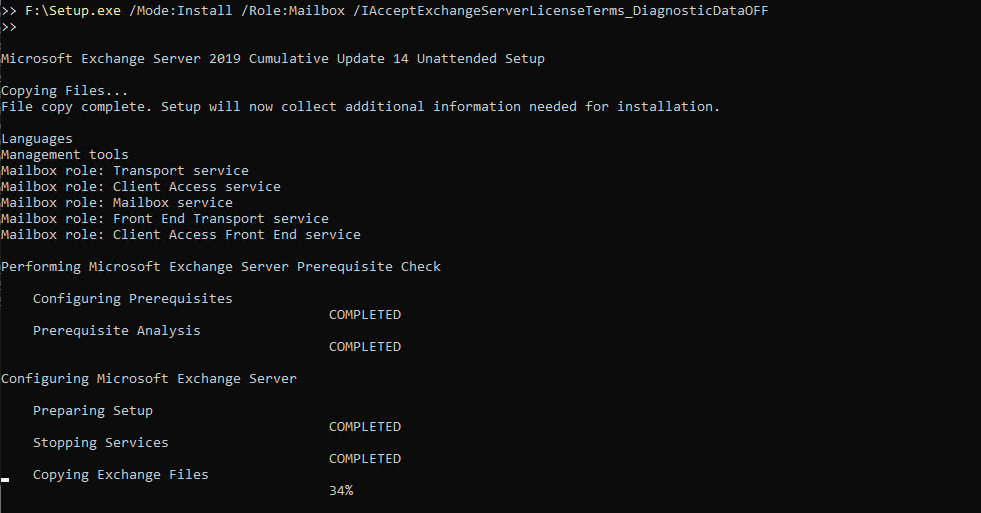
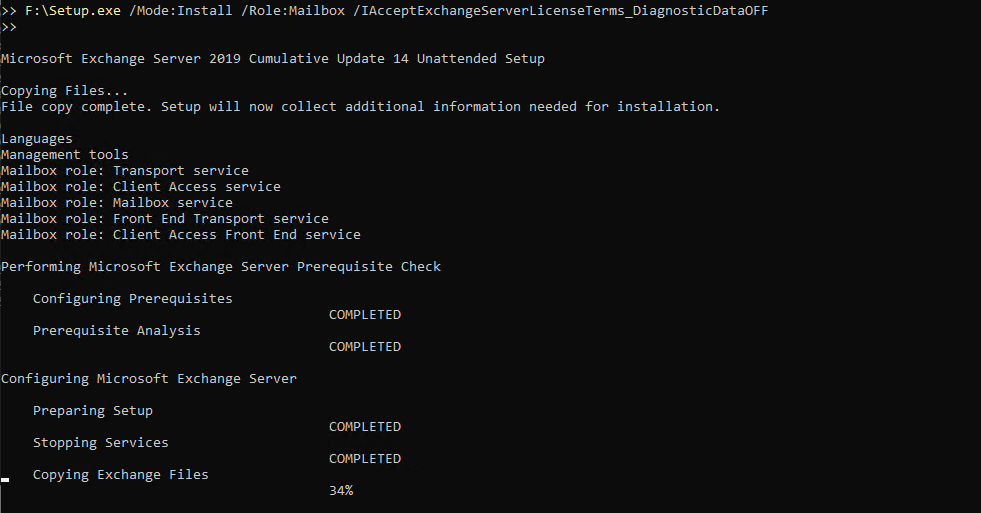
If you click inside or resize the PowerShell window during setup, it will crash with a coordinate mismatch exception. Relaunch it and don't touch the window. Open a separate console to monitor the logs: Get-Content C:\ExchangeSetupLogs\ExchangeSetup.log -Tail 10 -Wait
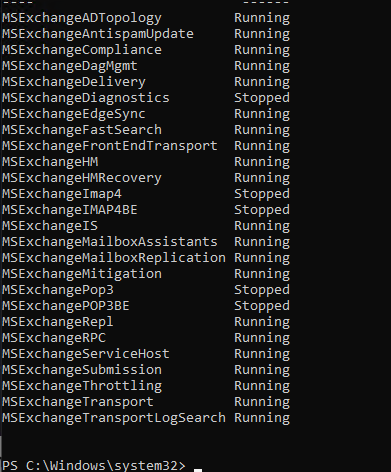
Once installation finishes, reboot and verify that all key Microsoft Exchange services are active and running:
Step 7 — Post-Install Configuration
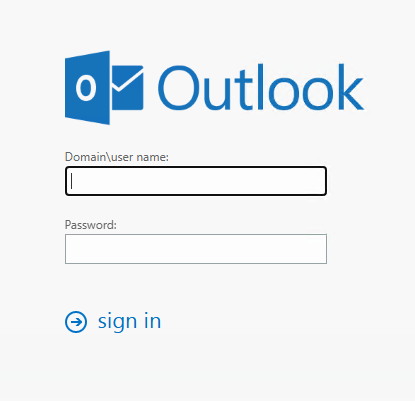
Tested access to Outlook Web App (OWA) locally at https://localhost/owa:
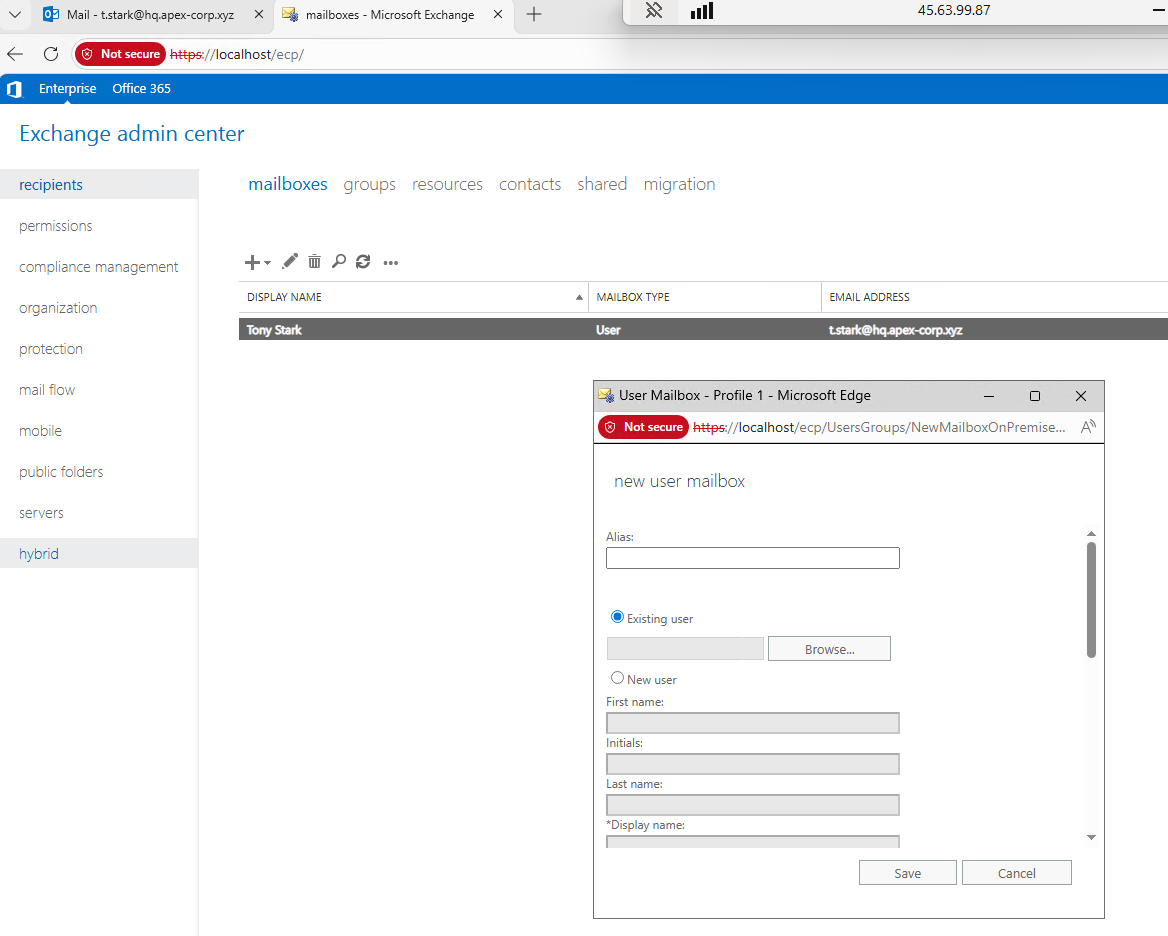
Opened the Exchange Admin Center (EAC) to verify recipients. Registered the Tony Stark account and created mailboxes for synced users.
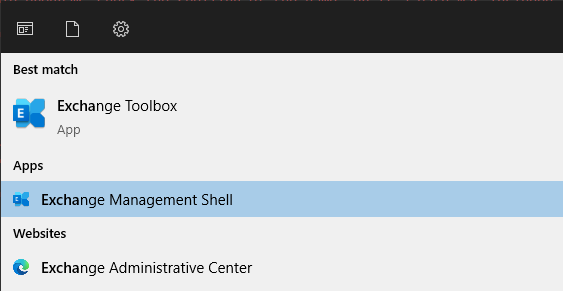
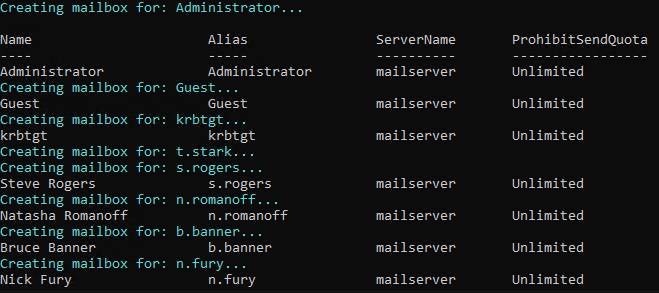
Opened the Exchange Management Shell (EMS) to script mailbox creation for all domain users:
Get-ADUser -Filter * -SearchBase "DC=hq,DC=apex-corp,DC=xyz" | ForEach-Object {
    Write-Host "Creating mailbox for: $($_.SamAccountName)..." -ForegroundColor Cyan
    Enable-Mailbox -Identity $_.SamAccountName -ErrorAction SilentlyContinue
}
Step 8 — Enable Inbound Public Email
By default, Exchange Frontend Receive connectors block external anonymous SMTP handshakes to prevent acting as a spam relay. To allow public incoming mails from external addresses (like Gmail), configure the frontend connectors.
# Register the public domain
New-AcceptedDomain -Name "apex-corp.xyz" -DomainName "apex-corp.xyz" -DomainType Authoritative

# Update the default address policies to apply the public domain suffix
Set-EmailAddressPolicy -Identity "Default Policy" -EnabledEmailAddressTemplates "SMTP:%[email protected]"
Update-EmailAddressPolicy -Identity "Default Policy"

# Authorize anonymous SMTP handshakes on port 25
$serverName = $env:COMPUTERNAME
Set-ReceiveConnector -Identity "$serverName\Default Frontend $serverName" -PermissionGroups AnonymousUsers
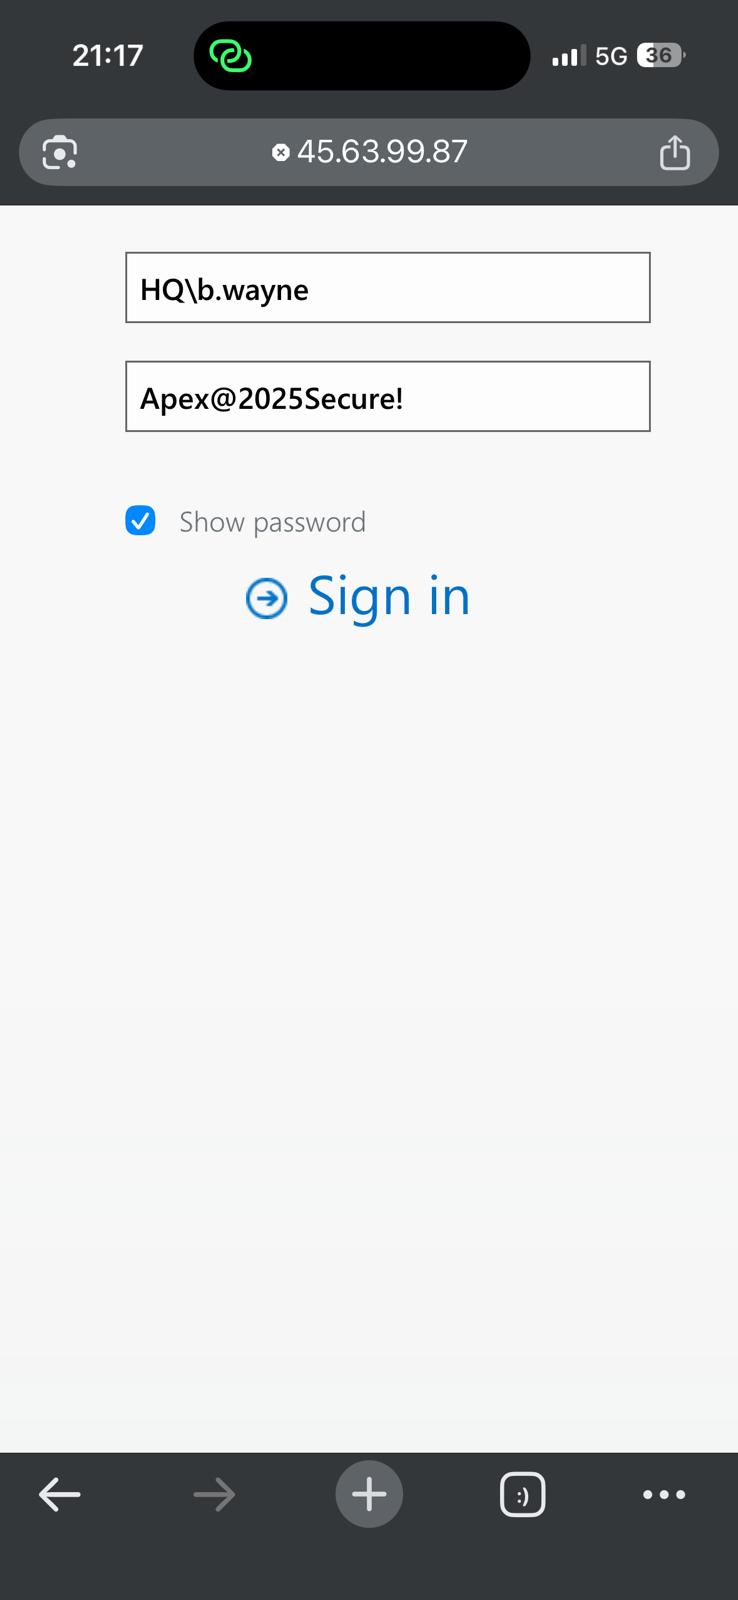
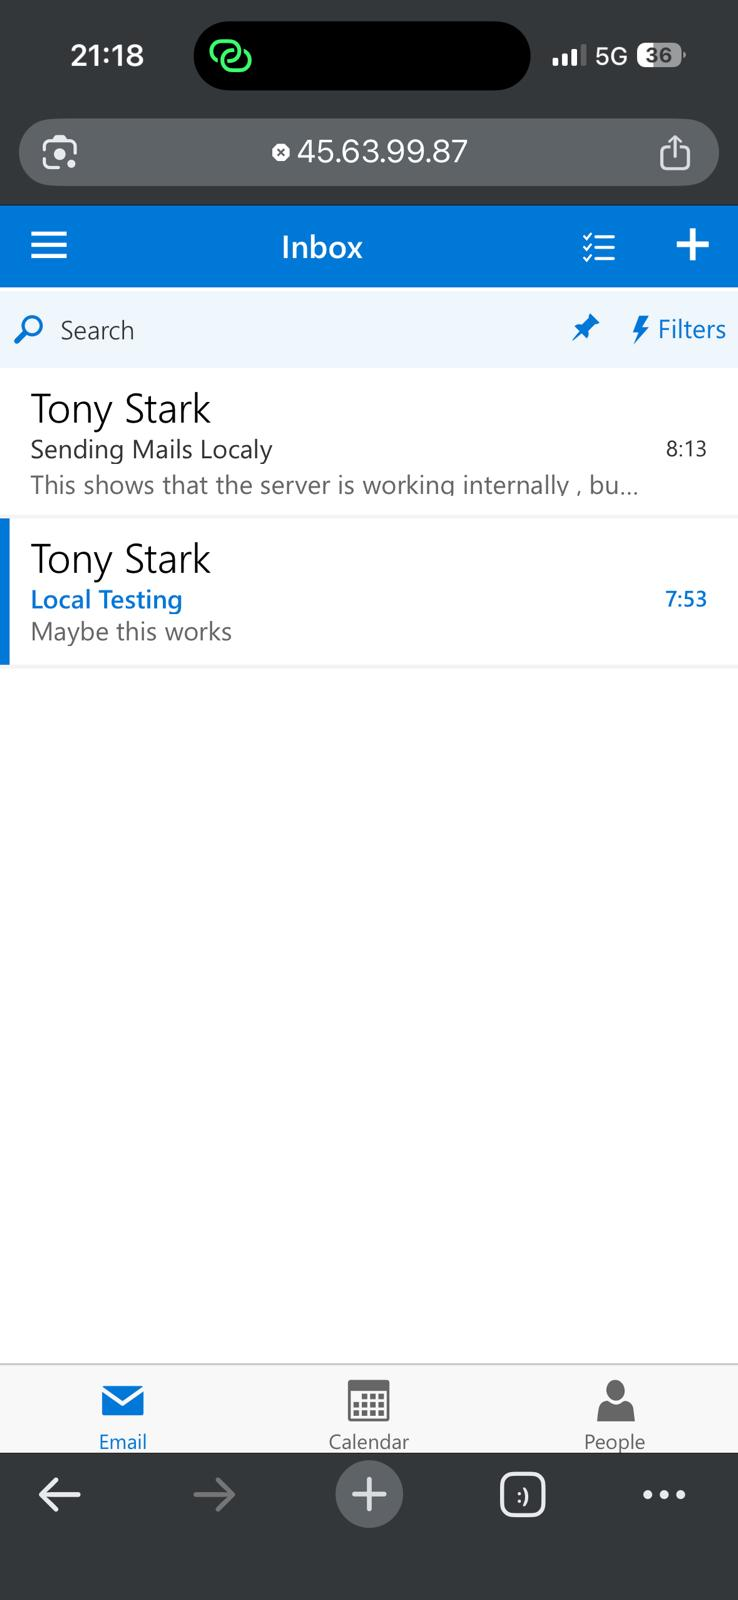
Verified OWA login from external endpoints. Logged in as Bruce Wayne (HQ\b.wayne) on a mobile device and verified local mail delivery:
Step 9 — Let's Encrypt SSL Certificate
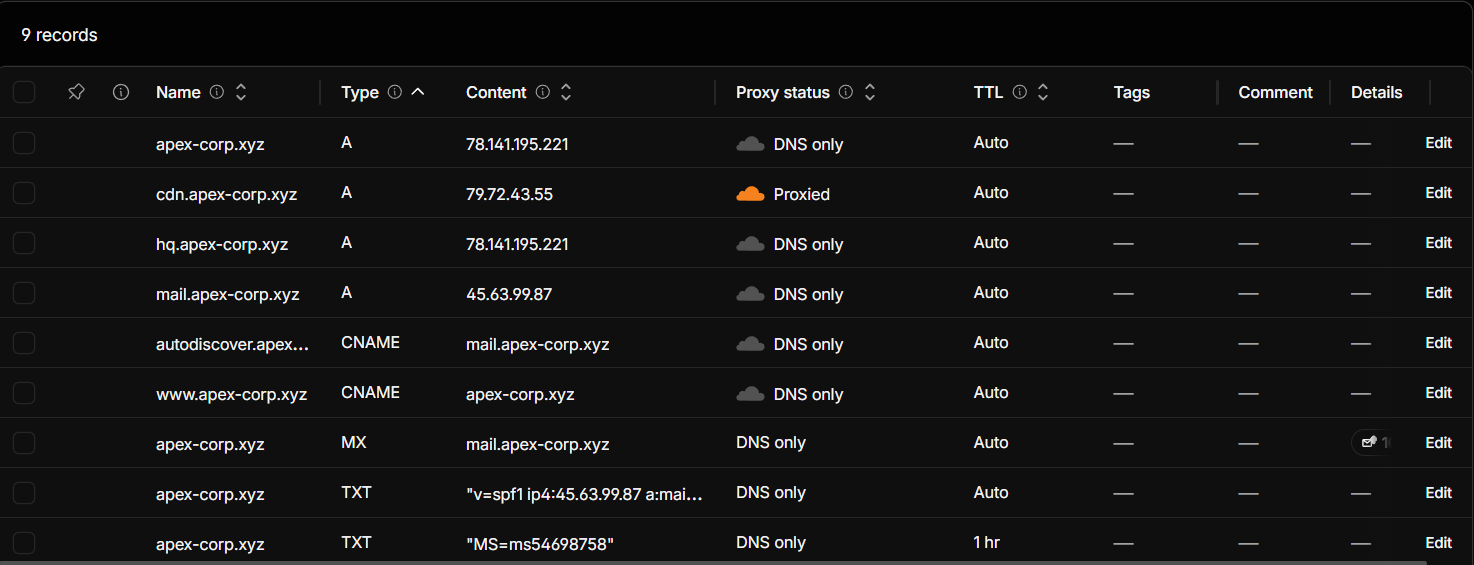
Configured Cloudflare DNS A records pointing the public mail hosts to the Exchange public IP, along with MX and SPF records.

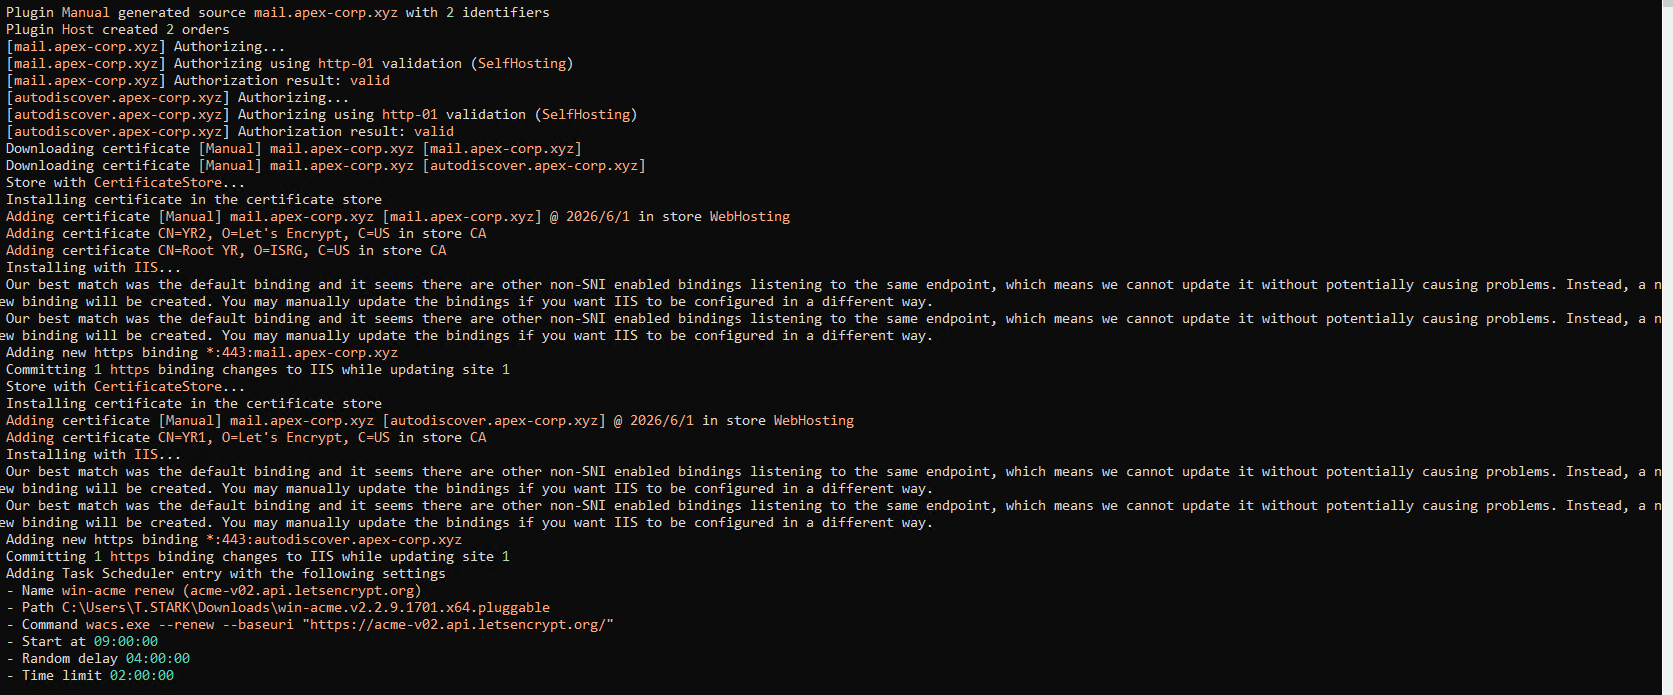
Used Win-ACME (wacs.exe) to request and bind Let's Encrypt certificates for mail.apex-corp.xyz and autodiscover.apex-corp.xyz:

When selecting the certificate by Subject in PowerShell, the query can return empty if SAN names differ. Use Issuer query instead:
$cert = Get-ExchangeCertificate | Where-Object {$_.Issuer -like "*Let's Encrypt*"} | Select-Object -First 1

Step 10 — Outbound Egress & Verification
| Service | Status |
|---|---|
| SMTP Inbound (Port 25) | Verified |
| SMTP Outbound | Verified |
| OWA / ECP HTTPS | Verified |
| ActiveSync (Mobile) | Working |
| Autodiscover | Configured |
| Let's Encrypt SSL | Bound |
| Outbound Send Connector | Active |
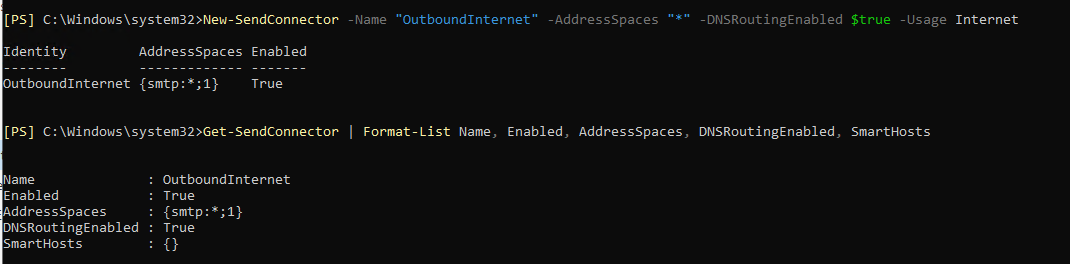
Configured an outbound send connector to allow sending mails to external domains via MX records:
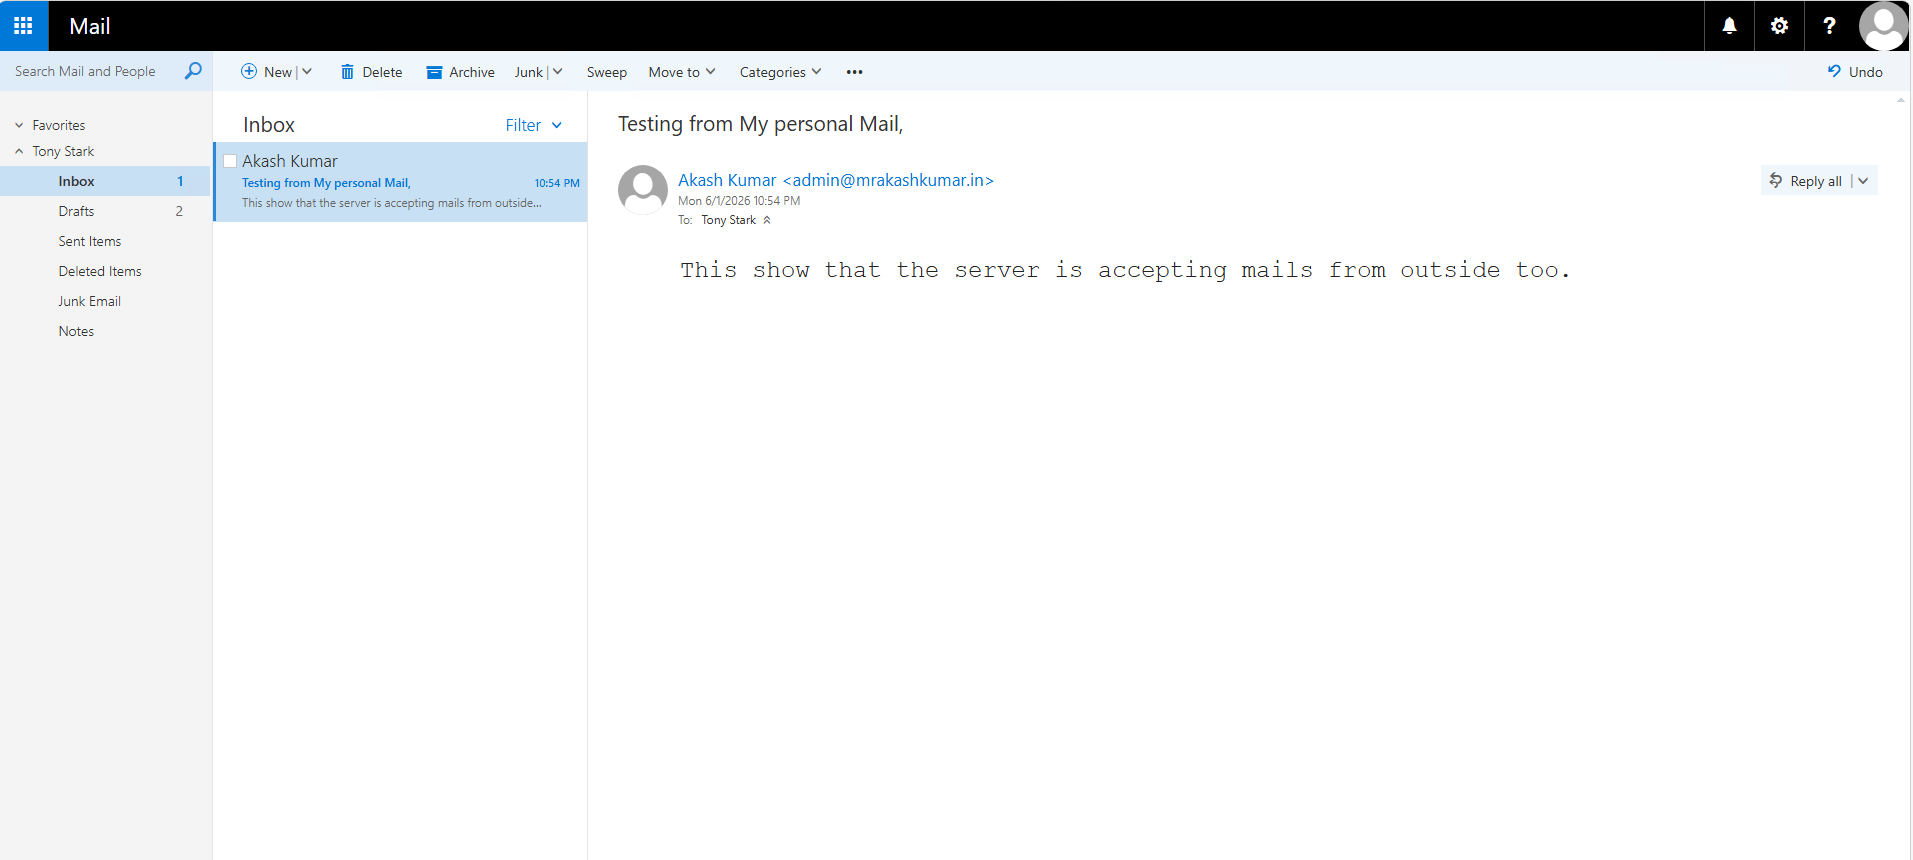
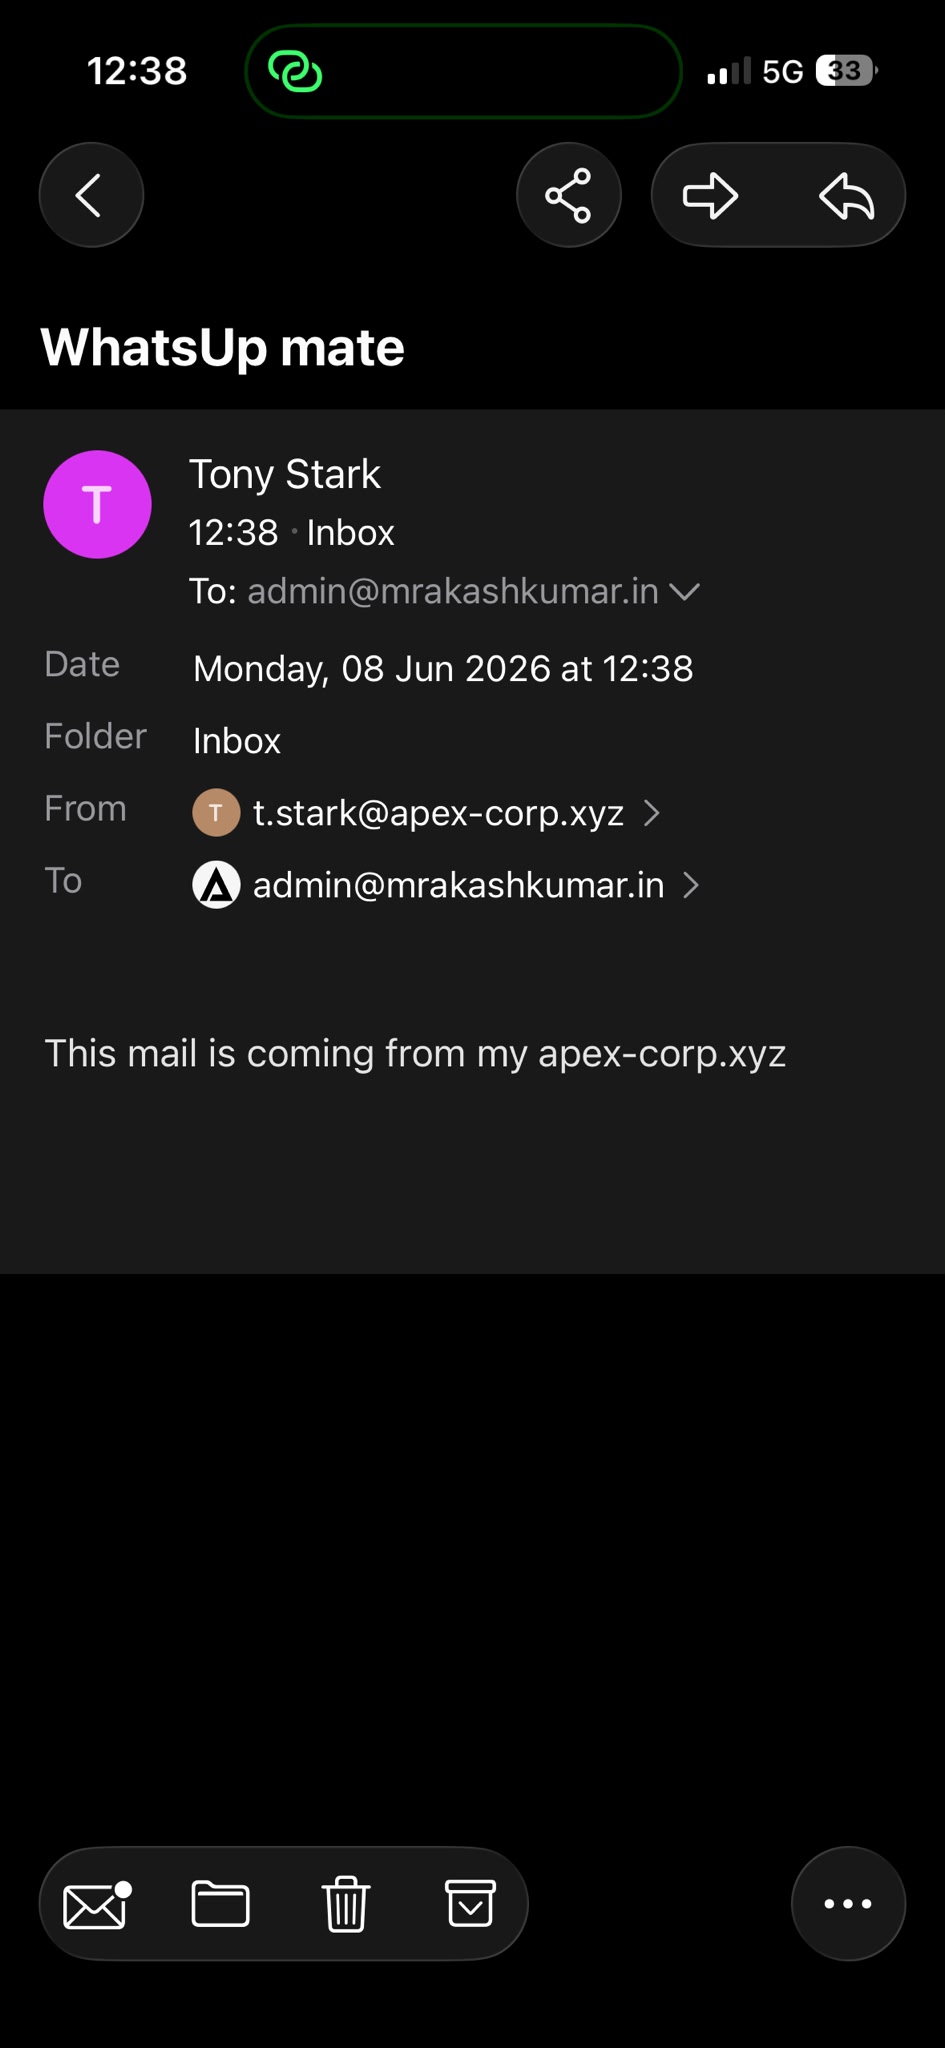
Received mail from outside (Gmail) to verify inbound delivery:

Tested sending mail outbound from OWA to an external account. Outbound port 25 is blocked by default by most VPS providers. After opening a support ticket, Vultr unblocked port 25 egress, allowing mail to route out cleanly:
Security Implications
This Exchange deployment introduces key enterprise attack surfaces:
Exchange WriteDACL
The Exchange Windows Permissions group possesses WriteDACL permissions on the domain object by default. Compromise of the Exchange server (MAILSERVER$) allows privilege escalation directly to Domain Admin.
OWA Password Spraying
Since OWA is publicly exposed on port 443, it is vulnerable to low-and-slow password spraying attacks against the domain users list.
GAL Exfiltration
Compromising a single low-privilege domain mailbox allows exfiltration of the entire Global Address List (GAL) through EWS or OWA API endpoints, facilitating highly targeted phishing.